
Whole Wheat Baguette
February 28, 2013 § 2 Comments
If we run out of crackers, I make Crackers. If we run out of hummus, I make Jennifer make Red Pepper Hummus. And if we run out of bread, I make bread. It’s just what we do. We make things. Bread included.
Bread is work. There’s the mixing and the kneading and the proofing and the punching and the second proofing and the loaf shaping. It’s up-to-your-elbows-in-dough kinda work—the type of work that gives you strong-as-oxen forearms.
Until a rather vigorous episode of dough kneading a few years ago set off some rather painful carpal tunnel symptoms, I kneaded all dough by hand. Then by necessity I had my Kitchen-Aid mixer and its dough attachment take over. And now, thanks to Mark Bittman, I’m letting the food processor do all that work.
It’s odd—almost sacrilegious—to think that a machine with a sharp spinning blade can make a soft and smooth clump of dough rather than a bowlful of shredded sticky flour. But it does. And while I was once skeptical and hesitant to come under the no-knead tent, I have entered, heard the word, and am now a food-pro convert. Halleluiah.
Mark Bittman, the New York Times‘ food guy, included the following recipe in the Feb. 3 NYT Sunday Magazine. It’s actually what he calls “not quite whole grain,” and I agree, but there is enough wheat flour in there to give it that nice flavor and chew. What I really like about this is the hands-off nature of the recipe. The first step takes no more than 3 minutes, then you’re free for the next 3 hours while the dough rises. The most work comes during the baguette shaping process. And quite honestly, if you want to learn how to shape a baguette, search for it on YouTube.
In all, you’ll have lovely baguettes in a little over 4 hours—and with very little effort. Throw some flour in your hair to make it look like hard work.

dry ingredients in bowl of food processor

dough comes together in food processor after about a minute
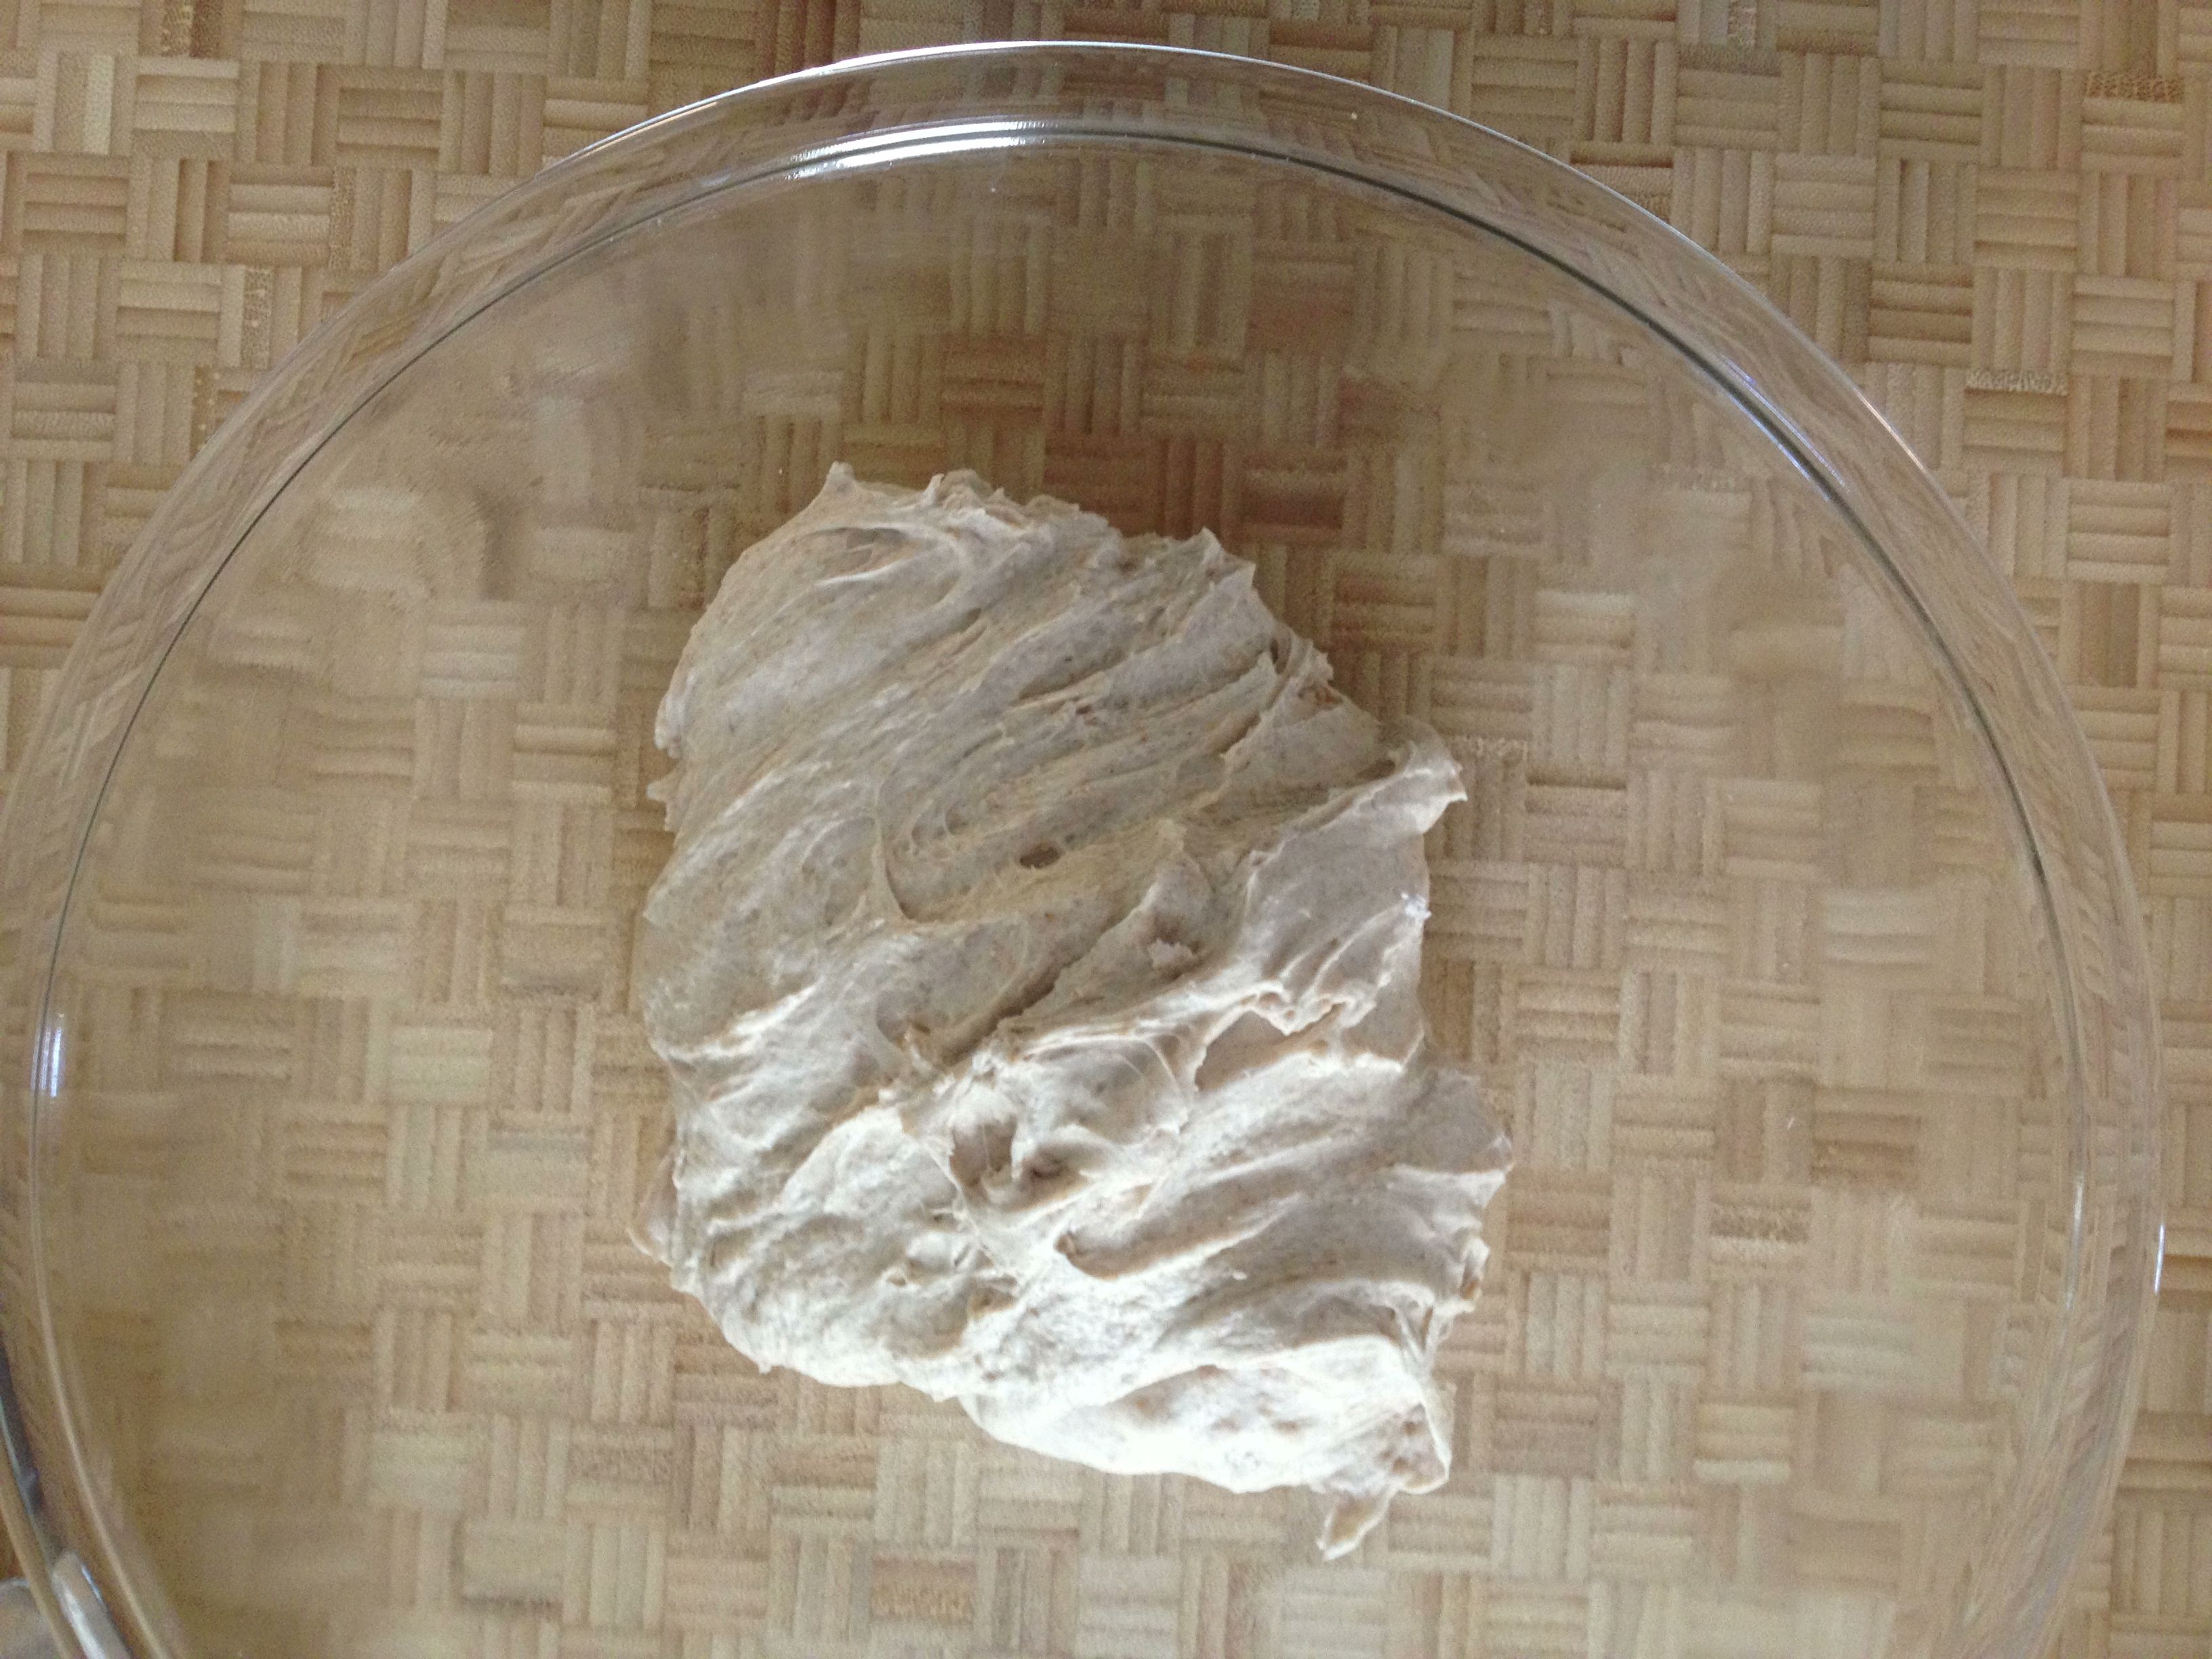
dough turned out into lightly oiled bowl, ready to rise

dough rises about this much after 3 hours
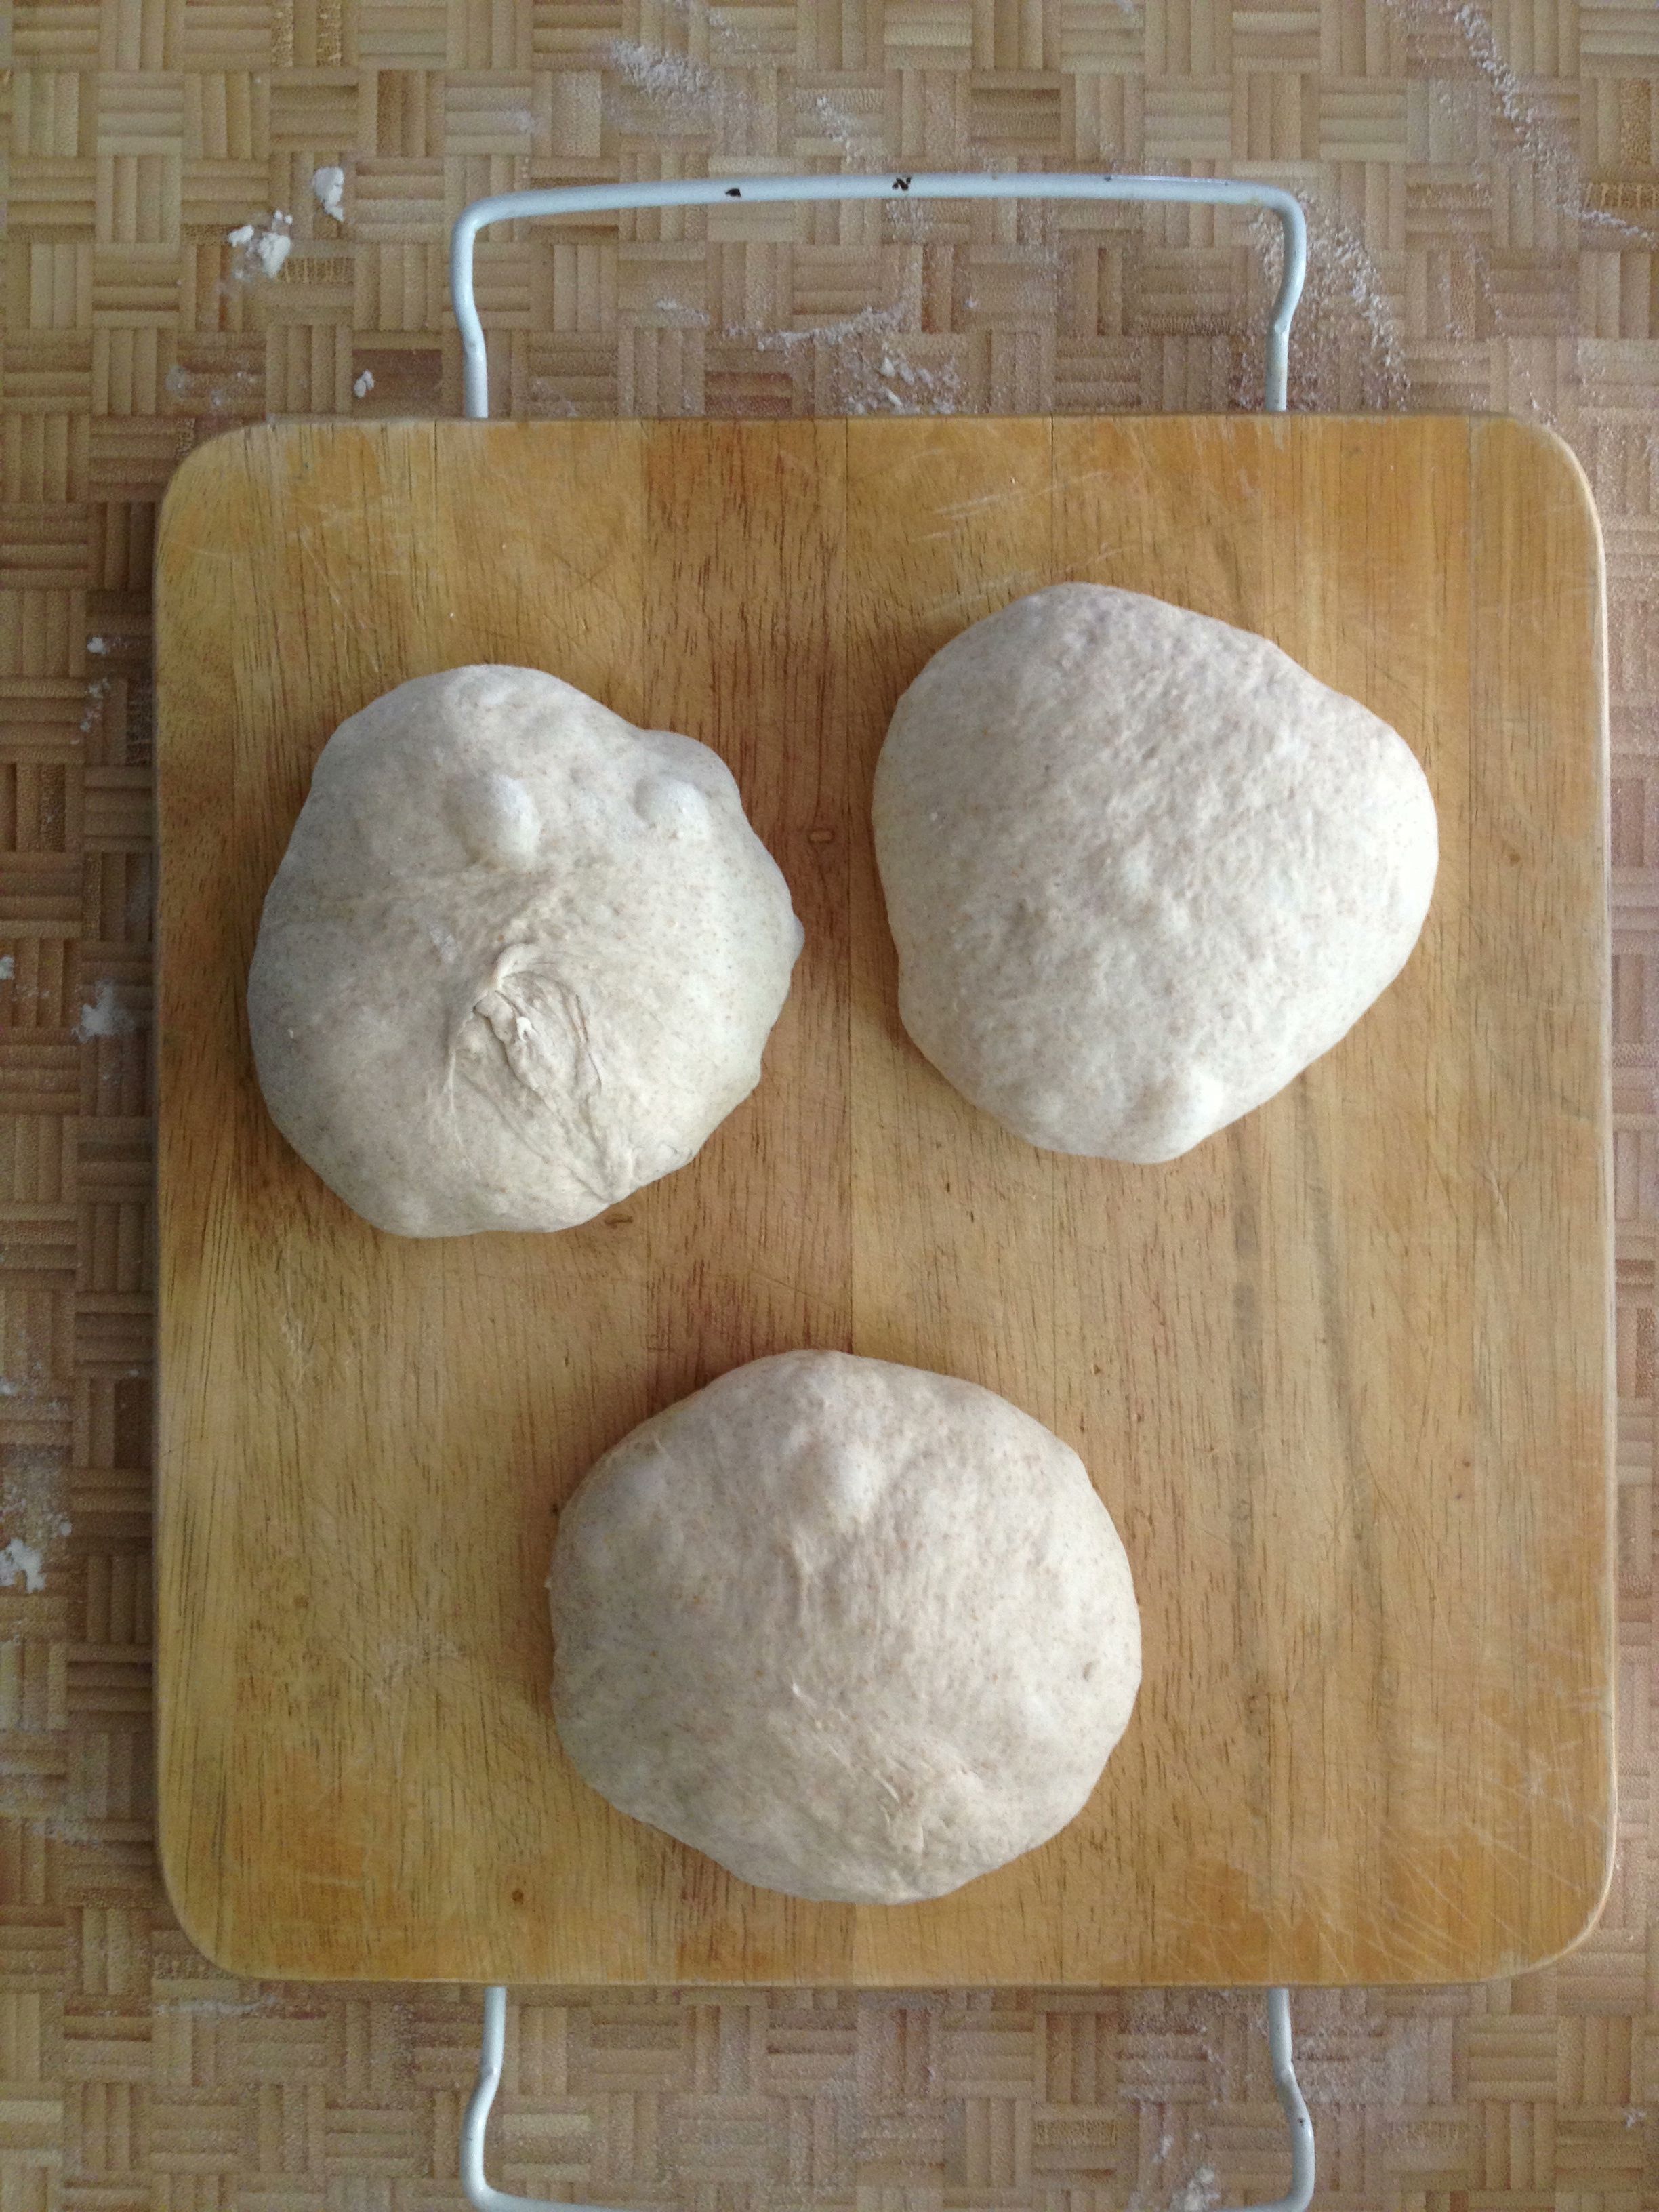
after turning the risen dough out onto a lightly floured surface, cut into three segments and roll into a tight ball
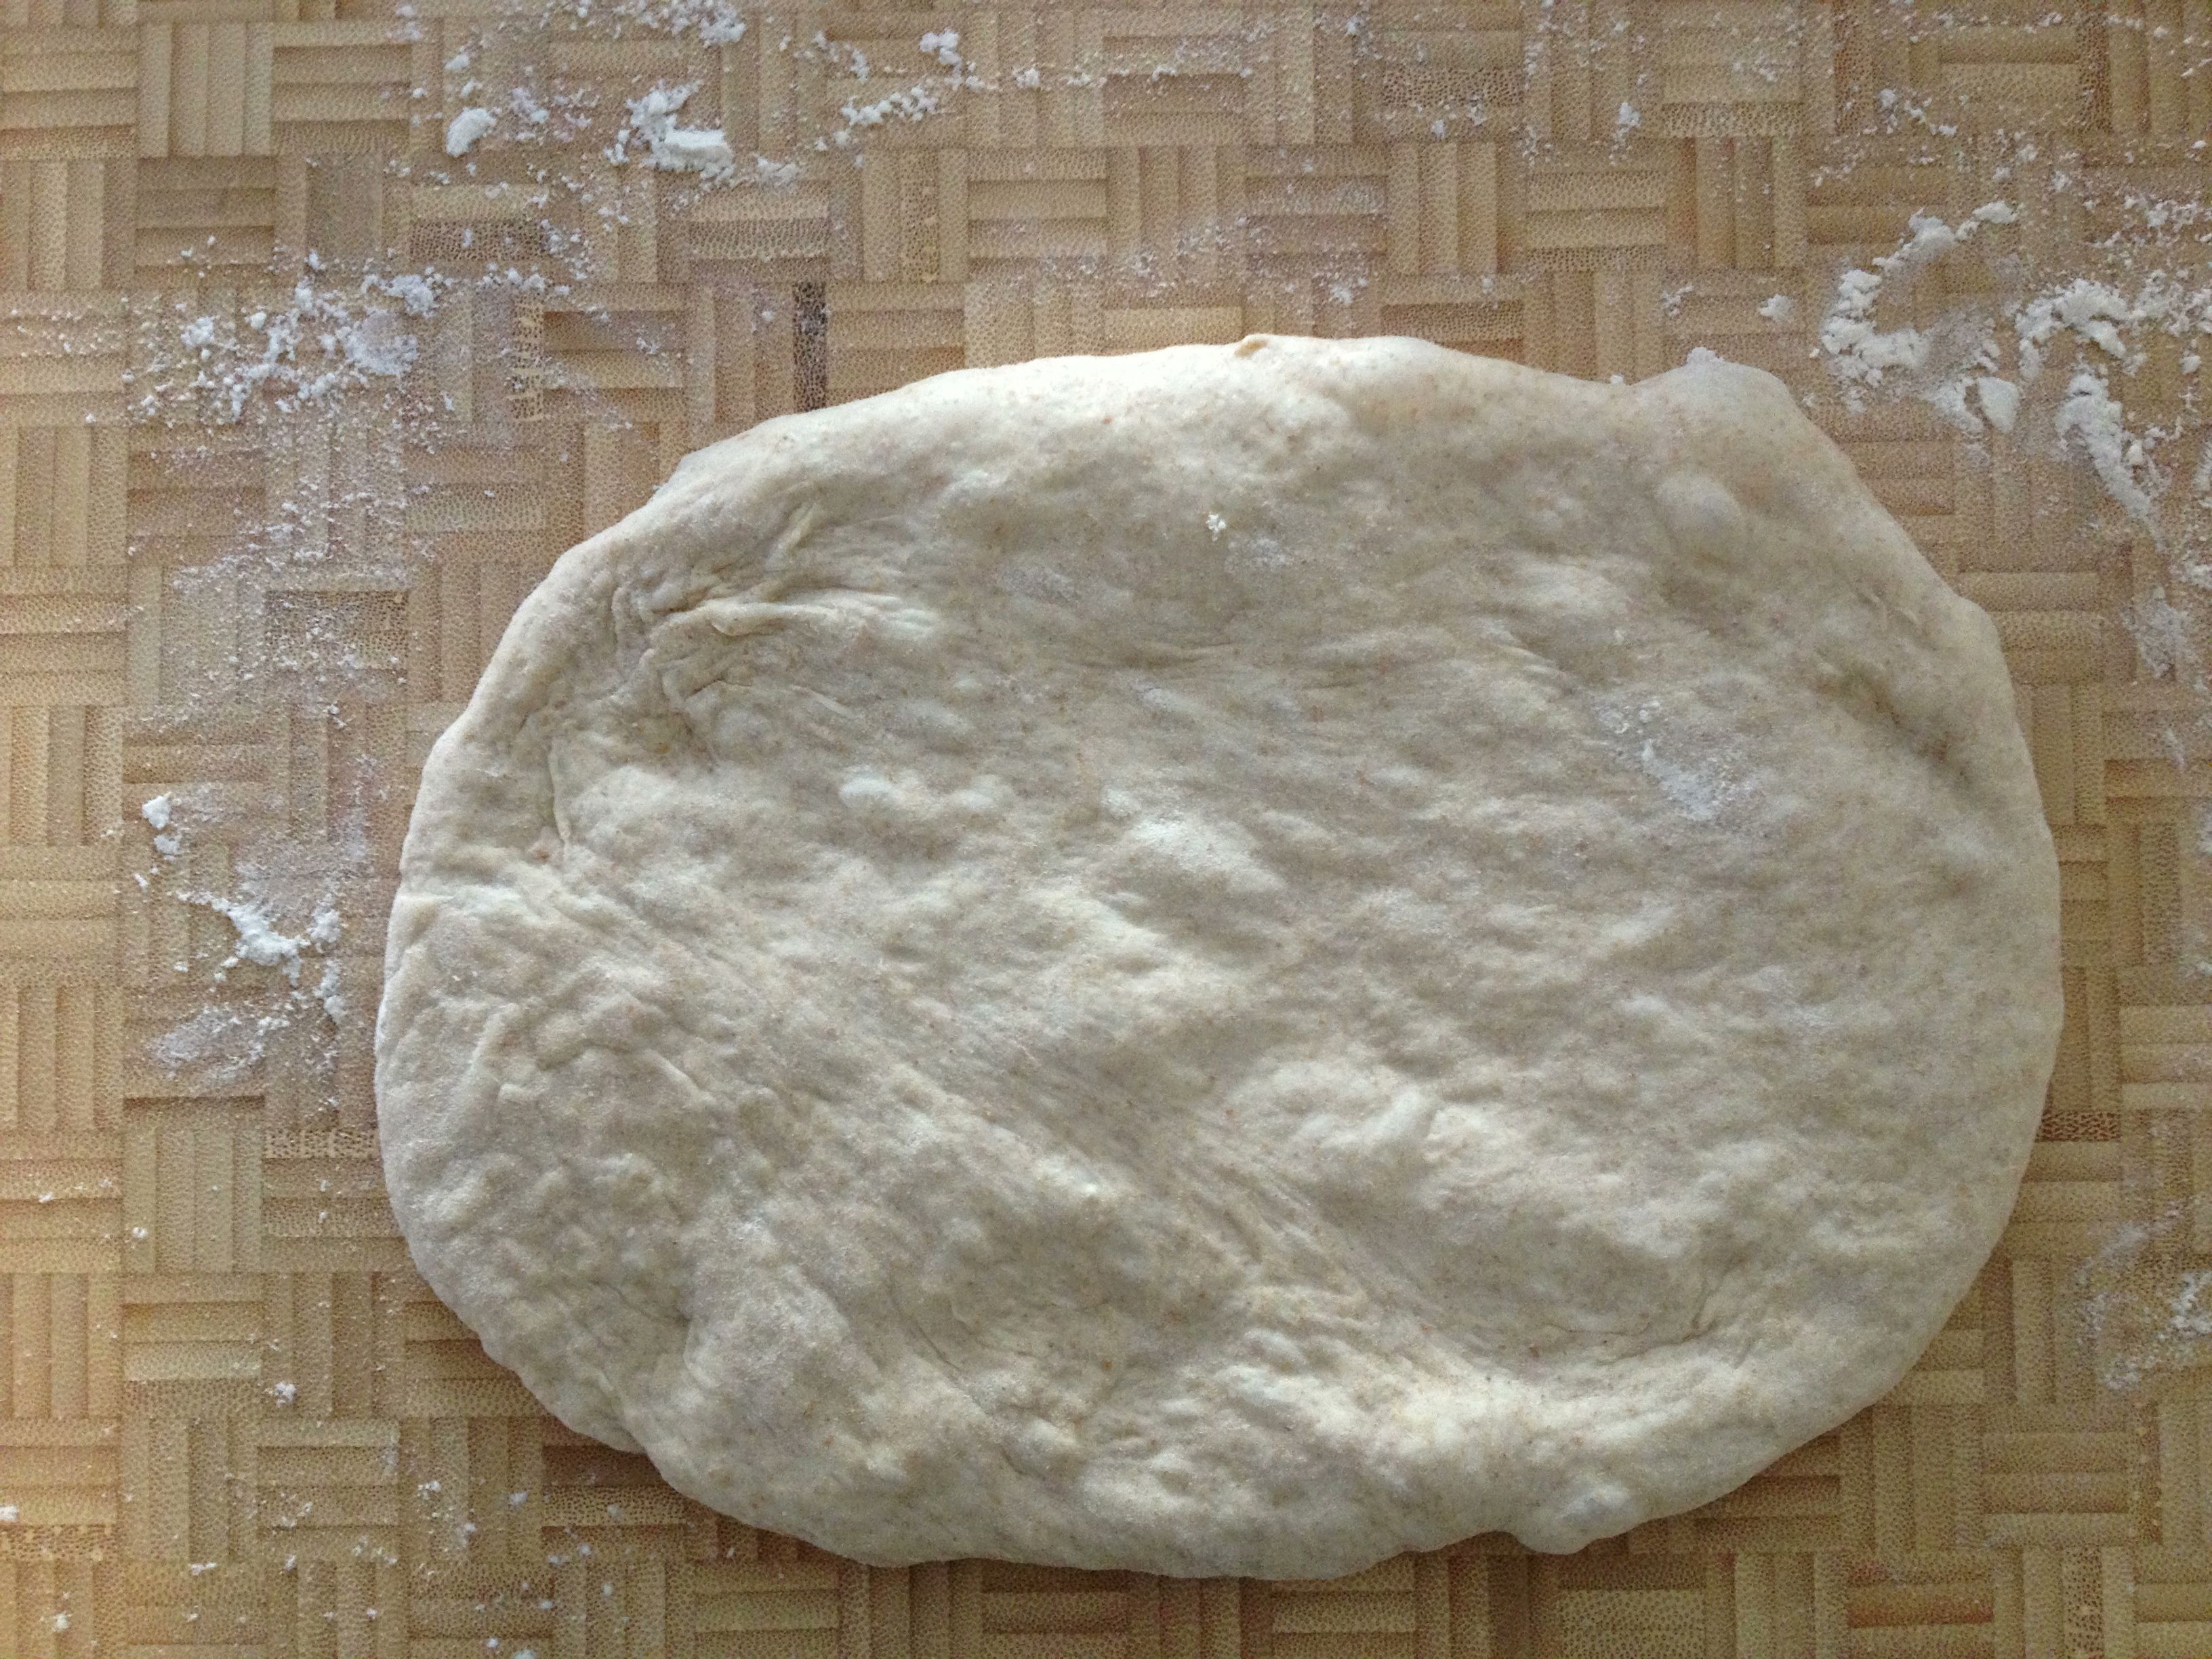
form the dough ball into the best rectangle you can get

fold the bottom side up toward the center

then fold the top down to create something that looks like an envelope

fold length of dough down about a third and press the seam to seal – and repeat.

set formed loaves into stiff canvas to help them keep their shape while they rise another 30 minutes.

fresh out of the oven! okay, so they are odd shaped. embrace the odd.
Whole Wheat Baguette (from Mark Bittman, New York Times Sunday Magazine, Feb. 10, ’13)
100 g. whole wheat flour
400 g. all-purpose flour + some
10 g. kosher salt
6 g. instant yeast
water
1. Combine dry ingredients in a food processor. Turn machine on and while it’s whirring, add about 1.5 cups of water slowly over a 30-sec. period. Keep machine running for another 45 sec. or so. Dough will be held together nicely and tacky, not wet. Turn dough into a large bowl (I lightly oil mine just in case), cover with plastic wrap, and let it rise. It should take 2-3 hours. I let it go for the whole 3 hours and it’s risen quite nicely.
2. Turn the dough out onto a minimally floured surface, pat lightly, and cut into 3 equal pieces. Recipe says to form into a log, but I form into small round boules. Cover with a tea towel (or plastic wrap) and let it sit for 20 minutes.
3. Now shape each dough round into a baguette. I am SO not the expert at this but … This is how I do it:
-pat dough into a rectangle, kinda the size of a small 8.5×5 notebook. The following will work best if the corners are as square as possible (yes, getting dough to be exactly square is impossible but give it your best try).
-Position the long side down. Fold the bottom end up about a 1/3 of the way, and then fold the top end down over it so it looks like an envelope. Take the heel of your hand or your thumb and press and seal that seam together. Lightly flatten the dough.
-Next, fold the top down about a 1/3 of the way and seal the seam again. Lightly flatten. Repeat this process another two to three times.
-Starting from the center of the dough, place your hands over the top of the dough and slowly and lightly roll the dough up and down, pressing outward to lengthen it. Don’t go all that far. The longer it is, the thinner it is. And … that’s it.
4. Once the baguette is formed, put the baguettes into something like a baguette pan. Or, use a lightly floured swatch of canvas (or a heavy tea towel) and shape the canvas around the long sides of each baguette. You want the canvas to cradle the dough and help keep the dough’s shape. Let the dough rise for about 30 minutes.
5. Meanwhile, get your oven heated to at least 450F (Bittman’s recipe says 465F, but my oven only goes to 450F). A few minutes before the dough is ready to go in the oven, open the oven door and spray some water around the side walls and close it back up. Just before putting the loaves in, put them on a piece of parchment on a sheet pan and slash the tops with quick movements of a very sharp knife. Slide it in the oven, give the loaves a quick squirt with was water and close the door. Repeat the squirting with water about a minute later. Keep them in the oven for about 25-30 minutes, or until the loaf sounds hollow when you thump the bottom of it with your thumb. Cool on a wire rack.
Now, why are we spraying with water? To create a bit of moisture in the oven and around the loaves. This moisture helps to create that light and crisp exterior on the loaf. It works, so give it a go.
You likely have your own favorite bread recipe. Let me know what it is in the comments below.
Red Pepper Hummus
February 26, 2013 § 4 Comments
We haven’t bought a can of beans in, oh gosh…I’d say six months. This weekend we used our last stray can of black beans for a chili—and I remember moving to our new house with it and packing it away on an upper kitchen shelf. Cooking up dried beans in a pressure cooker is super easy and super cheap, and here’s the bonus: You get several cups of flavorful bean broth to add to whatever dish needs a little tasty liquid. (See how easy it is here.)
And if we’re cooking up our own beans, we might as well make our own favorite bean-based spread, right? I’m speaking of hummus, of course, made with those funny looking little chickpeas (aka garbanzo beans). I’ve written about hummus here before, but after making several batches of the stuff, I was left disappointed. Too thick. I wanted the creaminess you’d find in the off-the-shelf brands.
Jennifer found the solution—or very nearly—with a recipe from The New Moosewood Cookbook. Not completely creamy as we had hoped, she adjusted and tasted and made batch after batch until finally, she made the perfect consistency. The secret? Adding in some of that aforementioned bean broth and reducing the amount of tahini. Oh, and adding in a roasted red pepper.
Red Pepper Hummus (adapted from The New Moosewood Cookbook)

red pepper hummus
- 2-3 cloves garlic, sliced
- large handful parsley
- 2 scallions, chopped into 1-in. pieces
- 3 cups cooked chickpeas (nearly a 1-lb. bag of dry beans cooked, reserve cooking liquid)
- 4 tbs. tahini
- Juice of one lemon juice (or more, depending on said lemon’s juiciness)
- 3/4-1 tsp. salt
- 1/2 tsp. cumin
- 1/4 – 1/2 sumac to taste (optional if you can find it at your local Middle Eastern grocer)
- 1/4 tsp. paprika
- 1 red pepper, roasted at 425F for 30 min., cooled and skin removed, and cut into strips
1. In a food processor combine the garlic, parsley and scallions, and whir up into a mince.
2. Add chickpeas, tahini, lemon and salt. Puree into a paste.
3. Add the cumin, sumac and paprika as you add some of that reserved bean cooking liquid—try about 1/4 cup—and process. Add more liquid by the tablespoon until you find the consistency right for you. Careful with the sumac—you may like just a tad, so taste before adding any more than a 1/4 tsp.
4. Add the red pepper at the very end and pulse the food processor until it breaks down the red pepper. We’re not looking for a completely pureeing of the pepper. We just want it broken down into bits.
It’s great on a chip, on this awesome cracker we made last week, or—my favorite use—schmeared on a Roasted Eggplant on Whole Wheat Sandwich.
Quick Crackers
February 22, 2013 § 3 Comments
Sometimes after dinner you’re just hungry all over again. It happens. And it’s understandable if, say, you’ve been on a 12-consecutive-day yoga binge.
Open the cabinets. Raisins: Nope, not substantial enough. Almonds: It’s got the crunch but they aren’t gonna cut it. Not tonight. The bag of chips (healthy chips, of course) disappeared last night. There’s a nice hunk of Jarlsberg in the fridge…where’d the crackers go? Oh, they went away as a quick pre-yoga snack the other afternoon.
Bummer. I. Am. HONGRY. Hongry, by the way, is when you are very, very hungry.
But wait. I’m a baker. I’m not going to complain. I have the power to make my own crispy-crunchy goodness. And quickly, too.
I recalled I had found a super-good and super-quick herbed flatbread recipe on the Shutterbean blog not long ago. It was within my power to make these quick crackers – quackers? – before I became HANGRY, which means to be angry due to hunger. And since I had made them once previously, I new the tricks and adaptations to get these in and out of the oven in less than 20 minutes.
So, if you suddenly have guests or are ravenously empty-stomached and have nothing in the house, don’t complain. Put your baking cap on.

Quite complaining. Make your own crackers.
Quick Herbed Crackers (adapted from a recipe on Shutterbean)
- 1 3/4 cup all-purpose flour
- 1 tsp dried rosemary
- 1 tsp baking powder
- 3/4 tsp kosher salt
- 1/2 cup water
- 1/3 cup olive oil – keep the bottle handy
- Some fancy salt if you have it
1. Preheat oven to 450F. Really, this will be the longest step in the whole process.
2. Combine dry ingredients in a bowl and give it a quick stir to mix.
3. Make a well in the middle of the dry ingredients and add in the water and oil. Fold in the flour mixture with a spoon or large fork until its nicely incorporated.
4. Turn out the dough onto a work surface. No need for additional flour—this dough will not stick! Amazing and true. It’s the olive oil. Give it a really quick knead – a 5 or 6 times maybe – to make sure the dough is all snug together. Cut the dough ball into 3 chunks.
5. Roll out one dough ball until it’s super thin. You can roll it on the work surface or on a piece of parchment. Just be sure if you roll it out on the work surface that you can get it onto parchment with no problem. Roll into into whatever shape you want – it doesn’t have to be round. Color outside the lines with this.
6. Once on the parchment, experience has shown me to use a fork to prick the dough surface. Otherwise I ended up with super-big air bubbles in the finished cracker. Looked kinda cool and rustic, but not what I was looking for. After pricking, brush a tiny bit of olive oil on the dough surface and sprinkle some fancy schmancy salt on top. I happened to have some pink Himalayan sea salt on hand. Tasty.
7. Pop it into the oven. The recipe says 8-10 minutes. For crispy, keep it in 10 min, or even more. I’d say keep an eye on it and pull it out once it looks darker than you’d like. It all depends on your oven, really.
8. Let cool on a wire rack. Or not if you can’t resist.
9. While one is cooking you can roll out the other and put on new parchment. Recipe says to hold off on the oil and salt until just before popping into the oven, but I forgot for one of them and it was fine.

A few notes:
- The recipe called for fresh rosemary. I didn’t have any on hand, but recalled that if using dried herbs in place of fresh that one should use 1/3 the amount. So, if you’re using fresh rosemary, use 1 tbs of finely chopped herb.
- Try it with other herbs, too. Sage, for instance. But use less since sage is mighty powerful.
- It’s a throw-it-together kinda recipe, but be precise with the oil and water measurements. I used too much of one of them last night and the dough came out sticky enough to actually stick to the work surface. Lesson learned—I’ll never eyeball a 1/3 cup of liquid again.
Roasted Eggplant on Whole Wheat Baguette
February 21, 2013 § 3 Comments
The way I understand it, Paula Deen’s first food-for-money venture was preparing bagged lunches for the locals, which her sons  would then deliver. What those lunches were, I do not know. I imagine a typical lunch included a sandwich (or sammy). Maybe some chips. And there had to have been a decadent, butter-loaded dessert in that bag, too.
Anyone who follows me on Instagram has seen what I concoct for my own lunches, usually from leftovers or stuff just sitting in the veggie bowl. The Sweet Potato Sandwich has become a standby. The Salad Pizza is still one of my proudest moments. Avocados and boiled eggs smeared on toast are regulars, as well.
My latest sammy, Roasted Eggplant on Whole Wheat, has got me thinking about Paula Deen and her bagged-lunch business. This sammy, I’m tellin’ you, it’s good. Real good. People would want to eat it. And they might even pay real money for it—and for me to make and deliver it. Is something like this even feasible here in Boston? And I’m sure there’s some proper and official channels to go through to make sure I’m not serving thoroughly rotten food, too. I mean, someone’s got to make sure the cats and I are wearing hair nets, right?
The thought is on my mind. Who knows, maybe I’ll even give it a try, “underground catering” style (I didn’t really say that, if anyone official is reading this). Meanwhile I’ll keep putting various spreads and veg and cheese and such onto different sorts of breads and doughs. Keep up with them on Instagram and let me know which ones appeal to you most.
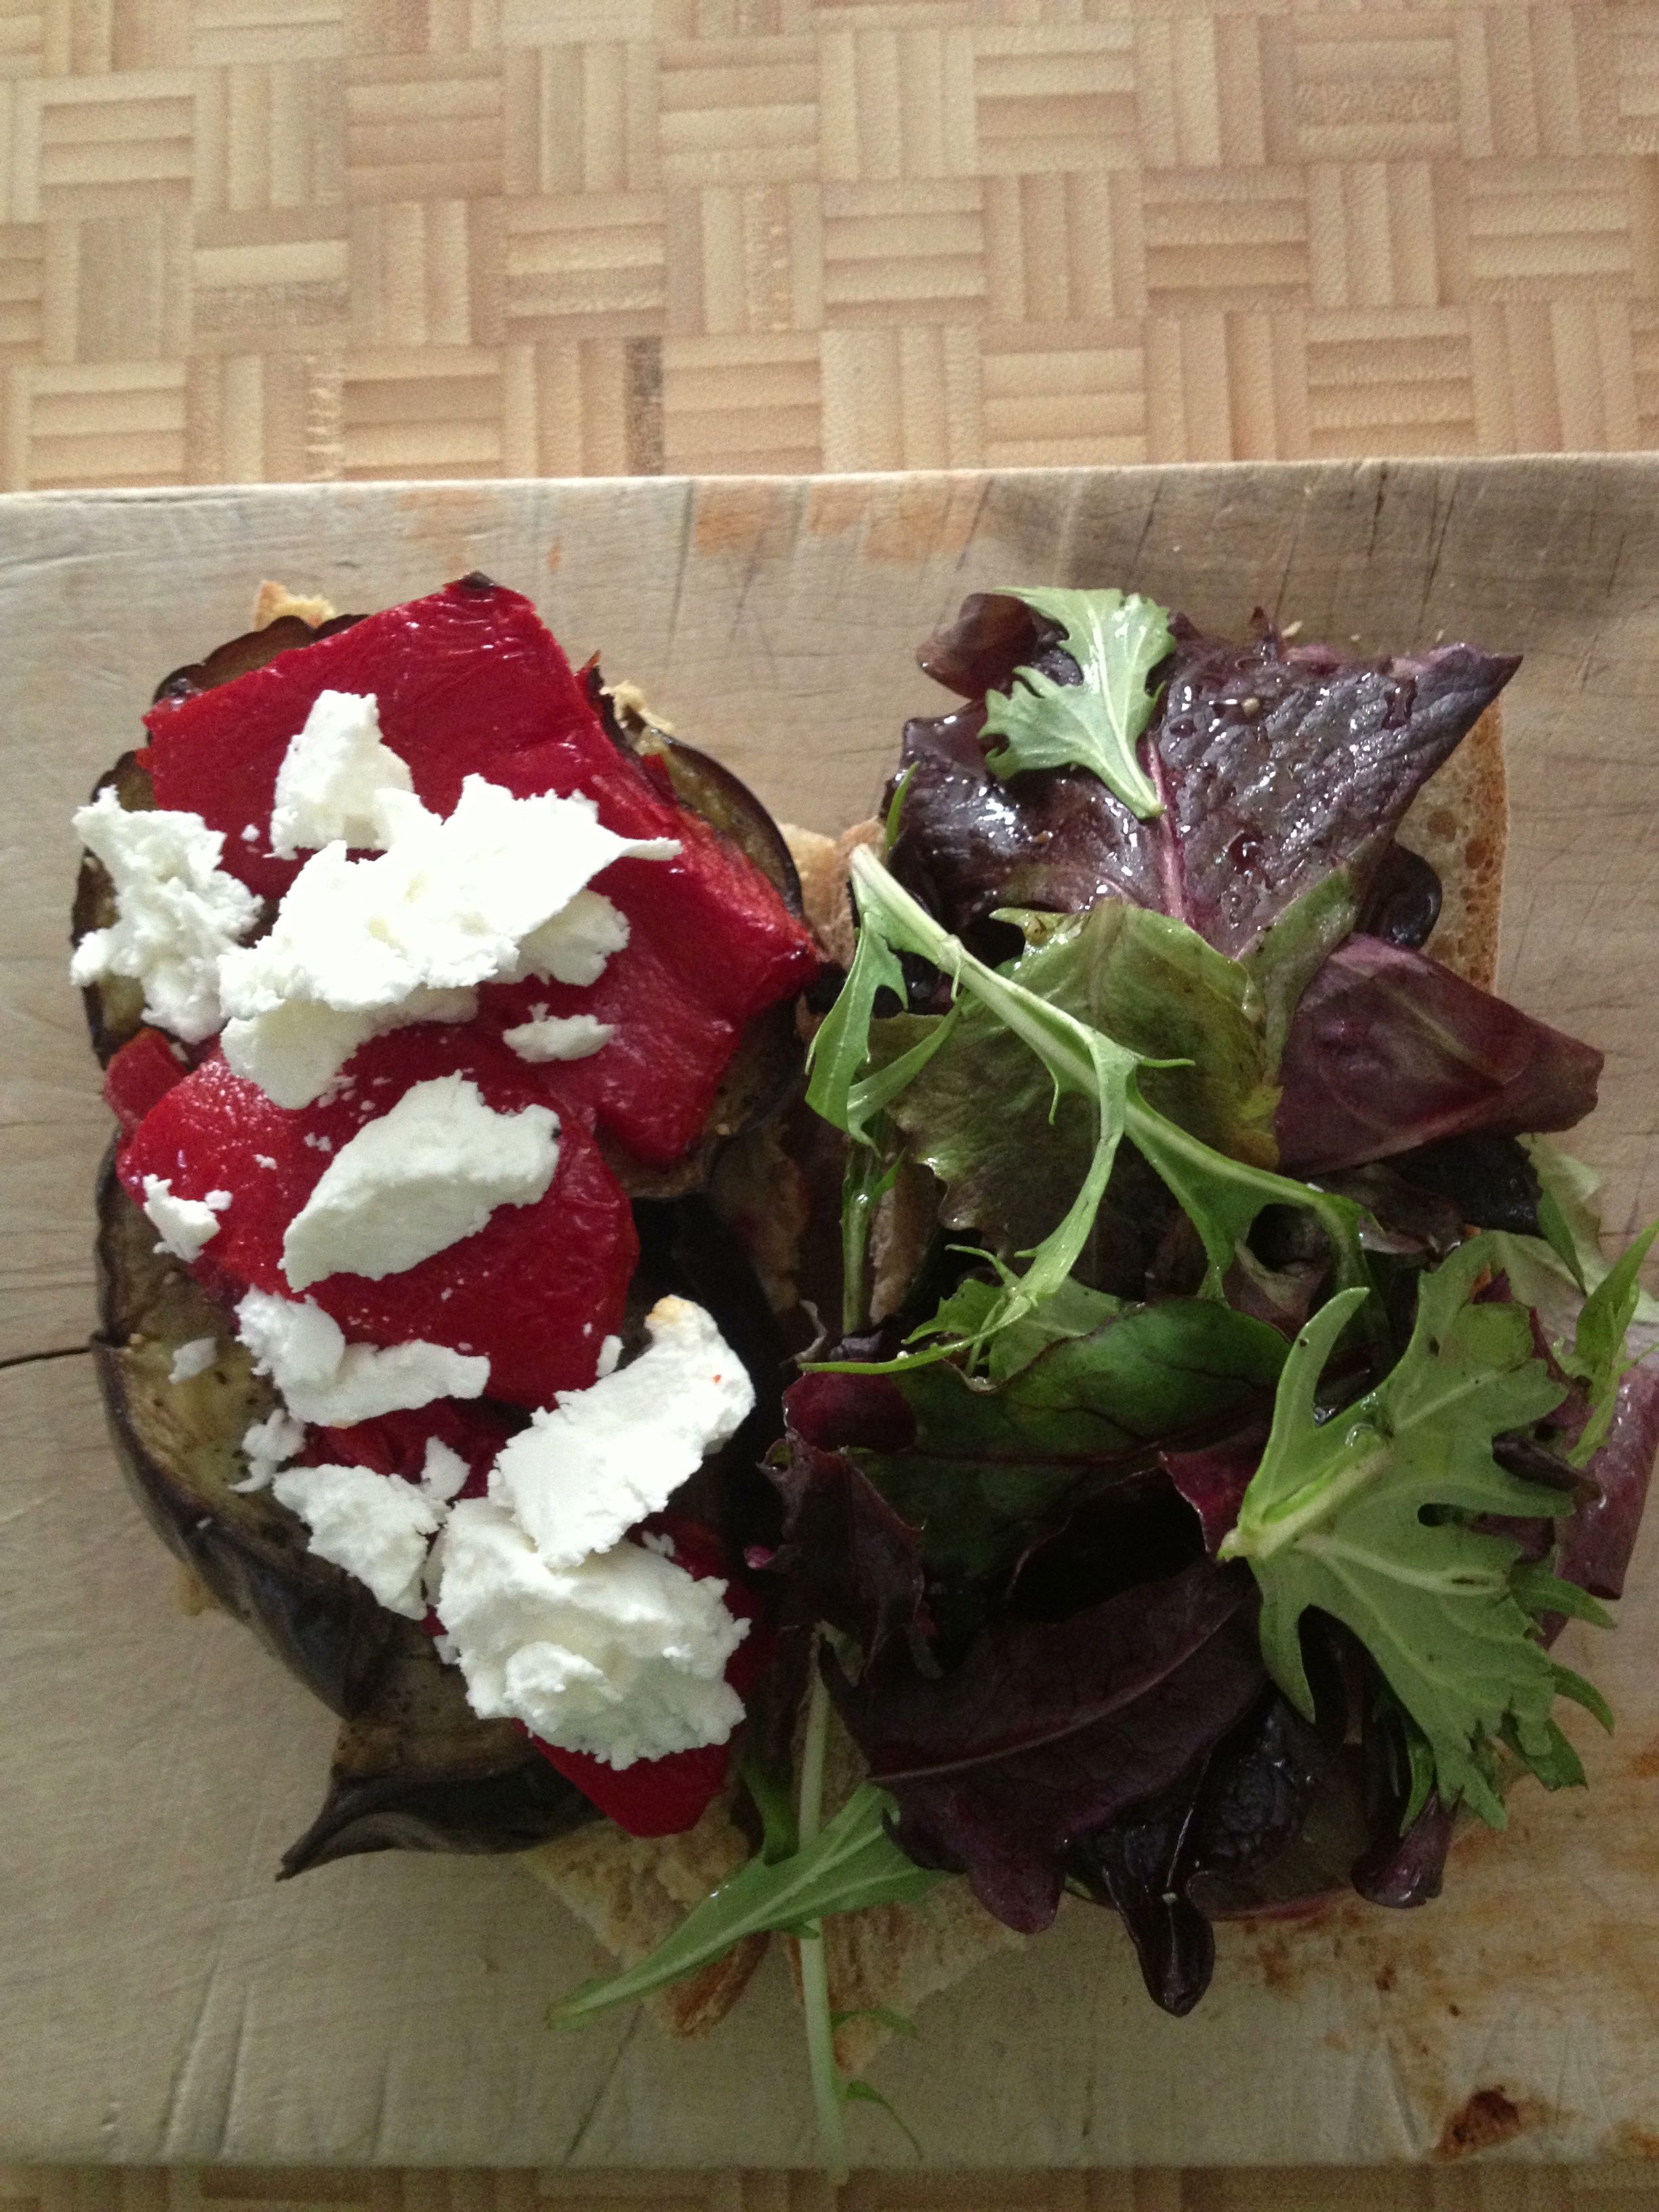
Roasted Eggplant on Whole Wheat Baguette
It’s simple, really:
Slice an eggplant into 1/2-in. slices. Place on a sheet pan. Sprinkle each slice with some olive oil, using a brush to spread it over the surface. Eggplants are like sponges—they soak up a lot of oil. That’s why it’s important to brush. Then sprinkle each slice with kosher salt, and give each slice a small twist from the pepper mill. Put in a 420F oven for about 20 min. Remove from oven and let cool. You’ll have extras—always a good thing.
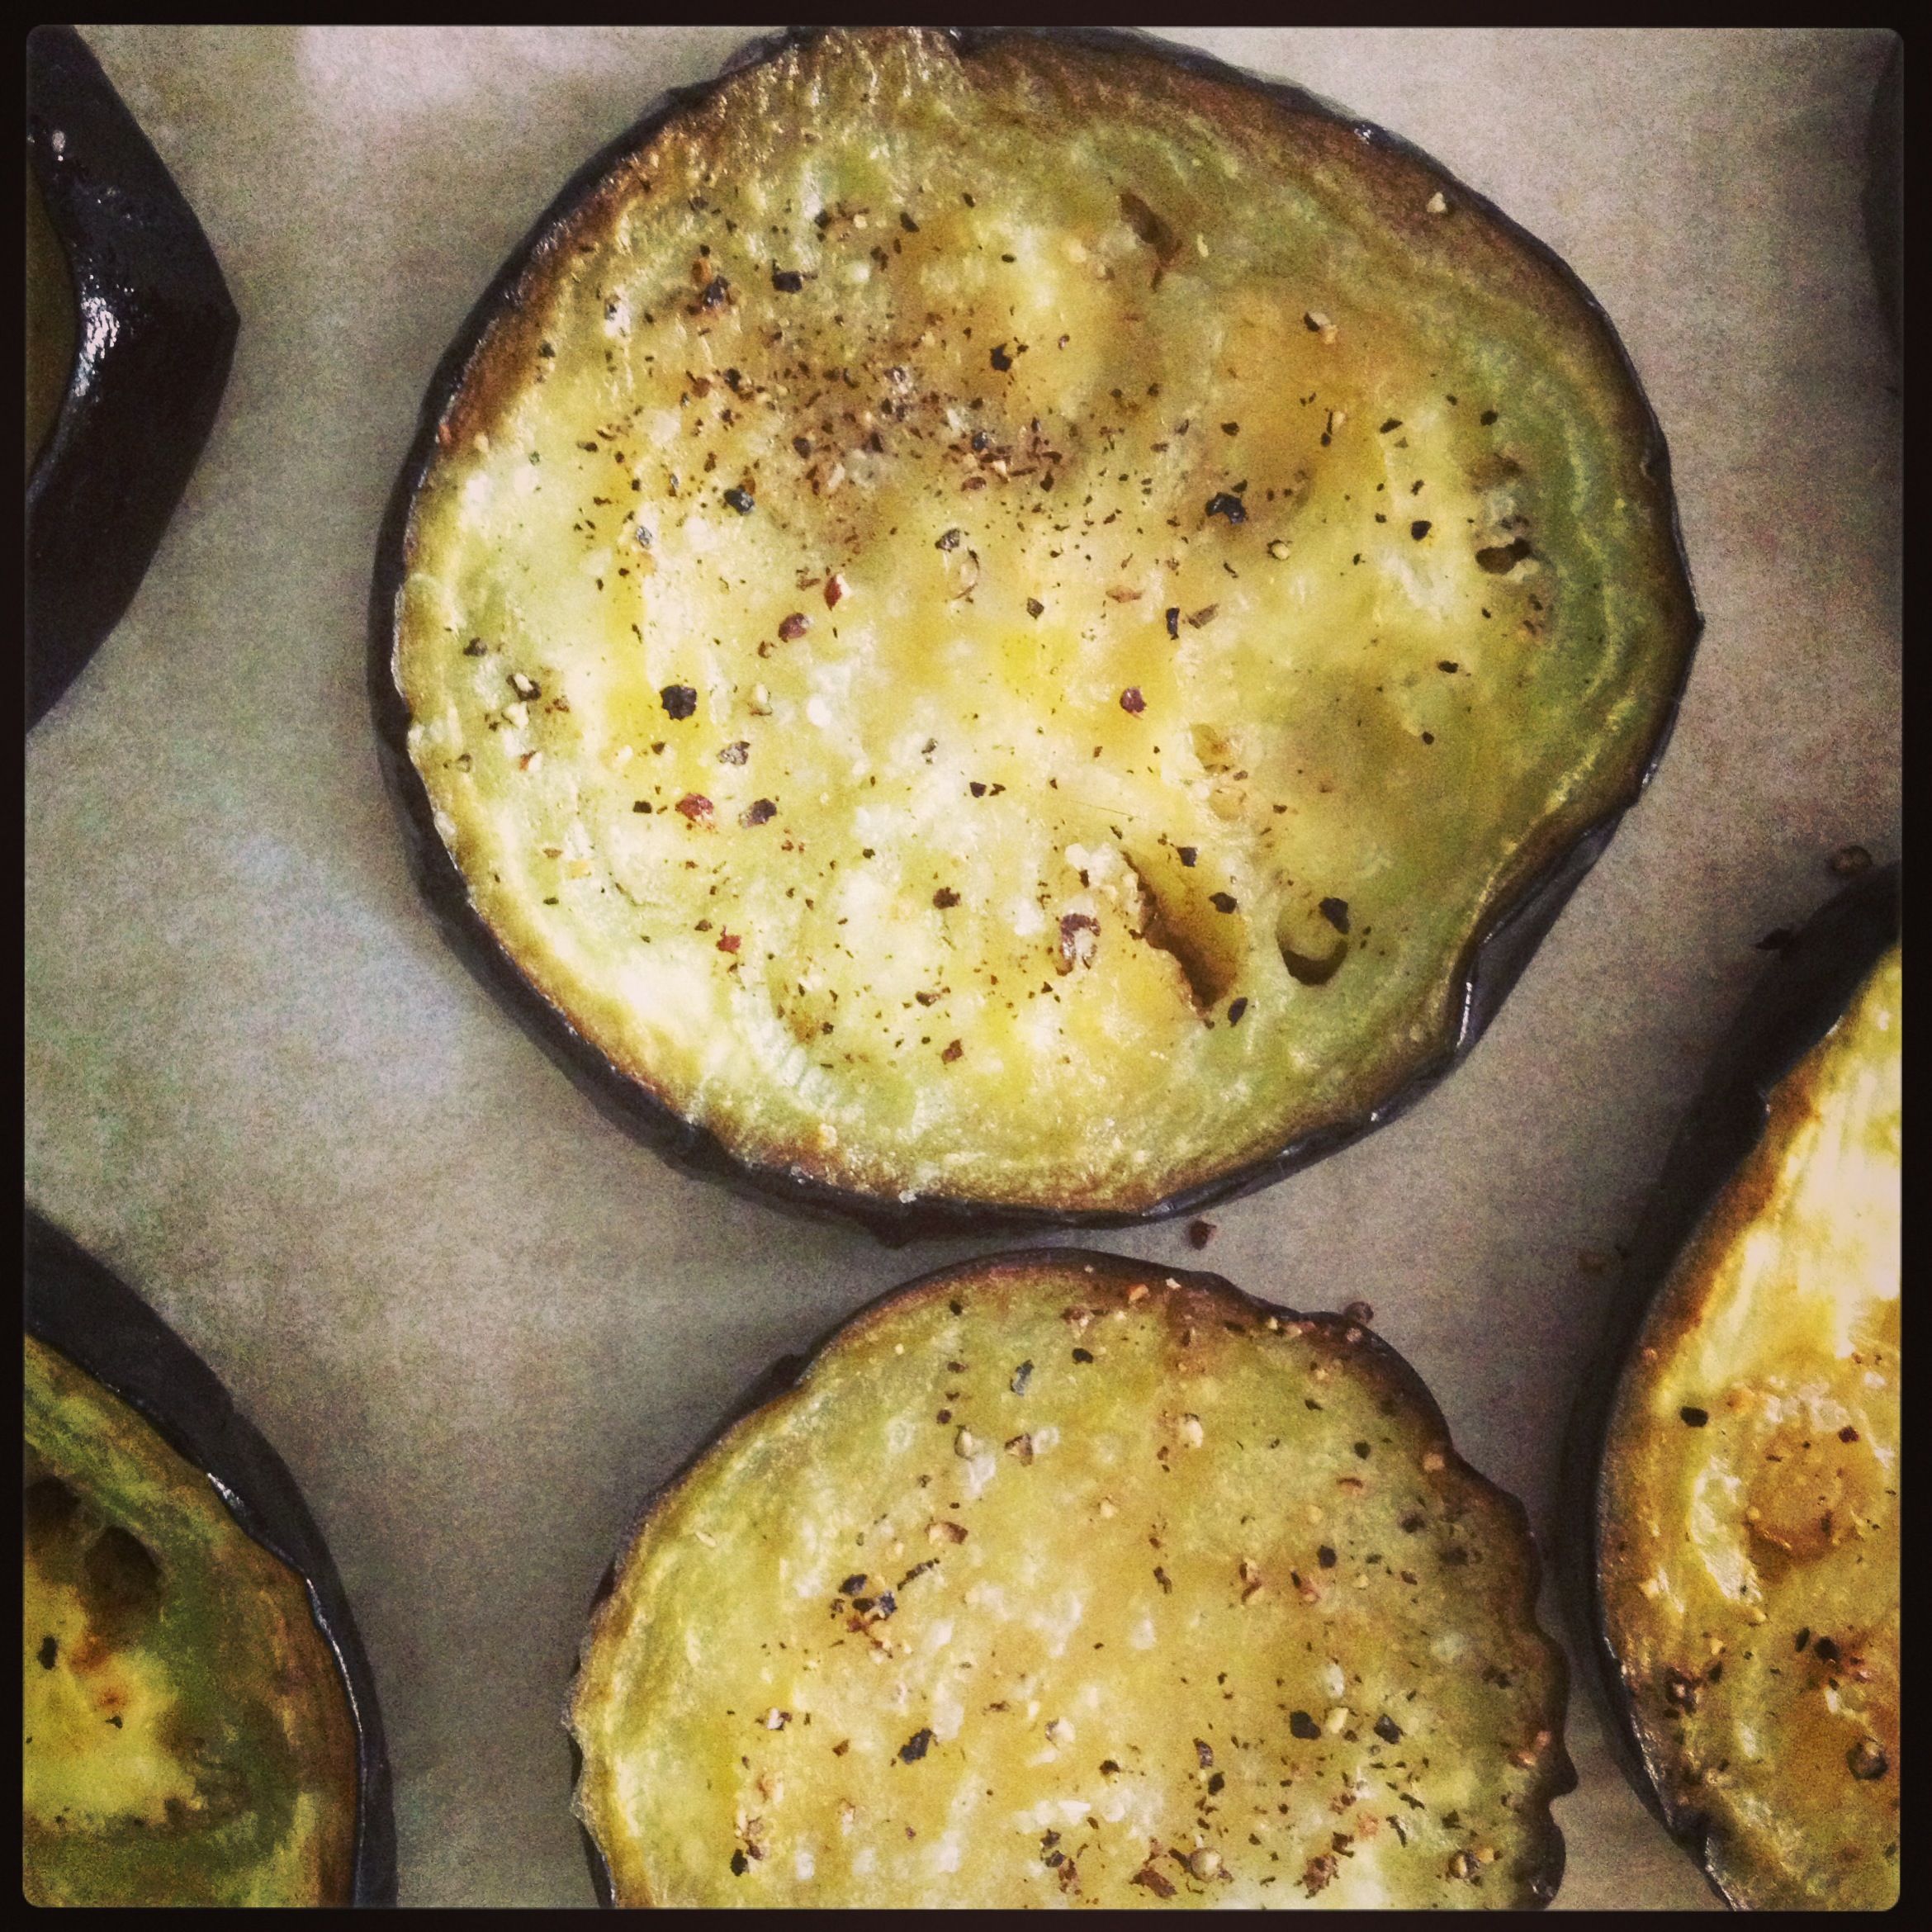
Roasted eggplant
If I’m roasting, why not throw a red pepper in there, too, right? Slice lengthwise, cutting in two, and remove seeds and pith. Flatten each half as best as possible. Find room on the sheet pan in amongst the eggplant. The peppers will take about 5-8 minutes longer than the eggplant—look for it to be dark around the edges. When done, place the halves into a small bowl and cover with plastic wrap. Remove from bowl 10 minutes later and peel off the skin.
Take a segment of homemade Whole Wheat Baguette (recipe is coming, I promise) and slice lengthwise.

Smear one side with homemade red pepper hummus (courtesy of Jennifer!).
Top with however many slices of roasted eggplant you can fit on there. You may have to cut them in half and pretend it’s a puzzle.
Top the eggplant with roasted red pepper.
And top the pepper with goat cheese. What’s not good about anything I just mentioned? Really?
On the other side of the baguette, lay down some baby salad greens lightly dressed with something. I used Lemony Vinaigrette, which is always in a jar at the ready for good times.
Put one half on top of the other. Warning: Goat cheese crumbles may try to escape. That’s ok—they won’t get far.
Proceed to eat. Enjoy.
My question to you is this: Do you want to eat this? And how much would you pay to have it made for you? Add a pear and a cookie and you’ve got yourself a lunch.
