
Caning a Woven Chair Seat
March 21, 2013 § 2 Comments
I’m a crafty individual. I am able to craft words for a living, and I’m thankful for that. But I really do like to work with my hands. Typing on a keyboard just isn’t hands-on enough for me. Gardening and cooking are hands on, and I love those activities. But I really do enjoy working with furniture.
I have refinished a number of old family pieces myself, and have killed off many a brain cell from working with wood strippers and stains in an enclosed, non-ventilated space. My dream would be to have Norm Abrams workshop with all the woodshop gadgets—and an exhaust system. Not that I know how to use everything in Norm’s arsenal, or that I’ve ever made a dresser in my life. But I’d love to have those tools, turn some chair legs, stain some cabinets and make things that are beautiful and useful.
We don’t have room for a workshop, but in our new house we at least have room for me to work on one furniture-related project. I have one chair missing its cane seat, and I know how to weave it. I picked up the skill more than 20 years ago in an adult-ed class one summer. And it’s a good skill to have.
There are two types of woven cane seats:

Chair with pre-woven cane seat
1) The type with a groove around the seat’s opening into which you secure a pre-woven mat (see above). Easy peasy.

Seat with holes drilled around the opening’s perimeter.
2) The type with holes drilled around the seat’s opening, through which you weave individual lengths of cane (see above).
Luckily, I know how to do both.
We are having a dinner party for six people next Friday, and have six chairs—but only five seats. Time for me to start working on that sixth seat.
Funny thing about this set of chairs—antiques from way before my grandmother’s time—is that five of them have the groove, and just this one has holes drilled through the seat. If you look closely at the above photo you can still see bits of that groove. Who knows why they didn’t just replace the pre-woven mat, but it is what it is.
First step: I work with the vertical strips first. Place one cane strip in each hole, secure with a pin, and thread it through to the opposite side. You can use a really long strip and weave it under and through to the adjacent holes.
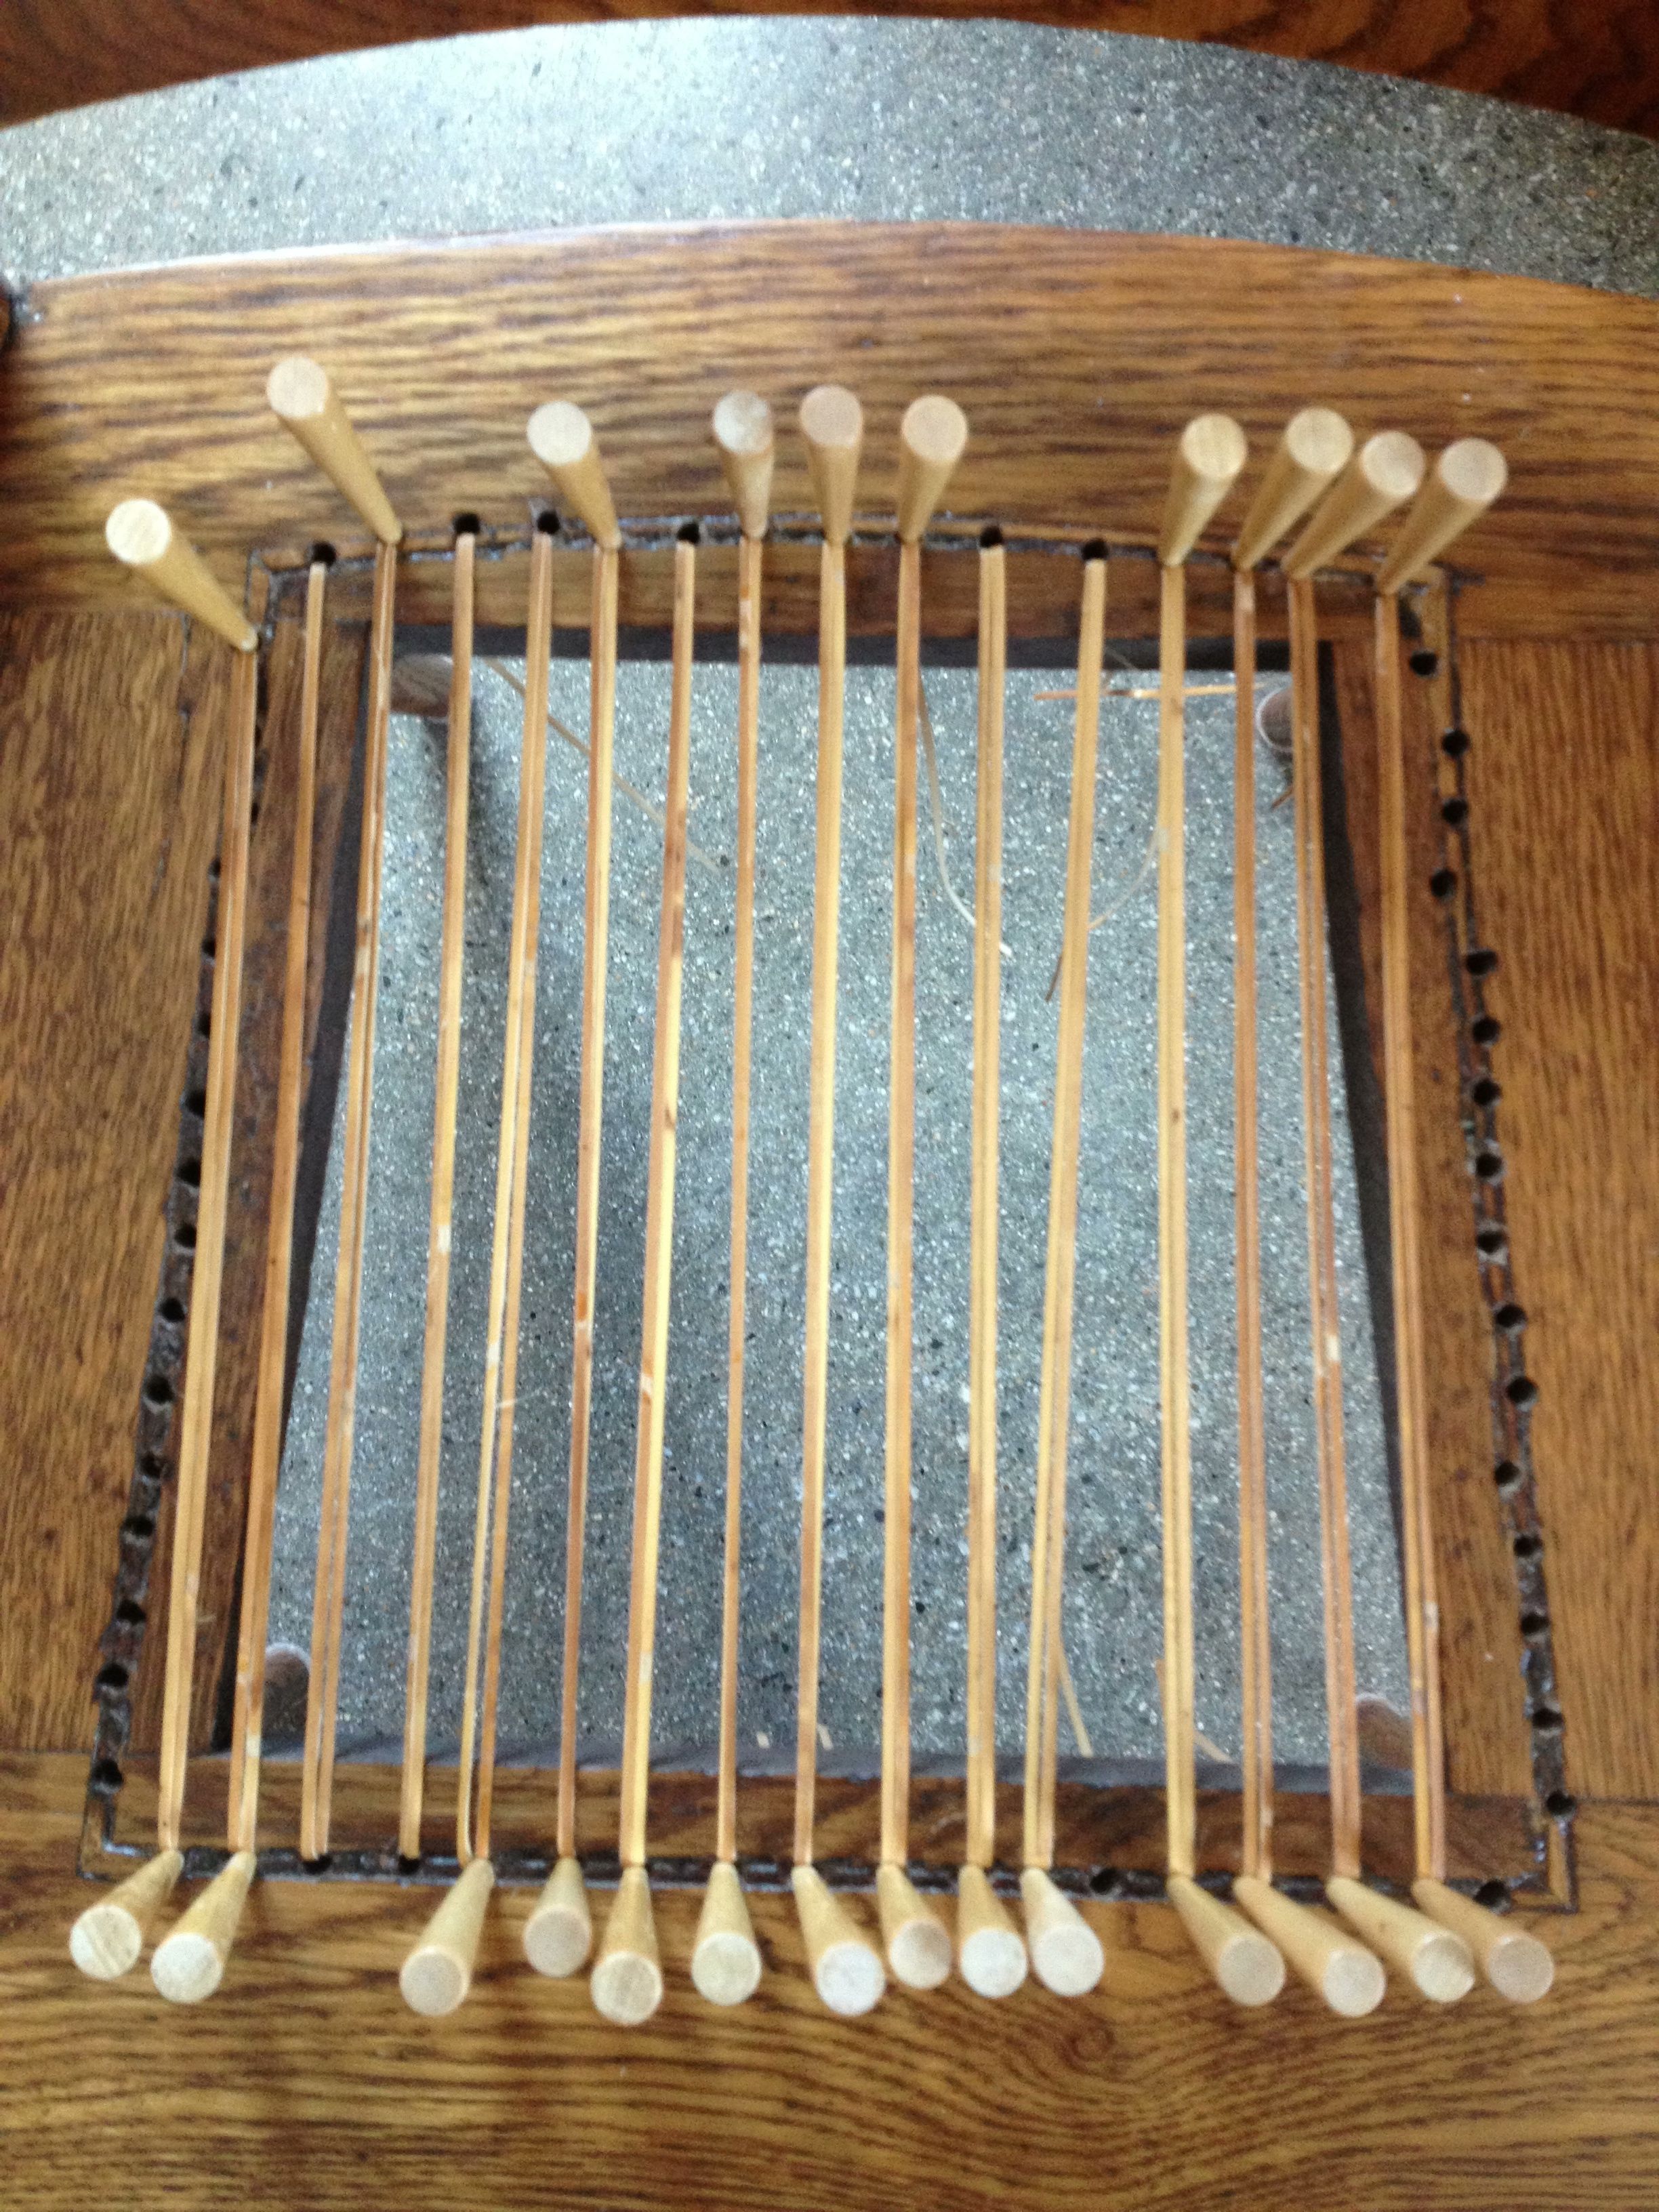
Second step: Repeat, same step so you now have two cane strips in each hole, side by side (see above). What can go wrong? Well, if someone drilled their own darn holes into the seat, sometimes you end up with holes that aren’t quite even. You can see that in the seat above. Don’t worry – it’ll work itself out. You’ll see.
Third step: Now work horizontally. In each hole you’ll insert the end of one strip. Now is where the weaving begins, over and under each of the vertical strips, ending up in the corresponding hole on the other side. To keep things simple, weave each strip the same. That way you’ll easily see if you’ve made an error, if you notice one row looks different from another.

Weaving the first horizontal strip.
Fourth step: You guessed it—you’re now going to put a second horizontal strip in each hole, adjacent to the existing strip, and weave in the OPPOSITE manner of the first weave. This is where it starts getting difficult, mainly when it comes to squeezing the cane under another cane that is flush with the wood of the seat.

Weaving the second horizontal strip, in an opposite manner from the first.
Fifth step: Haven’t gotten that far yet—but I will very soon. This is where the diagonal strips come in, weaving from upper left to lower right AND THEN upper right to lower left. This is where, fingers crossed, that extra hole on the bottom will kinda sorta disappear.
So, what can go wrong?
- The cane needs to remain moist while you weave or it will break. It’s already happened to me a dozen times. Either the cane you weave breaks, or a cane that is already in the seat breaks as you pull the working cane. Sucks.
- You can have a batch of caning that is just ready to split no matter how wet it is. Again, dealing with this RIGHT now.
- Unless you’ve got yourself a nifty work station where you can suspend the chair at chest level, there’s a lot of bending involved. Watch your lower back.
- Your cats can feel like they must be involved, chewing on the ends of the cane strips from below, stealing your pins, and hoping up onto the unfinished seat.
Once you get going, it’s not so bad. Nothing that frequent breaks and a good playlist can’t get you through. Stay tuned for Part II and pics of the finished product. If I don’t finish, someone will have to sit on a folding chair. And that just CANNOT happen at a good dinner party.
If you have a chair that needs caning and have NO idea where to begin (and don’t quite get what they are telling you in those YouTube videos), I’d be happy to explain or help. Just let me know.
