
Wheat Berry and Bean Salad
March 6, 2013 § 2 Comments
The only on-the-package-recipe you should ever make is Nestle Toll House Chocolate Chip Cookies. Truly. It’s a proven recipe and makes a darned-good cookie, a cookie you will experience from the first years of your life to your last. It’ll even be served at your wake. Every other recipe found on a package—whether it’s a box of Velveeta or a fancy grain—should be embarked upon with hesitation and doubt. A dingy full of doubt.
I love what wheat berries do for me for breakfast. I’ve also included them in bread recipes and sprinkled them on a green salad. So when I grabbed my bag of Bob’s Red Mill Wheat Berries and noticed the Wheat Berry & White Been Salad recipe on the back I thought, “Why not try something new today?” “New,” I am reminded now, means a learning experience and not necessarily a guarantee of something awesome.
The salad is simple—wheat berries, white beans (I used chickpeas I had on hand), scallions, celery and tomato with a vinaigrette. The vinaigrette is what I regret here. Following the recipe as I did, the ratio of vinaigrette to salad ingredients was way too much. It was more of a thick soup than a salad because it was so heavily dressed. I had to fill out the salad somehow.

A little too overdressed for my liking.
Reconstructive salad making ensued. Wheat berries went from 1 cup to about 1 3/4 cup (all of what I had just cooked). I had no more chick peas, and no more lentils, which are my usual go-to filler for salads like this. Bulgar would have been too fine of a texture to add into the salad. In the end I cooked up a batch of black beans and added to the soupy salad until it was soupy no more. I must have added close to 2 cups, no kidding.
Wheat Berry and Bean Salad (adapted from Bob’s Red Mill) 
Salad:
1 cup cooked wheat berries
1 cup chick peas
2 cups black beans (or some sort of bean or lentil)
1/2 cup scallions, chopped
1/2 cup celery, diced (makes for a nice crunch)
1/2 cup cherry tomatoes, quartered
Vinaigrette:1/2 cup olive oil
2 tbs. lemon juice (about 1/2 lemon)
2 tbs. white wine vinegar
2 tbs. chopped parsley
1 tbs. honey mustard
2 tbs. minced shallot
1/4 tsp. kosher salt
1/4. tsp. black pepper (or 5-6 grinds from a pepper mill)
1. Mix the vinaigrette ingredients together. I chose to emulsify with an immersion blender. I then added the vinaigrette to the bottom of a large bowl.
wheat berry salad vinaigrette
2. Add the salad ingredients to the vinaigrette and combine. If it looks overdressed to you, add something to it! Soggy salad is not something you should put up with, really and truly.
3. The recipe says to chill overnight to blend the flavors. Perhaps over that period the beans and berries are supposed to soak up some of the vinaigrette? I didn’t want to leave it to chance. Serving suggestion is to serve on a bed of leaf lettuce. Again, I didn’t want my greens to be soaked, so the additional beans were necessary.
Eat and enjoy—and let me know what you think about the amount of vinaigrette here, please! Too much? Not enough? Just right in a Mamma Bear sort of way? Comments are not just appreciated—they’re anxiously awaited!
Vegetarian Chili with a touch of chocolate
February 6, 2012 § 2 Comments
Chocolate. I knew I’d hook you with that ingredient. And yes, there really is chocolate in this version. Two types of chocolate, actually. But first …
Vegetarian … yeah, vegetarian. We’re pretty much completely meat-free now. Seafood being the exception. And chicken stock, although we have been doing a good job of keeping ourselves supplied with homemade vegetable and seafood stocks. The reason for ditching the fowl – the last remaining terrestrial flesh I ate – was simple. I just don’t trust where it comes from and what’s in it. Sure, I could purchase meat from Whole Foods or a retailer that sources only organic and local foods. News alert: That stuff is expensive.
Local fish and seafood is, too. I get that. But somehow I feel the seafood is a better value for the protein we get. And we use it all—from tip to tail (or claw). And we enjoy being members of our local Community-Supported Fisheries. I guess that’s a big part of it, too—it makes us feel good to support the local folks who definitely could use our dollars.
Okay, back on track. We’re talkin’ veggie chili here. I wish I could take credit for this but I can’t. This is one of Jennifer’s signature dishes (one of many). I have made it now and then, but she does it justice. And Jennifer, if you see anything wrong with the recipe, please correct me in the comments section.

Vegetarian chili with a touch of chocolate - we added green beans in place of the corn (we were out!).

Vegetarian chili, two minutes later.
Ingredients
- 1 tbs oil (olive will do)
- 1 large onion, chopped
- 2 clove garlic, chopped
- 2 peppers, whatever color you prefer but red is nice
- 2 jalapeno peppers, minced (seeds removed if you don’t like it so spicy)
- 1 bag of frozen soy crumbles
- 1 28-oz. can of whole chopped tomatoes (or whole tomatoes that you squish with your hands)
- 1 15-oz. can of red kidney beans
- 1 15-oz. can of black beans
- 1 cup (or small can) of whole kernel corn
- 1 tbs chili powder
- 1 tbs cocoa powder
- 1 tbs lime juice
- 1 tbs cumin
- 2 tsp dried oregano
- 1 small block (2 oz?) of Baker’s semi-sweet chocolate
- 2 tbs chopped cilantro
- salt and pepper to taste
1. In a large pot or Dutch oven, heat oil to medium and add chopped onion and garlic. Saute until translucent.
2. Add both types of peppers and cook until tender – about 5 minutes. Add the bag of frozen soy crumbles just so it thaws out a bit before adding other ingredients. It’ll take just a couple of minutes.
3. Add the tomatoes, beans, corn, chili powder, cocoa powder, lime juice, cumin and oregano—and a general sprinkle of salt— stir thoroughly, and let it come to a boil. Turn heat down a bit and let it simmer for about 30 minutes. During that time it will thicken a bit.
4. Add in the 2-oz. block of chocolate and stir it around, helping it to melt and incorporate into the chili. Add the cilantro, season to taste with salt and pepper.
Serve with a dollop of sour cream, Greek yogurt, guacamole, grated cheese or straight up. Give it a taste. Good, right? And you know that flavor that’s right on the edge of being familiar? It’s the chocolate. Serve it to guests and when they ask what that ingredient is, don’t tell them. It’ll be our secret.
Some notes:
1. Feel free to soak and use dried beans of any kind. I would use 1 cup of two different types of dried beans—we’ve used pinto, cranberry, garbanzo.
2. Want to speed up the cooking? Use a pressure cooker. It’ll shave off 10-15 minutes from the simmering time.
Biga-Based Pizza Dough
June 1, 2011 § 5 Comments
Pizza is one of our fallback meals in the Dainty domicile. And it’s not delivery; not even DiGiorno. It’s made with good ol’ homemade, hand-thrown dough. With a special addition. Let’s call it Dainty Dough.
There are two things that make the Dainty Dough a bit different. First, it’s made with biga, one of many types of dough starters. It’s a yeast-based starter, not a natural sourdough starter—meaning it contains commercial yeast and not yeast found naturally in the environment (have I lost you yet? Hang on for a minute.). The biga ferments—i.e. sits on your counter bubbling away—for 8 to 24 hours or so, all the while developing a richer, chewier flavor. Pizza crust with flavor, not just used as a platform for toppings, imagine that.
The second thing I do is add a dollop or two of my Sourdough Starter, aka Milo the Baby Dough, during the dough-making process. A few months back you may recall I was experimenting with natural yeast and tried creating a real sourdough. Well, after a month or so, Milo is alive and well. I feel like I created a golem, it’s so incredibly cool. It’s totally not necessary to add this sourdough starter, but I’ll explain in a minute why I do it.
Dainty Dough: Step 1
Biga Recipe (from my Basic Baking class at the Cambridge School of Culinary Arts)
- 1/4 oz. yeast
- 1/4 cup warm water (warm=dip in a finger and it should feel the same temp as your body)
- pinch of sugar
- 1 1/2 cups warm water
- 3 3/4 cups flour (I suggest all-purpose flour here. If you want wheat dough you can add wheat flour later)
-Add yeast and 1/4 cup warm water with sugar in a bowl and stir together. Let it sit for 10 minutes. Add remaining water and the flour and mix thoroughly. You’ll end up with a creamy mixture. Cover and either let sit on the counter 8 hours or place in the fridge for 24 hours. It will become creamy and bubbly. The biga will remain
-At this point you can proceed with the next step and make the pizza dough. Or, I suggest weighing out your biga into 4 oz. pieces, reserving one piece for your current pizza and placing the remaining into individual freezer baggies and popping them in the freezer. Label and date your baggies! Otherwise a year from now you’ll excavate your freezer and wonder what the heck that thing is. From this one batch of biga you will get up to 8 4 oz. pieces. And each 4 oz. biga gives you four pizza stone-sized pizzas. Do the math—that’s a lot of pizza!
Dainty Dough: Step 2
Pizza Dough Recipe
- 4 oz. biga
- 1/4 tsp. salt (kosher preferred)
- 2 Tbs. olive oil
- A dollop or two of Milo the Baby Dough sourdough starter (optional)
- 4 1/2 cup flour (for wheat dough use 2 1/2 cups all-purpose and 2 cups whole wheat)
- 1 1/2 cup water
-Add biga, salt, oil, sourdough starter and flour to the bowl of a stand mixer fitted with a dough hook. Turn on slow speed, let it mix together for up to a minute then add water slowly. Because I’ve added a bit of the sourdough starter, there is more moisture in the dough and depending on your weather conditions, you may not need all of that water. Yes, baking depends on weather conditions, believe it or not.
-If you’ve added all the water and the dough seems wet and watery, add a tablespoon of all-purpose flour and let it mix in. Keep adding flour one tablespoon at a time until the dough is no longer wet but not bone dry! You’ll likely need no more than four or five tablespoons of flour.
-Keep mixing on medium speed for about five minutes. The dough has a tendency to ride up the dough hook. Stop the mixer when the dough makes it above the hook’s collar and push the dough back down into the bowl. Keep mixing until the dough feels smooth and it’s started to relax a bit; i.e., it shouldn’t feel like a hard tight wad of flour.
-Oil a medium bowl. Roll the dough around in the oil so it’s slightly oily all over. Cover with plastic wrap and let it sit for an hour. The dough won’t have risen all that much—it’s not rising like bread, we just want it to become elastic.
-Cut the dough into four equally sized pieces—they’ll likely have a triangular shape. Want an oddly shaped pizza? Then place these dough pieces as they are on a baking sheet or on the counter and cover with oiled plastic wrap. Want a perfectly round pizza? Then do this: Holding the dough piece in your hands, pull all the dough from around the piece into a central point. Go around the outside a couple times pulling it all into the center. Now, do your best to pinch that central point closed, then place the dough with that point facing downward. What you will have is a little ball with a perfectly round top, no seams showing anywhere except on the bottom. Cover these with oiled plastic wrap and let sit for about 20 minutes.
So, about adding that dollop or two of sourdough starter to the dough … here’s why I did it. I did, in fact, excavate my freezer recently and found two baggies of 13 month-old biga. Doing a little research I found that the recommended time for biga in the freezer is a max of four months. Oops. I added the sourdough starter as a way to give the dough a kick of fresh yeast. I think it worked. Plus, I noticed the crust did have telltale sourdough bread-like air bubbles. Tasty!
Hmm … turns out I have absolutely no photos of any of this. Bummer. Guess I’ll have to make some biga and dough later today.
By the way, biga can be used for more than just pizza dough. So instead of making 4 oz. balls of biga for the freezer, you can use what you have left for bread baking.
Wait, what? Am I leaving you without actually making a pizza? You bet. That’s for another day, when Jennifer can chime in on her favorite toppings. I make the dough, but she’s the pizza master.
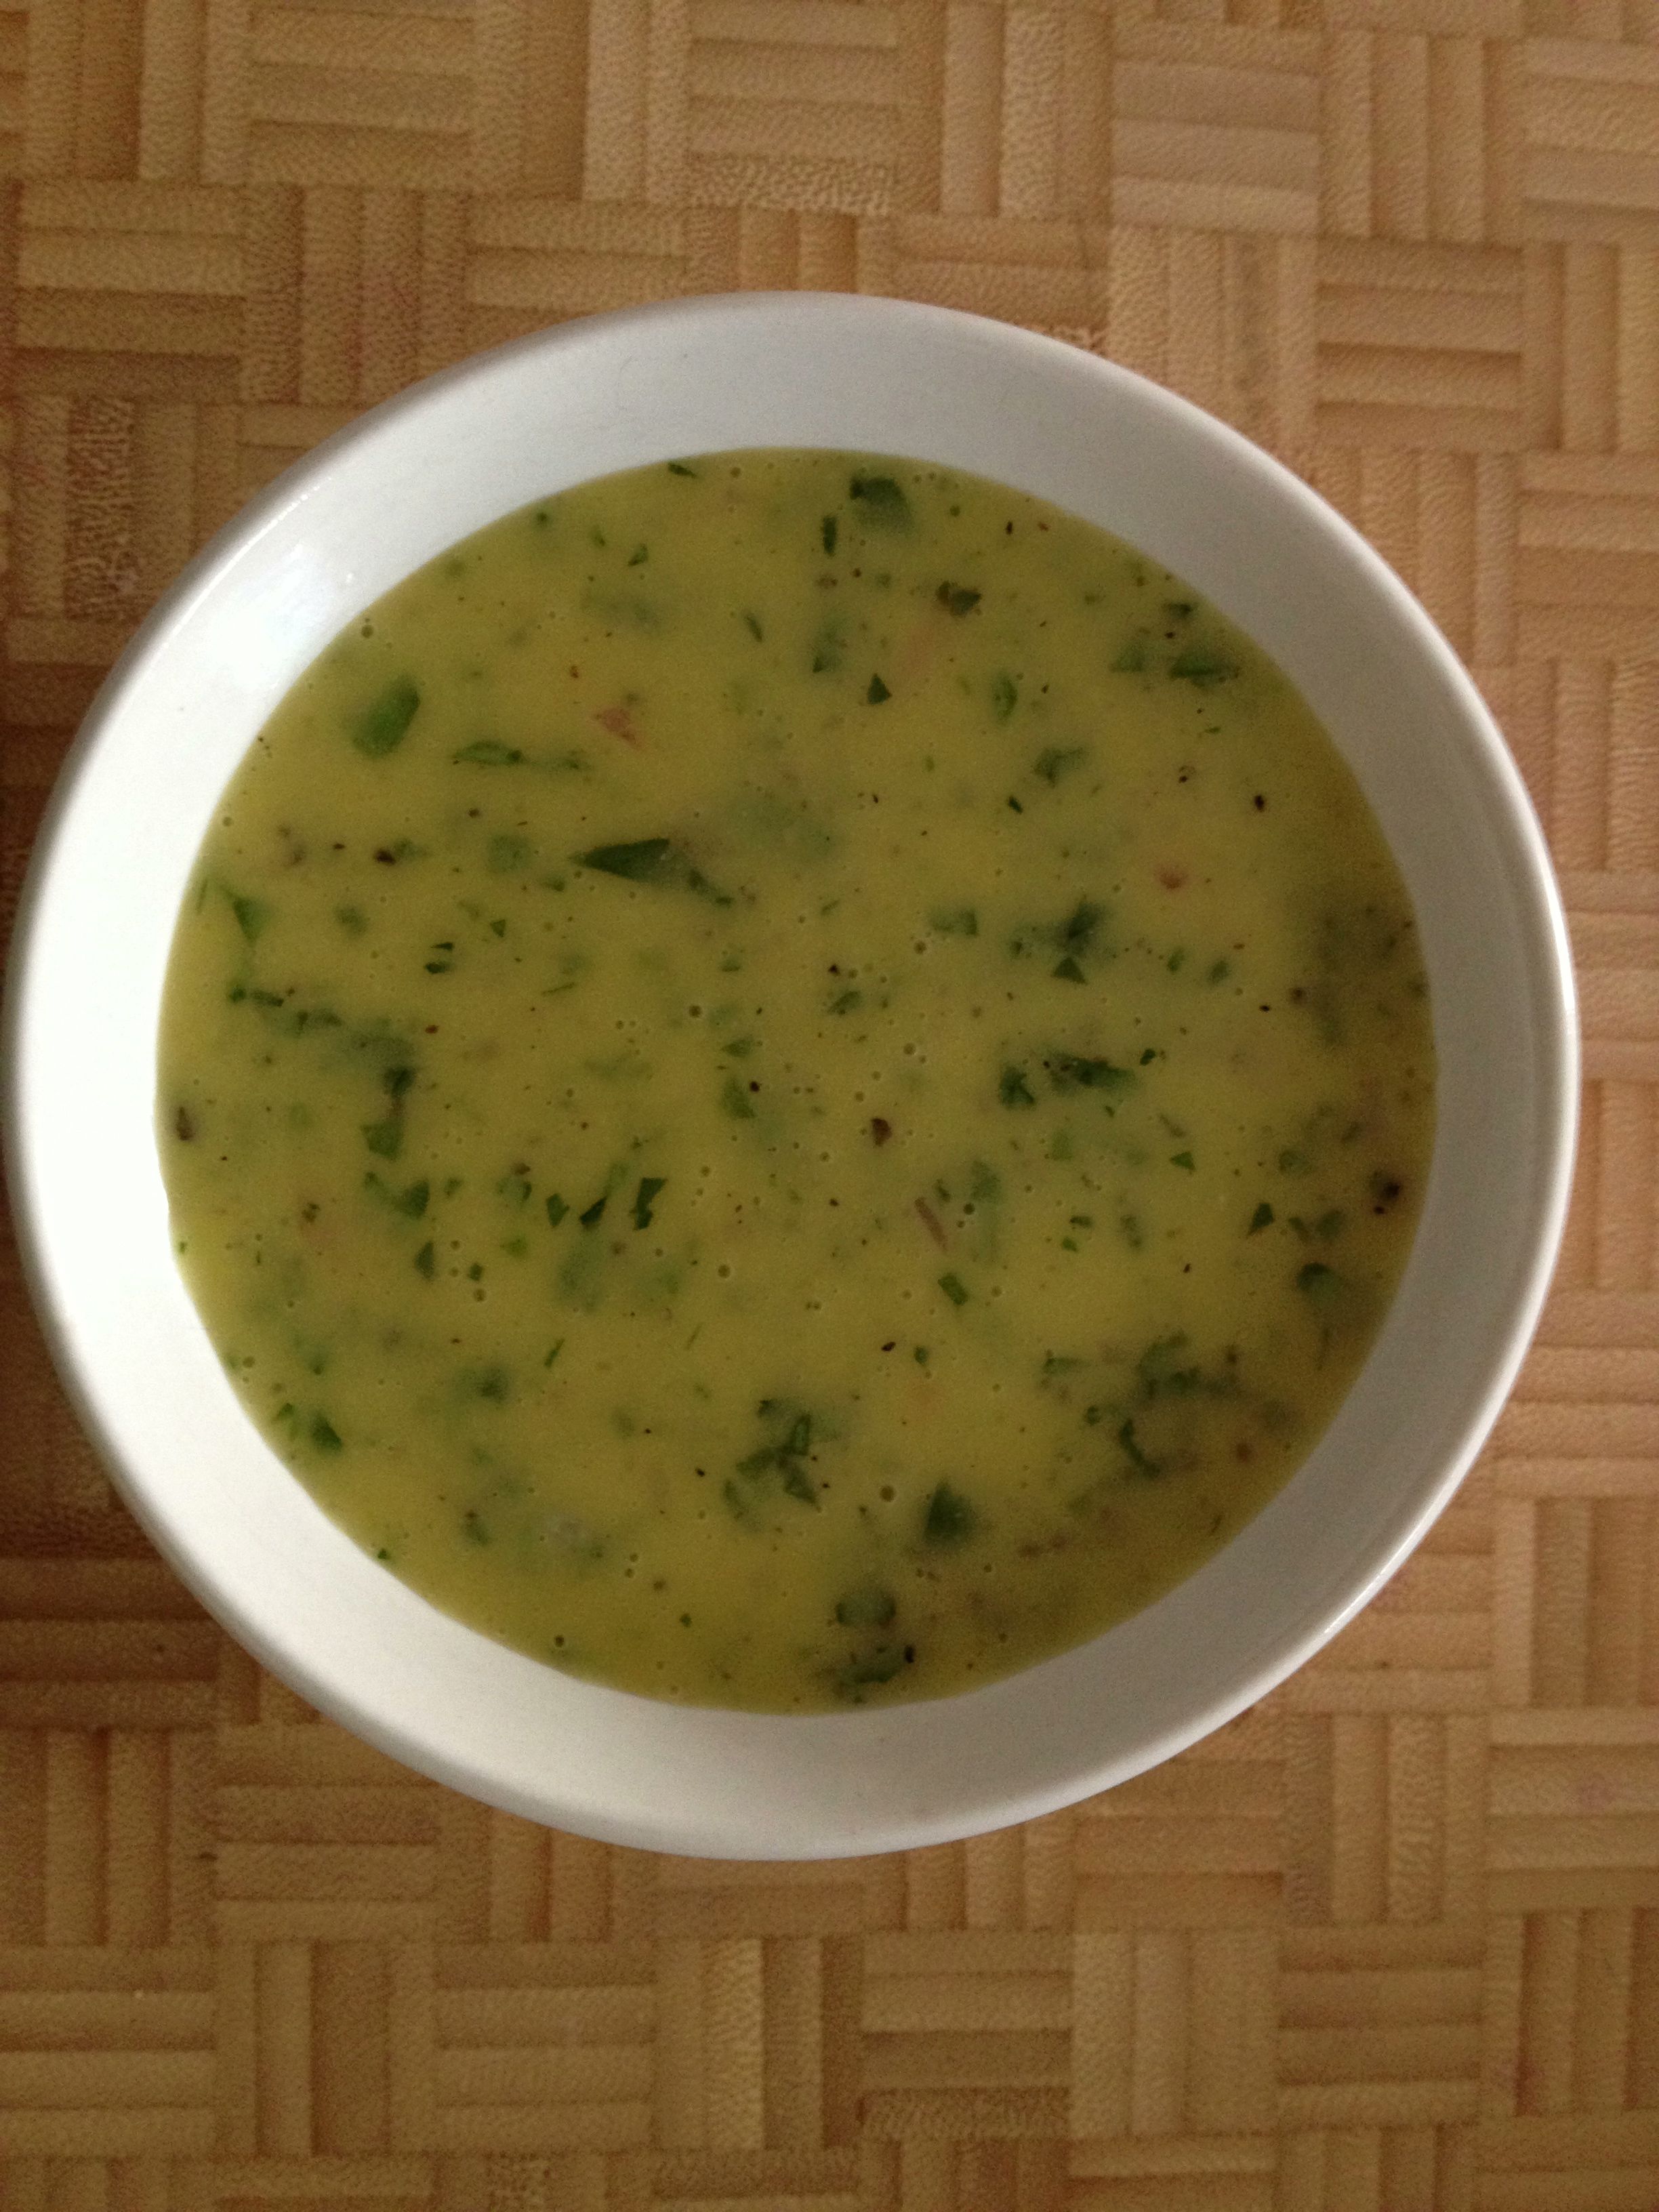
Roasted Butternut Squash Soup
February 16, 2011 § 2 Comments
I’m taking this time while getting an oil change to tell you about this AMAZING soup. This soup is so friggin’ easy and so friggin’ good, you’re gonna scream with the pain of realizing how dumb you’ve been for not making it before. That’s exactly what we did. Actually, we slapped ourselves.
Before I move on, I’m gonna give credit where credit is due. What’s that Mexican show on the Food Network? Mexican Made Easy or something? With the cute bubbly Mexican gal. She cooked up something similar one Saturday morning. In her case, it had a chipotle cream somethin’ somethin’ added at the end. Not needed, especially if you’re hoping to limit unnecessary calories.
Ingredients
- 1 medium-large butternut squash (2-3 lbs)
- olive oil
- salt/pepper
- 2 medium-large carrots
- 1 large stalk celery
- 1 small-medium sweet onion
- 4+ cups vegetable or chicken stock
-Heat oven to 400F.
-Cut squash in half lengthwise. Leave seeds and such in for now. Sprinkle a bit of olive oil over each half and rub in. Season each half with a pinch of kosher salt and a twist of fresh cracked pepper. Bake in oven for 30 minutes or until knife inserts into squash easily. Remove from oven. Let sit until it’s cool enough to handle.

Roasted butternut squash - roasted goodness
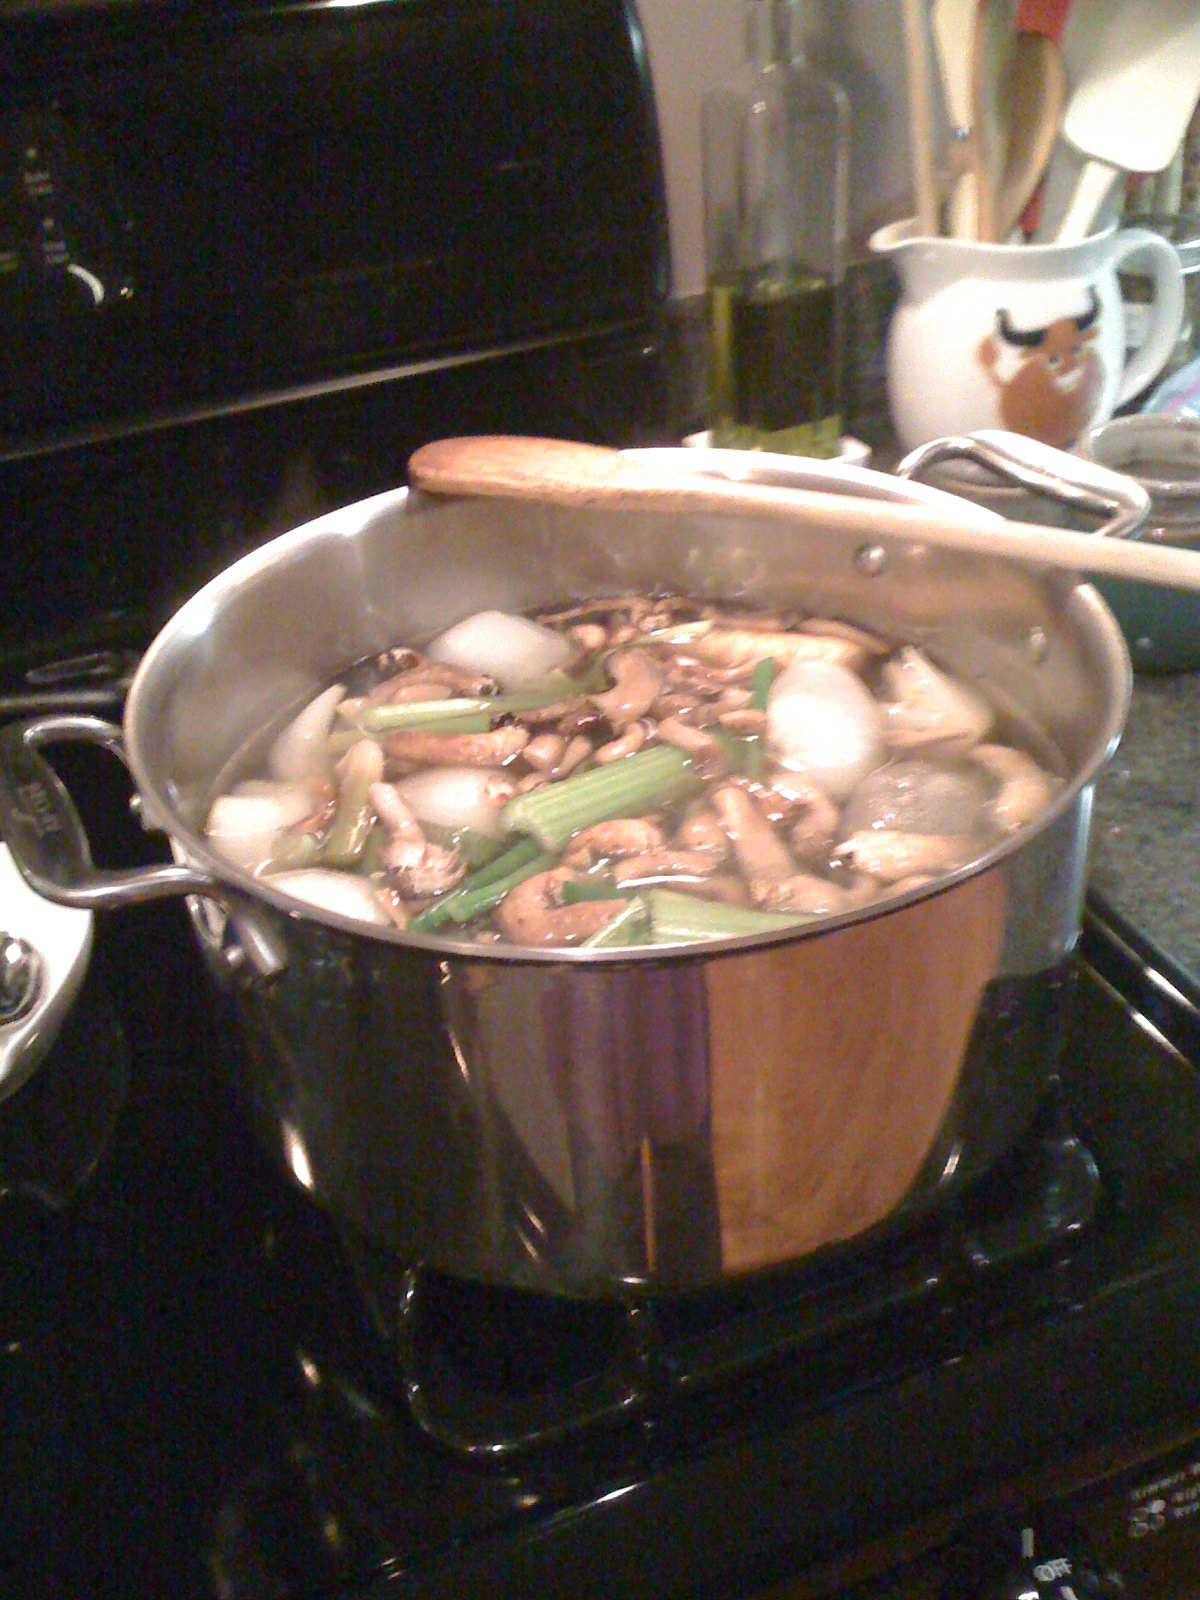
-Meanwhile, chop onion, carrot and celery into 1/2-inch pieces. In a 4-quart pot, season vegetables and saute in about 1 tbs olive oil until they start to loosen up a bit – 5 minutes or so.
-When squash is cool enough to handle, scrape the squash from the skin and add to the vegetables. Add enough veggie stock or chicken stock to cover everything. It usually takes about 4-5 cups. Bring to a boil. Turn heat down and simmer for about 30 minutes.

All the goodness cooks together.
-When time’s up, get our your trusty immersion blender and whir away until it ‘s nice and smooth.

Taste that? Good, uh? It’s sweet and savory. Rich and deep. And all that flavor from just those few ingredients. Yup, you and we have been missing out on some serious goodness. Don’t worry, we all feel really stupid about now.
