
Hellebores for an Early Spring Garden
March 7, 2013 § Leave a comment
I made a spontaneous weekend trip to the Philadelphia Flower Show last weekend. What you usually see at early spring flower shows are flowers and shrubs and even trees that have been heated and pampered to produce blooms long before they’d do so with Mother Nature’s guidance alone. That’s what people come for—to be inspired by what the warmer weather promises.
Flower Show visitors don’t have to wait for long to see a few of the plants that were in full bloom indoors. The hellebore (Helleborus) is a good example of that.
Hellebores bloom in late winter and early spring—some varieties as early as January. There’s been a resurgence in interest in this perennial plant over the last decade or so, and plant breeders have introduced all sorts of cool flower colors and foliage colors. The hellebore’s leaves, by the way, are evergreen – they won’t die back in winter, which is another cool thing about this plant.
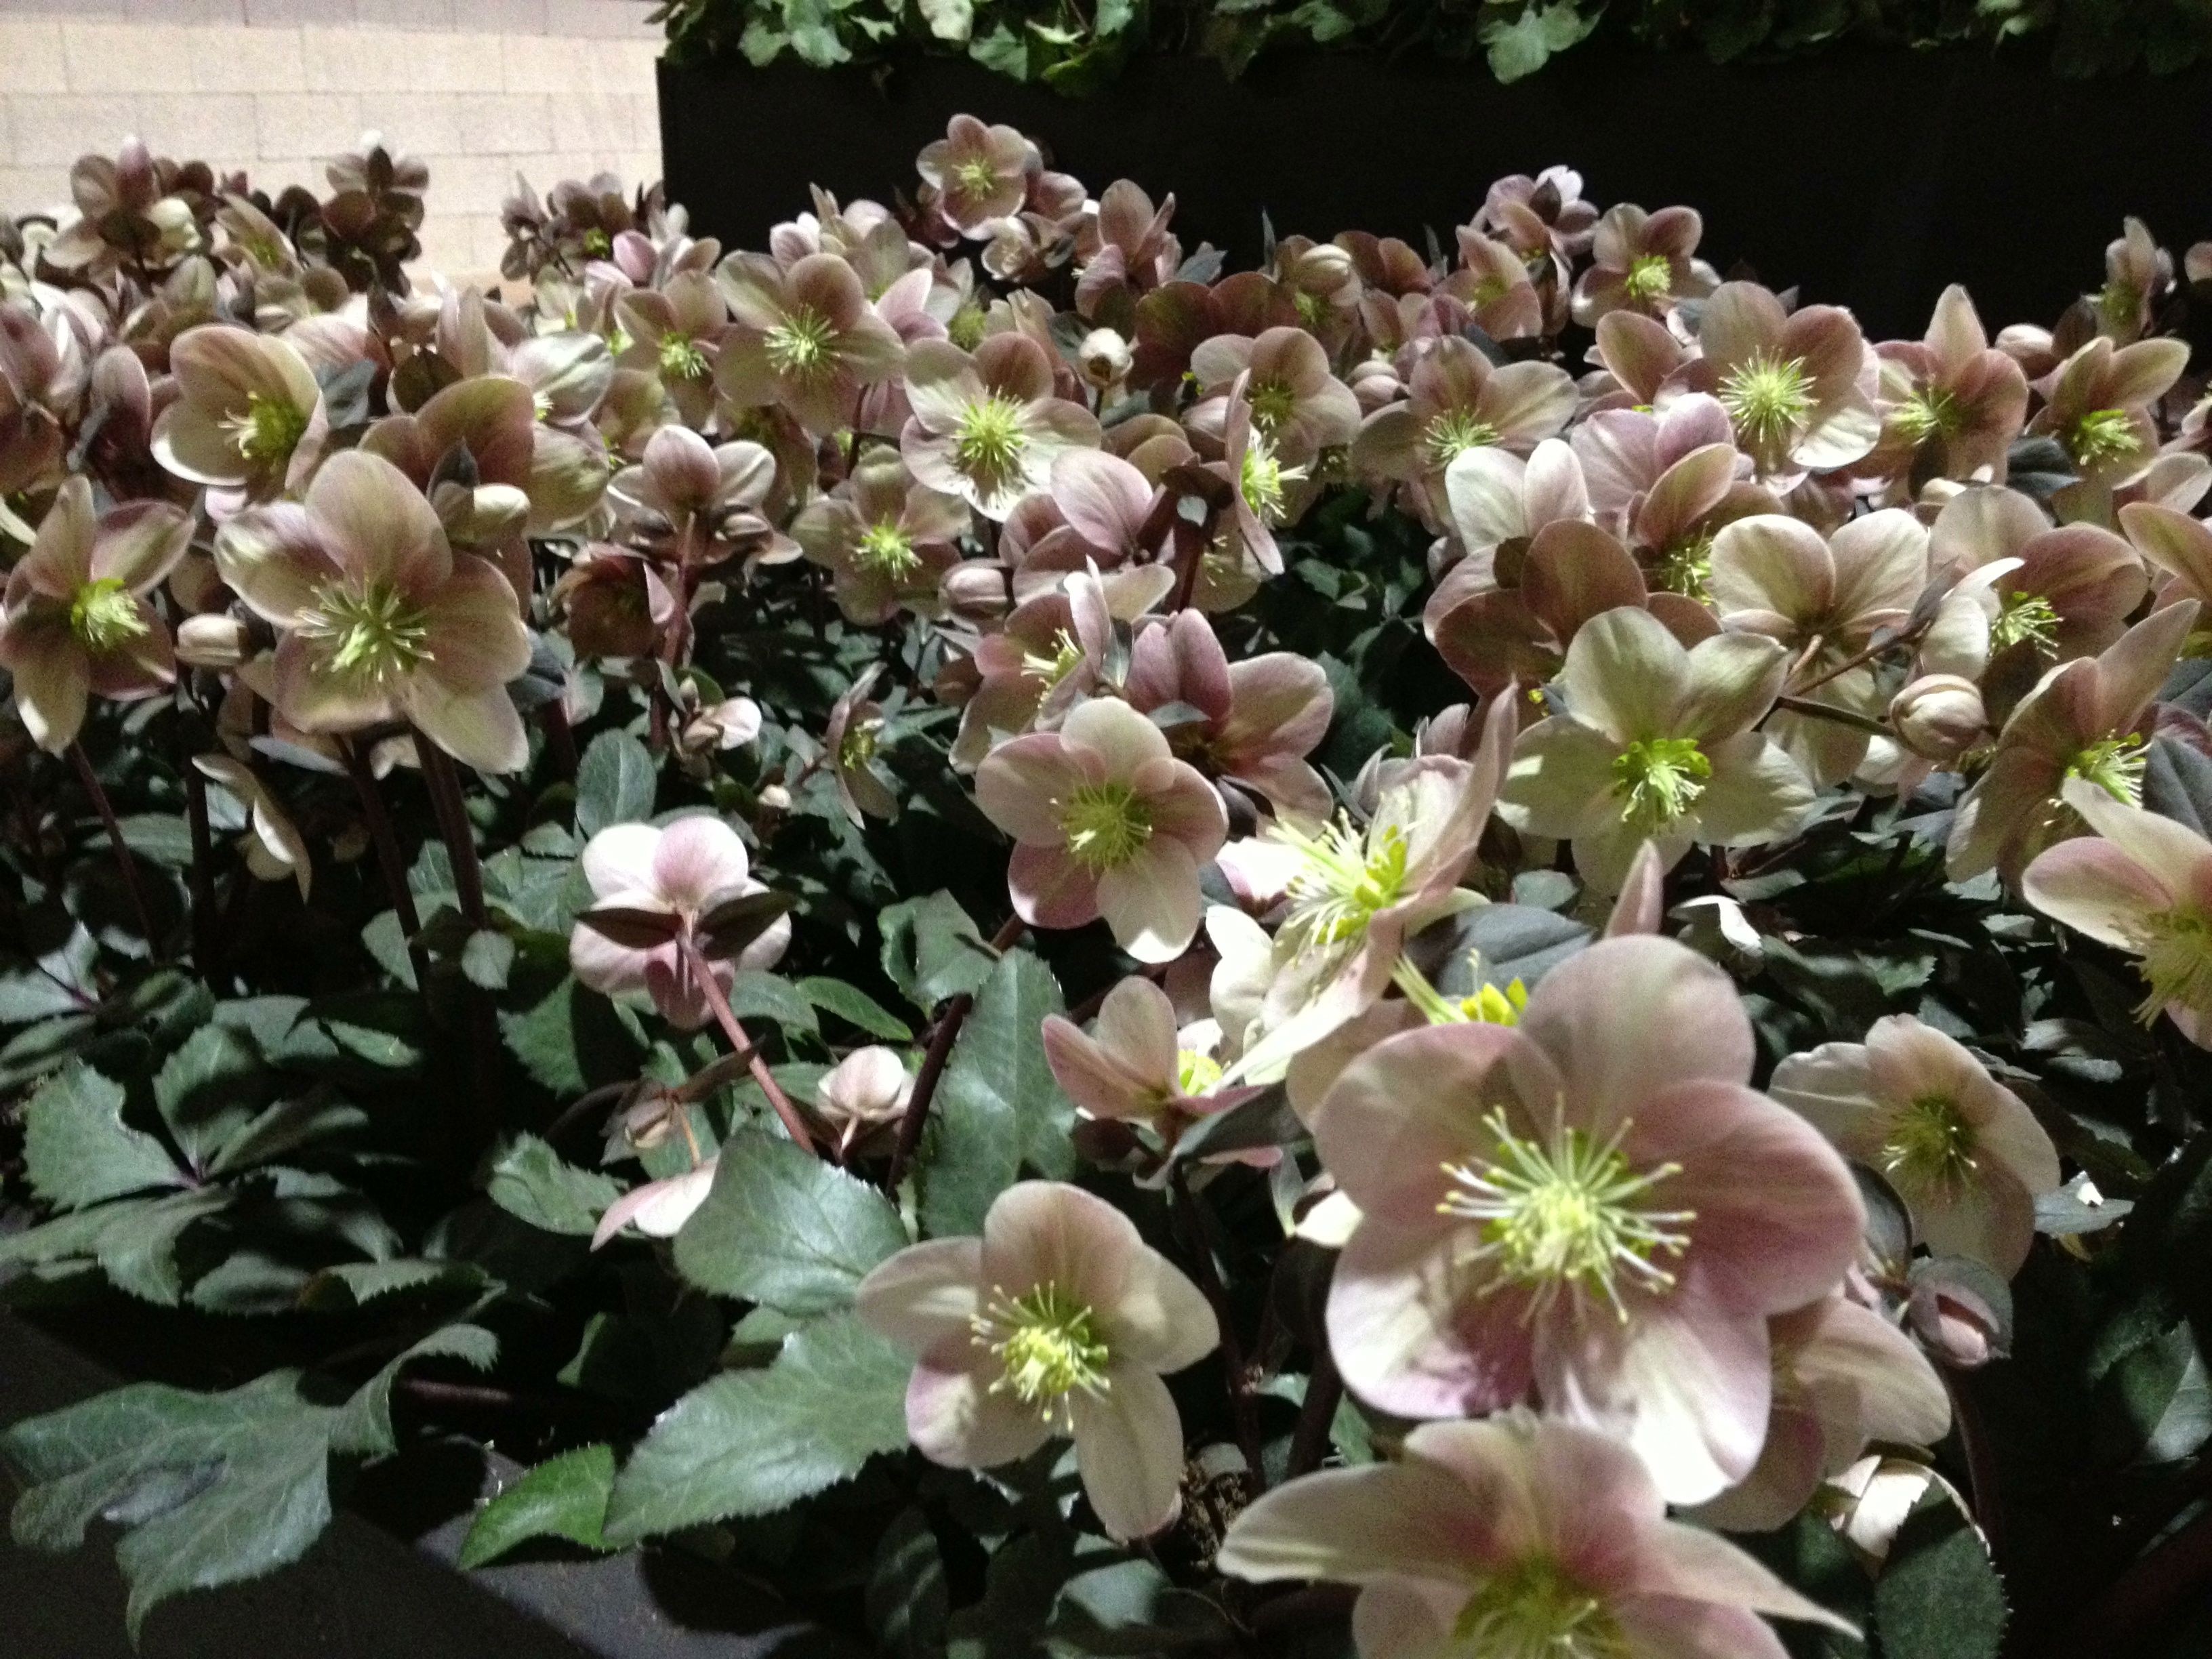
Helleborus ‘HGC Mahogany Snow’ planted en masse at the Philadelphia Flower Show
Take Helleborus ‘HGC Mahongany Snow’, for instance. This variety can begin blooming as early as January in some areas. And the blooms are beautiful—dusty rose buds open into creamy white flowers. The leaves are chocolatey in color and the flower stems reddish. The whole package—leaves, stems and blooms—gives the garden some low-key color at a low-key time of the year. And they’re astounding planted en masse like this.
There’s been a push in recent years to sell hellebores as potted plants in the late fall through winter. Give them as Thanksgiving and Christmas gifts, that sort of thing. Think of them as temporary blooming houseplants biding their time until you can plant them outdoors in spring. It’s a good idea. In fact, I have had a potted hellebore ‘Jacob’ in my office window since late December. It’s looking a little weak right now, but that’s ok—it’ll be heading outside in a few short weeks.
Why you might enjoy hellebores:
- Blooms way early in the year, just when your garden needs it!
- Come in some great colors—both flower and leaf color
- Perennials, so you’ll have them year after year, and they’ll get bigger each year
- Evergreen foliage for year-round color
- A good choice for your partial shade garden, under bushes, and so forth
- Deer resistant—bonus!
- Nice as winter houseplants—another bonus!
Have you tried hellebores? How have they held up in your garden? Leave a comment and let me know.
Start Seeds This Weekend
April 15, 2011 § 1 Comment
What kind of crafty, homey, cooking, gardening type of person do I think I am if I can’t find somewhere in our condo to grow some seeds??
Yes, we live in the “garden level” unit (think Laverne and Shirley). Yes, we have zero natural light. Yes, we have your average city person’s complaint of lack of space. BUT! What Dainty has is a will to get things done and a complete hatred of whining that I can’t do something.
So, instead of letting another spring pass by during which I complain about not being able to start my own veggie seeds, I decided to create space somewhere, anywhere.
While we have your typical South End rowhouse-type one-floor apartment that has VERY little storage, we do have a 3-ft. wide by 18-ft long storage closet that is a GEM. It’s unbelievable. Storage like this is unheard of here. And, it’s one of the reasons we bought the place. It’s stuffed to the gills with pantry items, jackets, sporty-spice stuff, a small freezer, bins of guest sheets towels, and even our wine. There had to be some extra space in this room to start a bunch of veggie seeds. And I found it.

This is a small space about 18 inches wide and tall and about 2 ft deep. I had a bunch of duffel bags sitting on top of some towel-containing storage bins, in a Metro Shelving-type coat rack kinda space. Just to the right of the bins are hanging a bunch of jackets. If I remove the duffel I get a nice flat surface.
Next I bought an 18-in. long fluorescent light, some chain and some S-hooks. I hung the light from the top rack using the S-hooks. It’s important to have the lamp hanging like this so when the plants grow taller, you can move the light up. Having the light at the very top to start with will make the little seedlings “leggy”, that is, they’ll get thin and stretchy. Not good. You want the light close to the seeds when the germinate.
Okay, next I planted some seeds in some pots. Got an old plastic yogurt container? Old milk container? Old pots? You can use anything that can contain soil, so use it. I happen to have a bunch of Cow Pots—yes, they are made out of cow poo but they don’t smell, check out their web page—so I used those. Oh, and they are plantable, too. The seeds will germinate in them and when the plants are big enough you can plant the entire thing into the ground or into a patio container. Pretty cool.
I filled the Cow Pots—which are 6 connected little pots better known as “packs”—with a special soil for starting seeds. I happened to pick up something from MiracleGro. Any good quality potting mix should do the trick. Then I put the filled 6-packs onto an old baking tray and then filled the tray to the rim with water. The pot and soil sucks up the water. Capillary action, remember that from school? Anyway, give them about 30 minutes to absorb the water in the tray.
During that time, plant your seeds! All I do is make a little divet in the soil with my pinky. The larger the seed, the larger the divet. These little pots are about 3 inches square. I made three divets in each cell. And I put two seeds in each divet. Am I even spelling divet correctly? Hmmm … Be sure to label what’s in which cell. If you’re mind is going like mine is, you’ll forget what you did within the hour, so make a record of it.
Once the water was all absorbed, it was safe to move the trays and pots to their new home. Voila! A seed starting area set up and going in nowhere and in no time at all. Now, all I have to do is wait.

Seed starting area
What Did I Plant?
It’s still cold outside folks. Nights still get chilly here, and only some plants can take it. Chard, spinach, beets, carrots, lettuce, cabbage and such can be planted outside now. Seeds can be sown directly into the soil, too.
But, the big bonanza plants just can’t survive quite yet. Those would be veggies like tomatoes, squash, peppers, melons, zucchini, beans, pumpkins, corn. You can sow their seeds, but the chill isn’t going to do them any good. Better to start them inside now – or even a couple of weeks ago – so they’ll be a good size to plant out in the garden at the end of May. That’s right, I said end of May for most everyone here in the Northeast. It’s not that they’ll die at even the slightest chill. They just really really prefer to grow with some heat. Wouldn’t you? Anyway, the weekend before or during Memorial Day is a good time to plant these outside. You could and can do it a bit earlier, but I prefer to give them optimal growing conditions. May’s it for me.
I’ll post updates of my little babies as soon as they hatch!
