
Shoyu Sauce
May 7, 2013 § 4 Comments
This is another “It’s not you, it’s me” posts. Meaning, this is a recipe I have kept on a slip of paper for well over a year now and if I lose it, I’d have NO idea how to recreate the proportions correctly. So, yes, I do hope you enjoy this recipe, but really, I’m putting it out there so I have a place to find it.
Okay, about this “I can’t remember it but I can’t live without it” recipe. If you live in the Boston/Cambridge area and you are a vegetarian, you have eaten at a crunchy, mostly raw food place called Life Alive. Think wheat grass juices, chia seed smoothies, barely cooked kale-based warm salads topped with marinated tofu, red lentils, quinoa and all sorts of good-for-you things. And quite tasty, too. Most of these salads are topped with an addictive ginger nama shoyu-based dressing. What’s nama shoyu? Good question. The short answer without going into the details (because I don’t know the details) is it’s an unpasteurized soy sauce. One taste of it and you must either eat every meal at Life Alive or find a DIY recipe.
I am not sure exactly where I found this recipe, but whoever it belongs to, I thank you immensely. Absolutely love it. We’ve only used it as a salad dressing but it could also be used to marinate tofu or top cooked veggies and rice. Is this exactly like the dressing at Life Alive? Not really, but that gives us an excuse to go back.
Shoyu Sauce 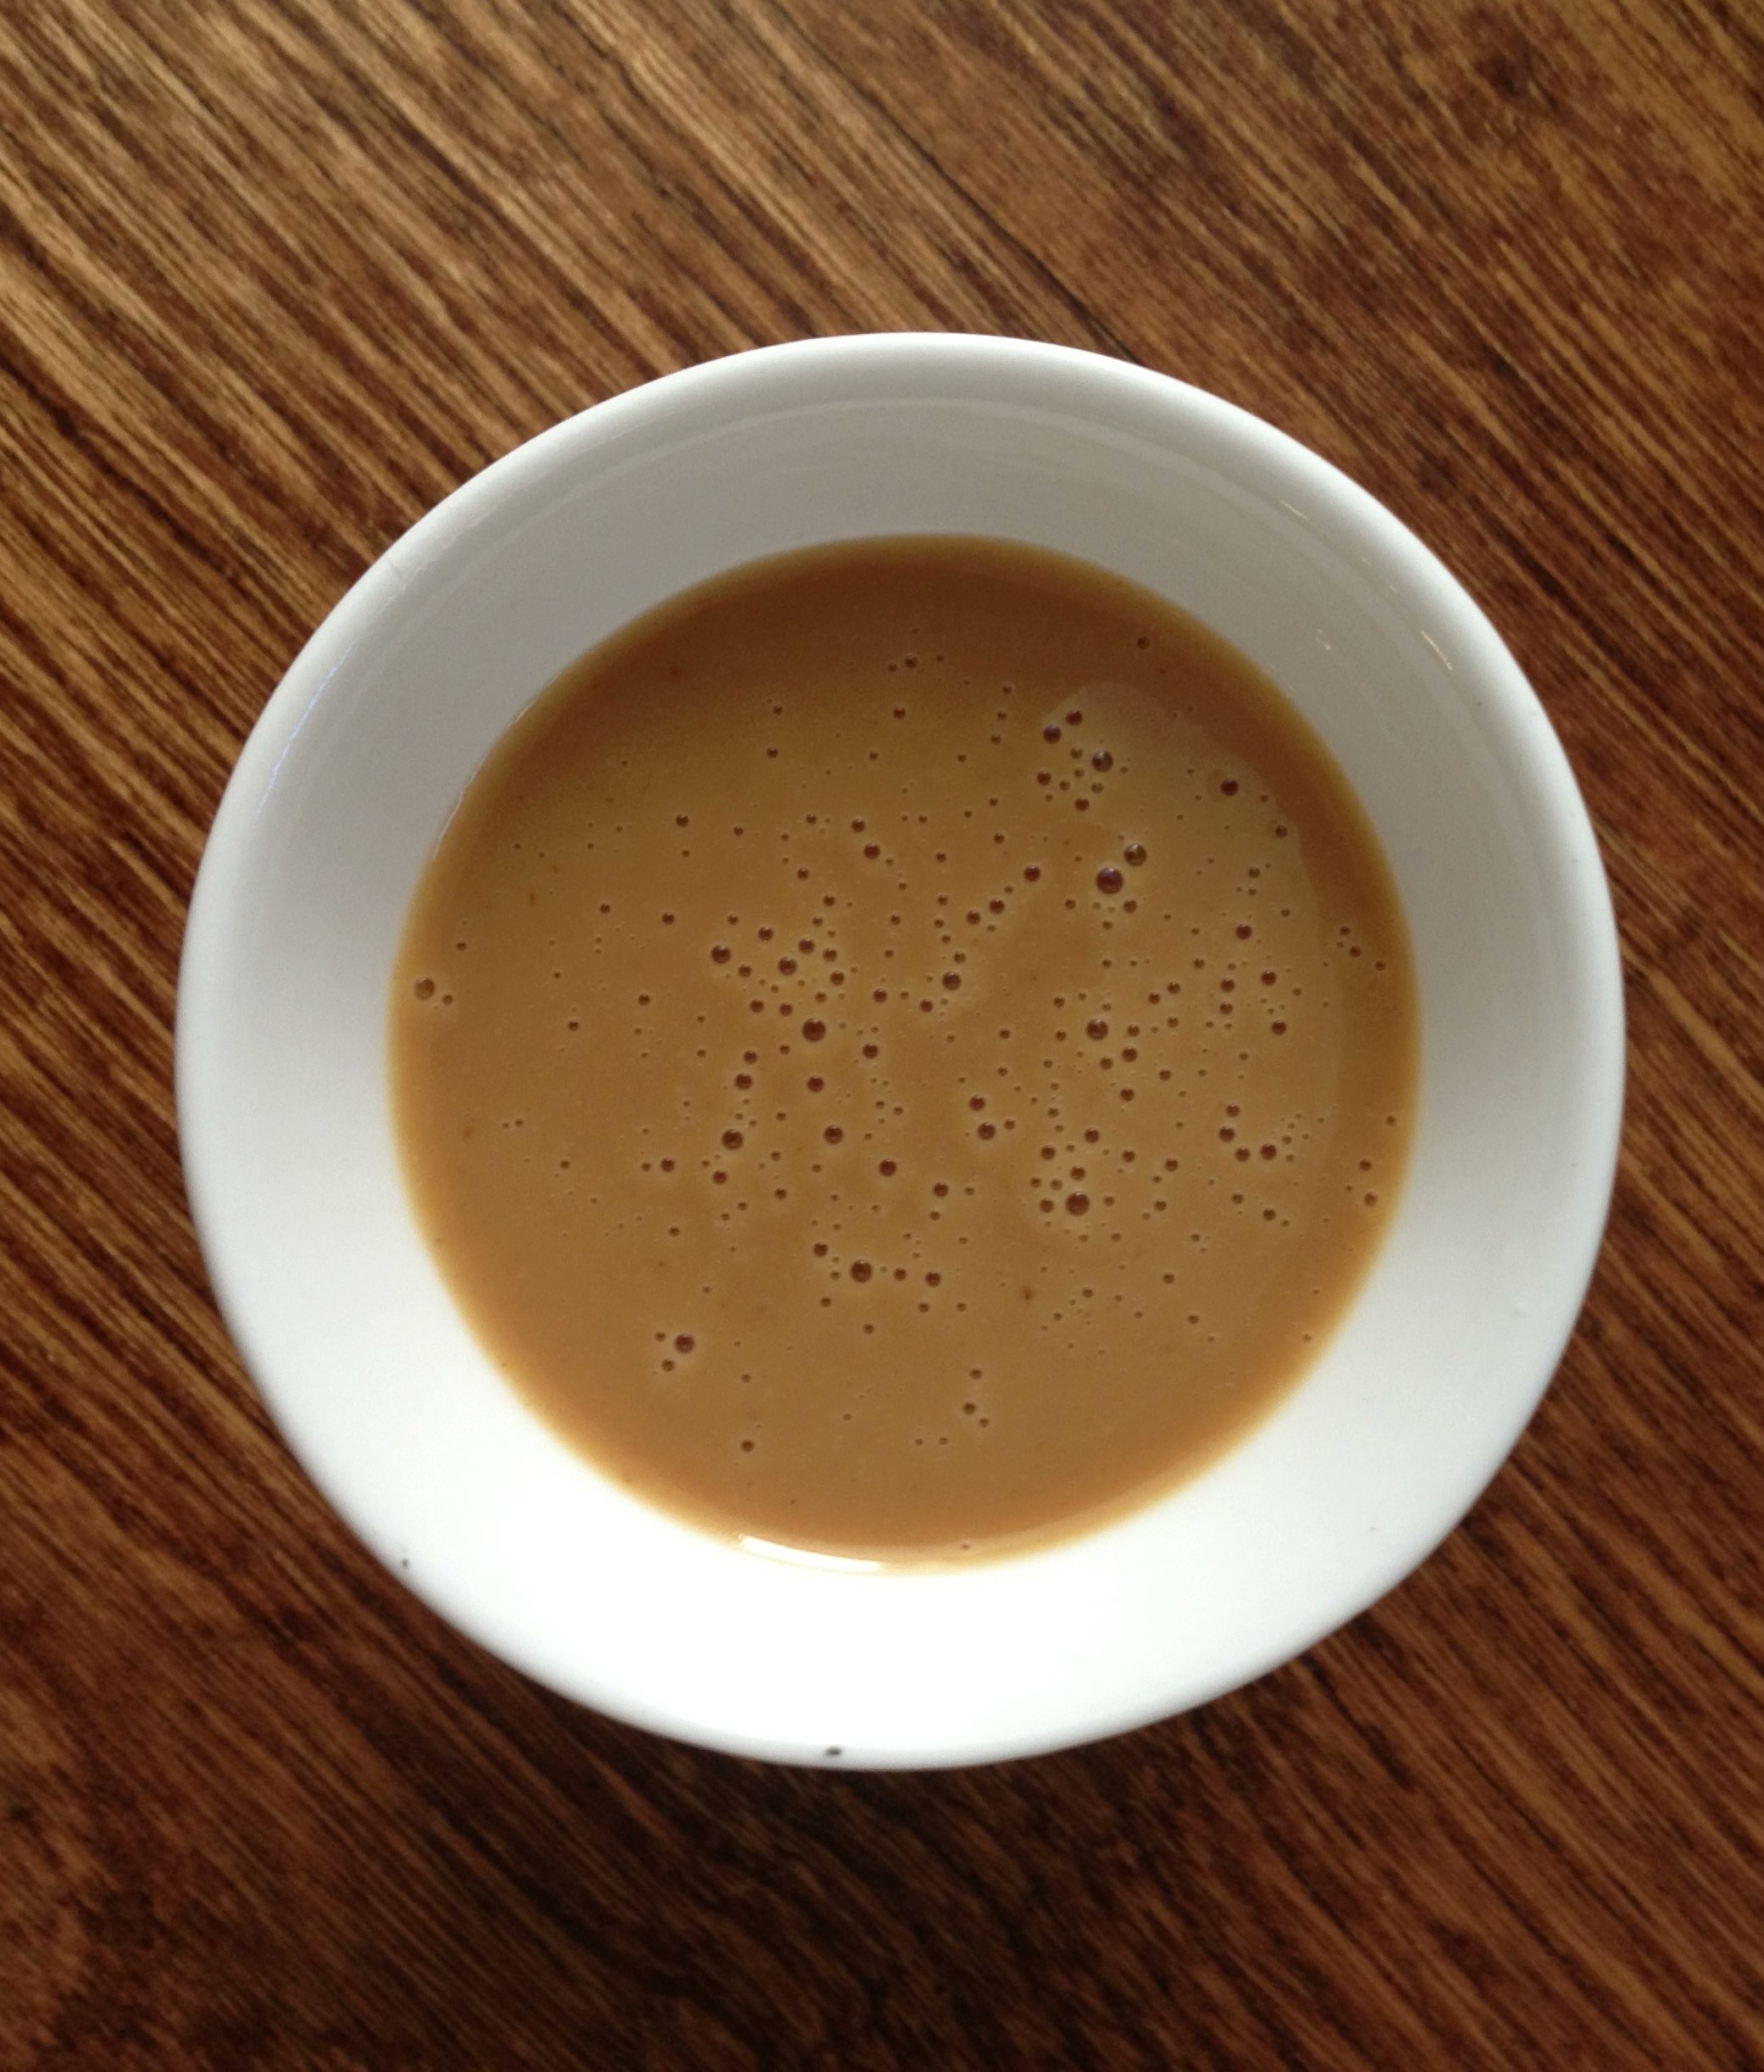
1/2 cup nama shoyu
1/2 cup tahini
1/4 cup sesame oil
2 tbs agave
1/4 cup cider vinegar
1 tsp salt
1 inch ginger, grated
1/4 cup olive oil
1 tsp lime
Combine all ingredients in a blender and liquify. Or combine in a high-sided bowl and use an immersion blender to whirr it all together.
A note about the ginger. We keep our ginger in the freezer because a) it won’t shrivel up in there like it does in the fridge and b) frozen ginger is WAY easier to grate with a microplane. It’s also easier to peel if frozen. Give it a try if you aren’t familiar with this technique.
Suggestions for what else to use this sauce with? Leave a comment below.
Fiery Onion Relish
March 19, 2013 § 1 Comment
The best things in life aren’t necessarily free. They are unexpected. The sudden burst of sunset as the day’s snowstorm pulls away. The street fair you happen upon while heading on an errand. The new friend you meet just randomly. You didn’t mean it, plan it, expect it—and then there it is and you’re incredibly happy with an unexpected smile. Really, it’s the best.
This recipe is like that. Unexpected and happy and the best. Well, maybe not the best best, but the unexpectedness of it pushes it right up there. It’s one of those recipes you find while you are on your way to something else. In this case I was in search of something new to do with sweet potatoes (I don’t want to burn myself out on Sweet Potato Wontons with Cashew Sauce ala Garum Factory). And while flipping through the pages that Sundays at the Moosewood Restaurant’s index told me to search, I just randomly and unexpectedly happened upon this relishy goodness.
I’m a fan of Moosewood’s sauces and relishes. Their Spicy Eggplant Relish (The New Moosewood Cookbook) is a definite go-to for me, as it their savory onion marmalade (Moosewood Restaurant Low-Fat Favorites). This particular recipe was in the cookbook’s chapter on India—not a chapter I’d normally hang out in. Nor is something with the word “fiery” in the title a recipe I’d eagerly seek out. But I saw it, and I made it, using it as a condiment for today’s Roasted Eggplant on Whole Wheat Baguette. And it was unexpectedly delicious.

fiery onion relish
Fiery Onion Relish (from Sundays at the Moosewood Restaurant)
1 cup minced onion (use sweet onion if you want a mellow onion flavor)
4 tsp. lime or lemon juice (I used lime)
1/2 tsp. sweet Hungarian paprika
1/4-1/2 tsp. cayenne
salt to taste
Combine all the ingredients in a small bowl. Stir with a fork to mix well. Set aside for 30 minutes before using to blend flavors. The relish is meant to be spicy hot. The more cayenne, the spicier it is. Yields 1 cup and can be refrigerated for several days.
Cilantro Pesto
July 9, 2012 § 1 Comment
Pesto makes me happy. It just does. Just like the pop of a champagne bottle means something celebratory is about to happen, the knowledge that pesto is in a dish means something tasty is about to be experienced.
Basil is just the tip of the pesto iceberg. It’s the easy and expected version. But when the garden presents one with an abundance of other herbs, it’s a prime opportunity to explore other pesto flavors. That’s how this batch of cilantro pesto came about. A 3-ft. row of cilantro plants was beginning to bolt (i.e. grow quickly and produce flowers), and rather than let it go to seed, I opted to harvest it all. And what’s the best way to use large amounts of herbs? Pesto.
Like anything with cilantro, this pesto goes pretty darn well with Mexican food. It’s also tasty spread inside a grilled cheese and as a base for a pizza. And the best thing about this version is … it’s accidentally vegan.
Ingredients
- 1 cup loosely packed cilantro leaves (and I also threw in the flowers)
- 1 cup loosely packed parsley leaves
- 1/3 cup whole almonds
- 1 small fresh chili (jalapeno is good)
- 2 garlic cloves coarsely chopped
- 2 tbs fresh lime juice (I used a whole lime)
- 1/4 cup vegetable oil
- salt and pepper to taste
-Place all ingredients except lime juice and oil in a food processor and pulse several times to chop finely.
-With the foodpro on, add the juice and oil in a steady stream. If you like your pesto saucy, add a bit more oil.
All my pesto recipes come from the The Moosewood Kitchen Garden cook-garden book. The dill pesto recipe is also a keeper. I’ll share, but first my dill needs to grow a bit more.
Basil Pesto: Can’t be Easier
August 23, 2011 § 3 Comments

All the fixin's for basil pesto
Think of all the good things in life.
Basil. Mmmm … Parmesan cheese … Olive oil … Garlic … Nuts … Chocolate … Okay, wait, drop that last one. All these are tasty on their own, very tasty. But whir them up together in a yummy pasty sauce and you have heaven on a spoon—basil pesto.
Basil is just one of the pesto varieties we make in the Dainty household. There are others. Oh, there are others. But typically, basil pesto is the shining star in so many dishes. A couple of dollops on pasta for a quick on-the-go meal. Spread it cautiously as a pizza topping. And schmear it on some rye bread for a tomato-provolone-pesto grilled cheese. Oh, yeah, I went there. Grilled. Cheese.
The secrets to good basil pesto are two-fold: Great-quality ingredients and a nice ratio of basil:parm:pine nuts:evoo. The amount of garlic, honestly, depends on your tastes. The recipe I use is from an old, back-‘n-the-day Moosewood cookbook called the Moosewood Restaurant Kitchen Garden. Not too much cheese. Not too saucy. Plenty of basil flavor.
Pesto Genovese (from Moosewood Restaurant Kitchen Garden)
- 3 cups loosely packed basil (avoid stems)
- 1/3 cup pine nuts
- 1/2 cup freshly grated parmesan
- 2-3 cloves garlic, roughly chopped
- 1/2 cup evoo
- salt/pepper
-Place the basil, pine nuts parm and garlic in a food processor. I like to put in half of all the ingredients, give it a whir, and then add the other half and give it a whir. That’s just the best way in my machine – things don’t get jammed in there that way. Be sure everything is chopped evenly. Give it a sprinkle of salt and pepper.
-With the food processor on, sloooooowly add the olive oil in a steady stream. It’ll slowly become paste-like. It may bunch up on the bottom—stop the machine and get all the good stuff from the corners. DON’T add all the oil. Stop the machine, give it a tasty. Good? Needs salt and pepper? Add some. Is the consistency kinda rough and thick and you like it? Then stop. Like it a bit more smooth? Keep whirring and add the remaining oil.
NOTE: The beauty of pesto is this: It can be any way you want it to be. Chunky. Rough. Pasty. Saucy. Hey, you’re the one eating it. Eat what you like.
-When it’s whirred to your liking, use what you intended it for right away.

Basil pesto
OR—and this is the important part—take action to keep the pesto’s vibrant, fresh-green color. Here’s how:
-Place the pesto in an airtight food storage container (glass, plastic, whatever) that is large enough to allow some room on top. Smooth the top into a flat layer.
-Drizzle a thin layer of evoo on top so it completely covers the pesto. You don’t need to much but you do need to make sure all the pesto is covered.
This keeps the air from oxidizing the basil and keeps the bright green color. But you’re smaht, I’m sure you already knew that.
Enjoy. And maybe when it’s time to harvest our parsley before the first frost, I’ll share my super-secret recipe for parsley pesto.
Roasted Cherry Tomato Sauce
August 14, 2011 § 5 Comments
I’m telling you, some gardening years are better than others. A string of spectacular harvest sseasons from my small urban plot have made this summer a “meh” – that’s on a scale from “it sucks” to “this is freakin’ amazing.”
My cherry tomatoes—I’m not thrilled with them. They’re growing okay. I just don’t like the fruit. Too big. Too thick-skinned. And the flavor fell flat. Cherries are supposed to poppable, add a brightness to a salad. These? Meh.
When life gives you lemons, right?
So, these cherry tomatoes went straight into sauce. Roasting brings out the sweetness they lack when just sitting on your salad.
Step 1: Put about 2-3 lbs. cherry tomatoes in a cast iron skillet. Add a couple of tablespoons evoo, sprinkle with kosher salt and give it a couple of turns of fresh ground pepper.

Cherry tomatoes seasoned and waiting to be popped into a 425F oven.
Pop it into a 425F oven for about 40 min. or until the tomato skins start bursting and the liquid starts bubbling. Let it bubble along for a total time of about 1 hour.

Cherry tomatoes after an hour of roasting
Step 2: Your gonna get lots of juice from the tomatoes, and you want to let it cook off. And you also want the flavor of the tomatoes come through more and get the sauce a bit thicker. So, take the skillet out of the oven and put it on the stove top over a low flame. Add 2-3 cloves of crushed garlic. Add some herbage; whatever you like. Fresh thyme or basil. Will it top a pizza? Add some chopped fresh oregano. 2Tbs is about right. Taste it for seasoning and add salt/pepper if you need to. And cook loooow and sloooooow. How long? Until enough liquid has cooked out to get the sauce to the thickness you like. In my case, 2 hours.

After two hours simmering on the stove top.
How easy was that? You might find it still a bit too chunky to spread on a pizza or spoon onto layers of lasagna. Whir it up in a blender or use an immersion blender if you like.
And how sweet is this, uh? You may never go back to plum tomatoes for sauce again.
