
Homemade Pita Bread
April 25, 2013 § Leave a comment
I had a horrible experience, an embarrassing experience, a humility-inducing experience with homemade bread about 20 years ago. It was a “loaf” of rye bread that more accurately could be called an anvil. It defied some law of physics in how something so small could become so dense.
I swore off baking yeast breads for … oh, I’d say 15 years. And then, I let the embarrassment go. I’m a different person, I said. I can make different bread. I can make bread and be successful at it.
I’ve made a bunch of different bread overs the last five years or so. Various takes on wheat, white, whole grain, pizza, focaccia, sourdough—made with my very own sourdough starter! And it’s all turned out pretty tasty, too. I admit I need to work on my loaf shaping, but that will come with practice.
There’s one recipe for which I don’t need to shape up my boule-making skills, and that’s for pita bread. It’s flat and round, slightly puffy in the middle. I thought I could handle that pretty well. And it turns out it’s as easy as it seems. Why everyone everywhere isn’t making pita bread everyday, I have no idea. Get after it, people.
Pita Bread, adapted from The Moosewood Cookbook
1 cup wrist-temp water (about 95-100F)
1.5 tsp. active dry yeast
1 tbs. sugar or honey (I used raw sugar)
1 tsp. salt
3 to 3.5 cups flour (1 cup can be whole wheat)
a bit of oil
extra flour
1. Combine yeast and water in the bowl of a stand mixer and let it get foamy over the next 5 minutes.
2. Add sugar/honey and salt and stir until dissolved.
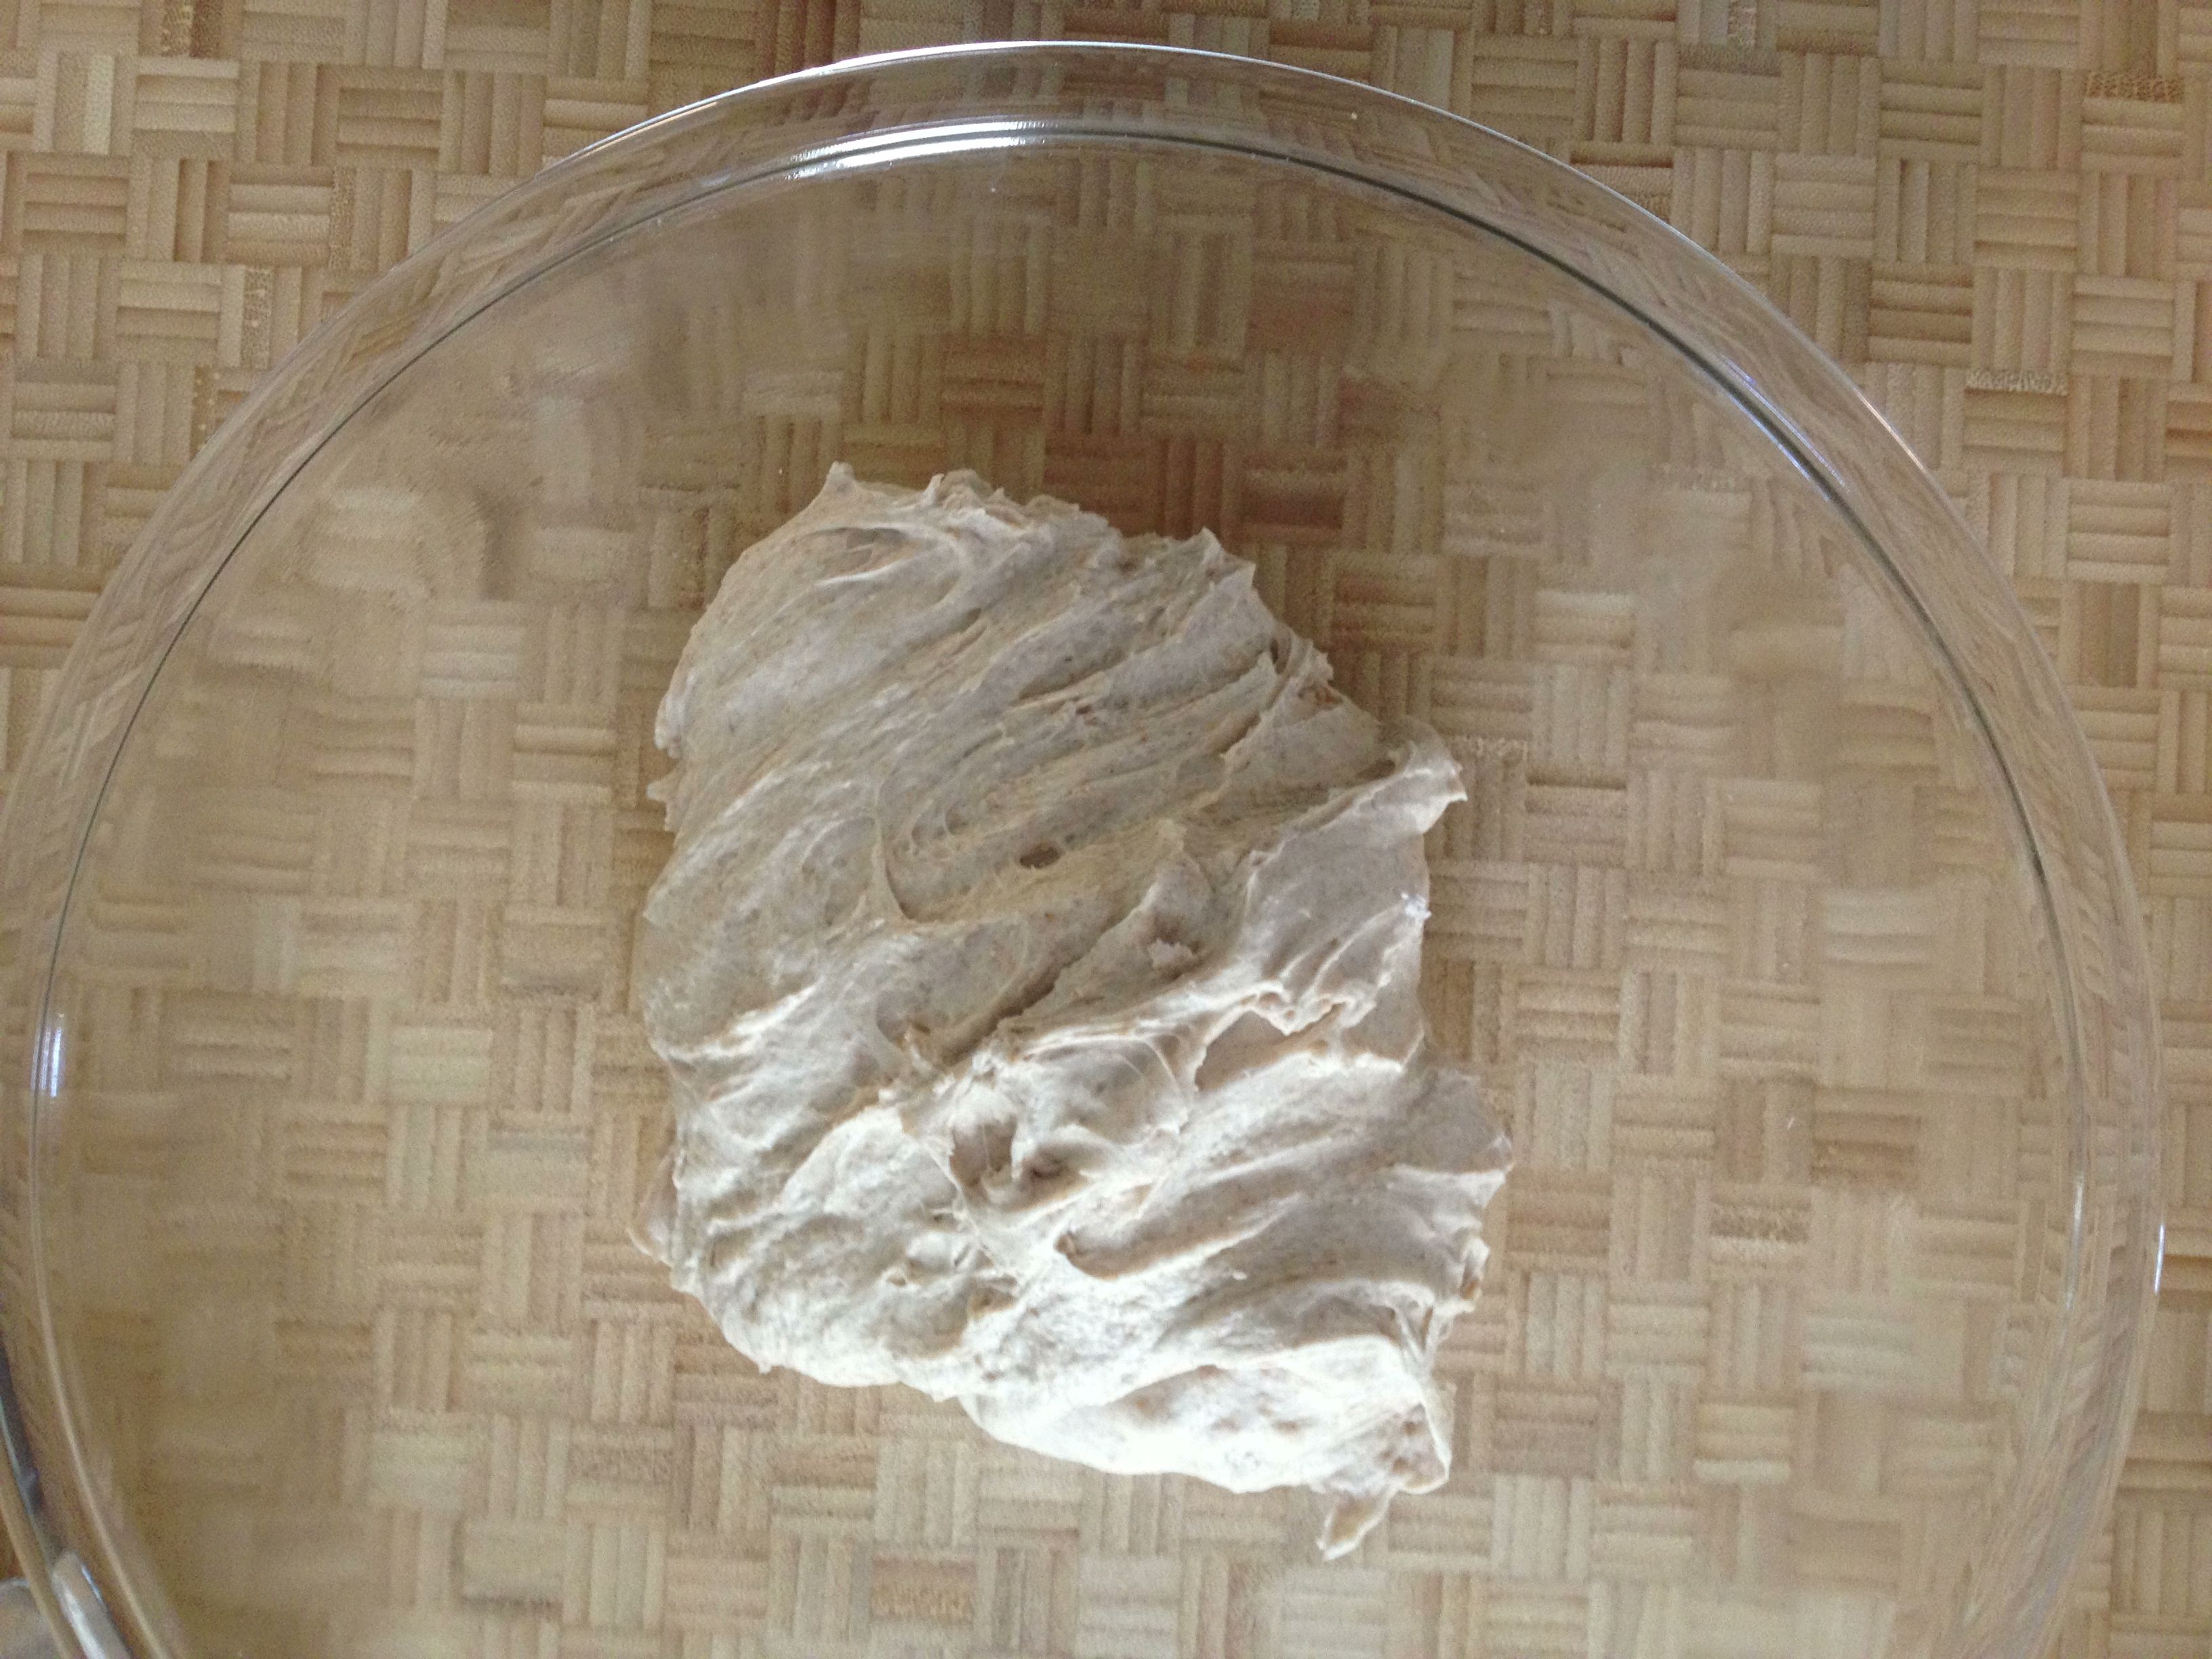
3. Put bowl onto mixer with a dough hook attachment, add one cup of flour and start to combine on low speed. Slowly add in two more cups of flour and continue to let the dough need in the bowl over the next 3-5 minutes. If it seems wettish, add in a sprinkling of flour as it mixes. You’re looking for a smooth dough.
4. Put dough in an oiled bowl and roll it around in there until the dough surface is oiled, too. Cover with a clean tea towel or plastic wrap, set in a warmish place (75F is good) for about an hour or until the dough has doubled in bulk. It could take up to 1.5 hrs.
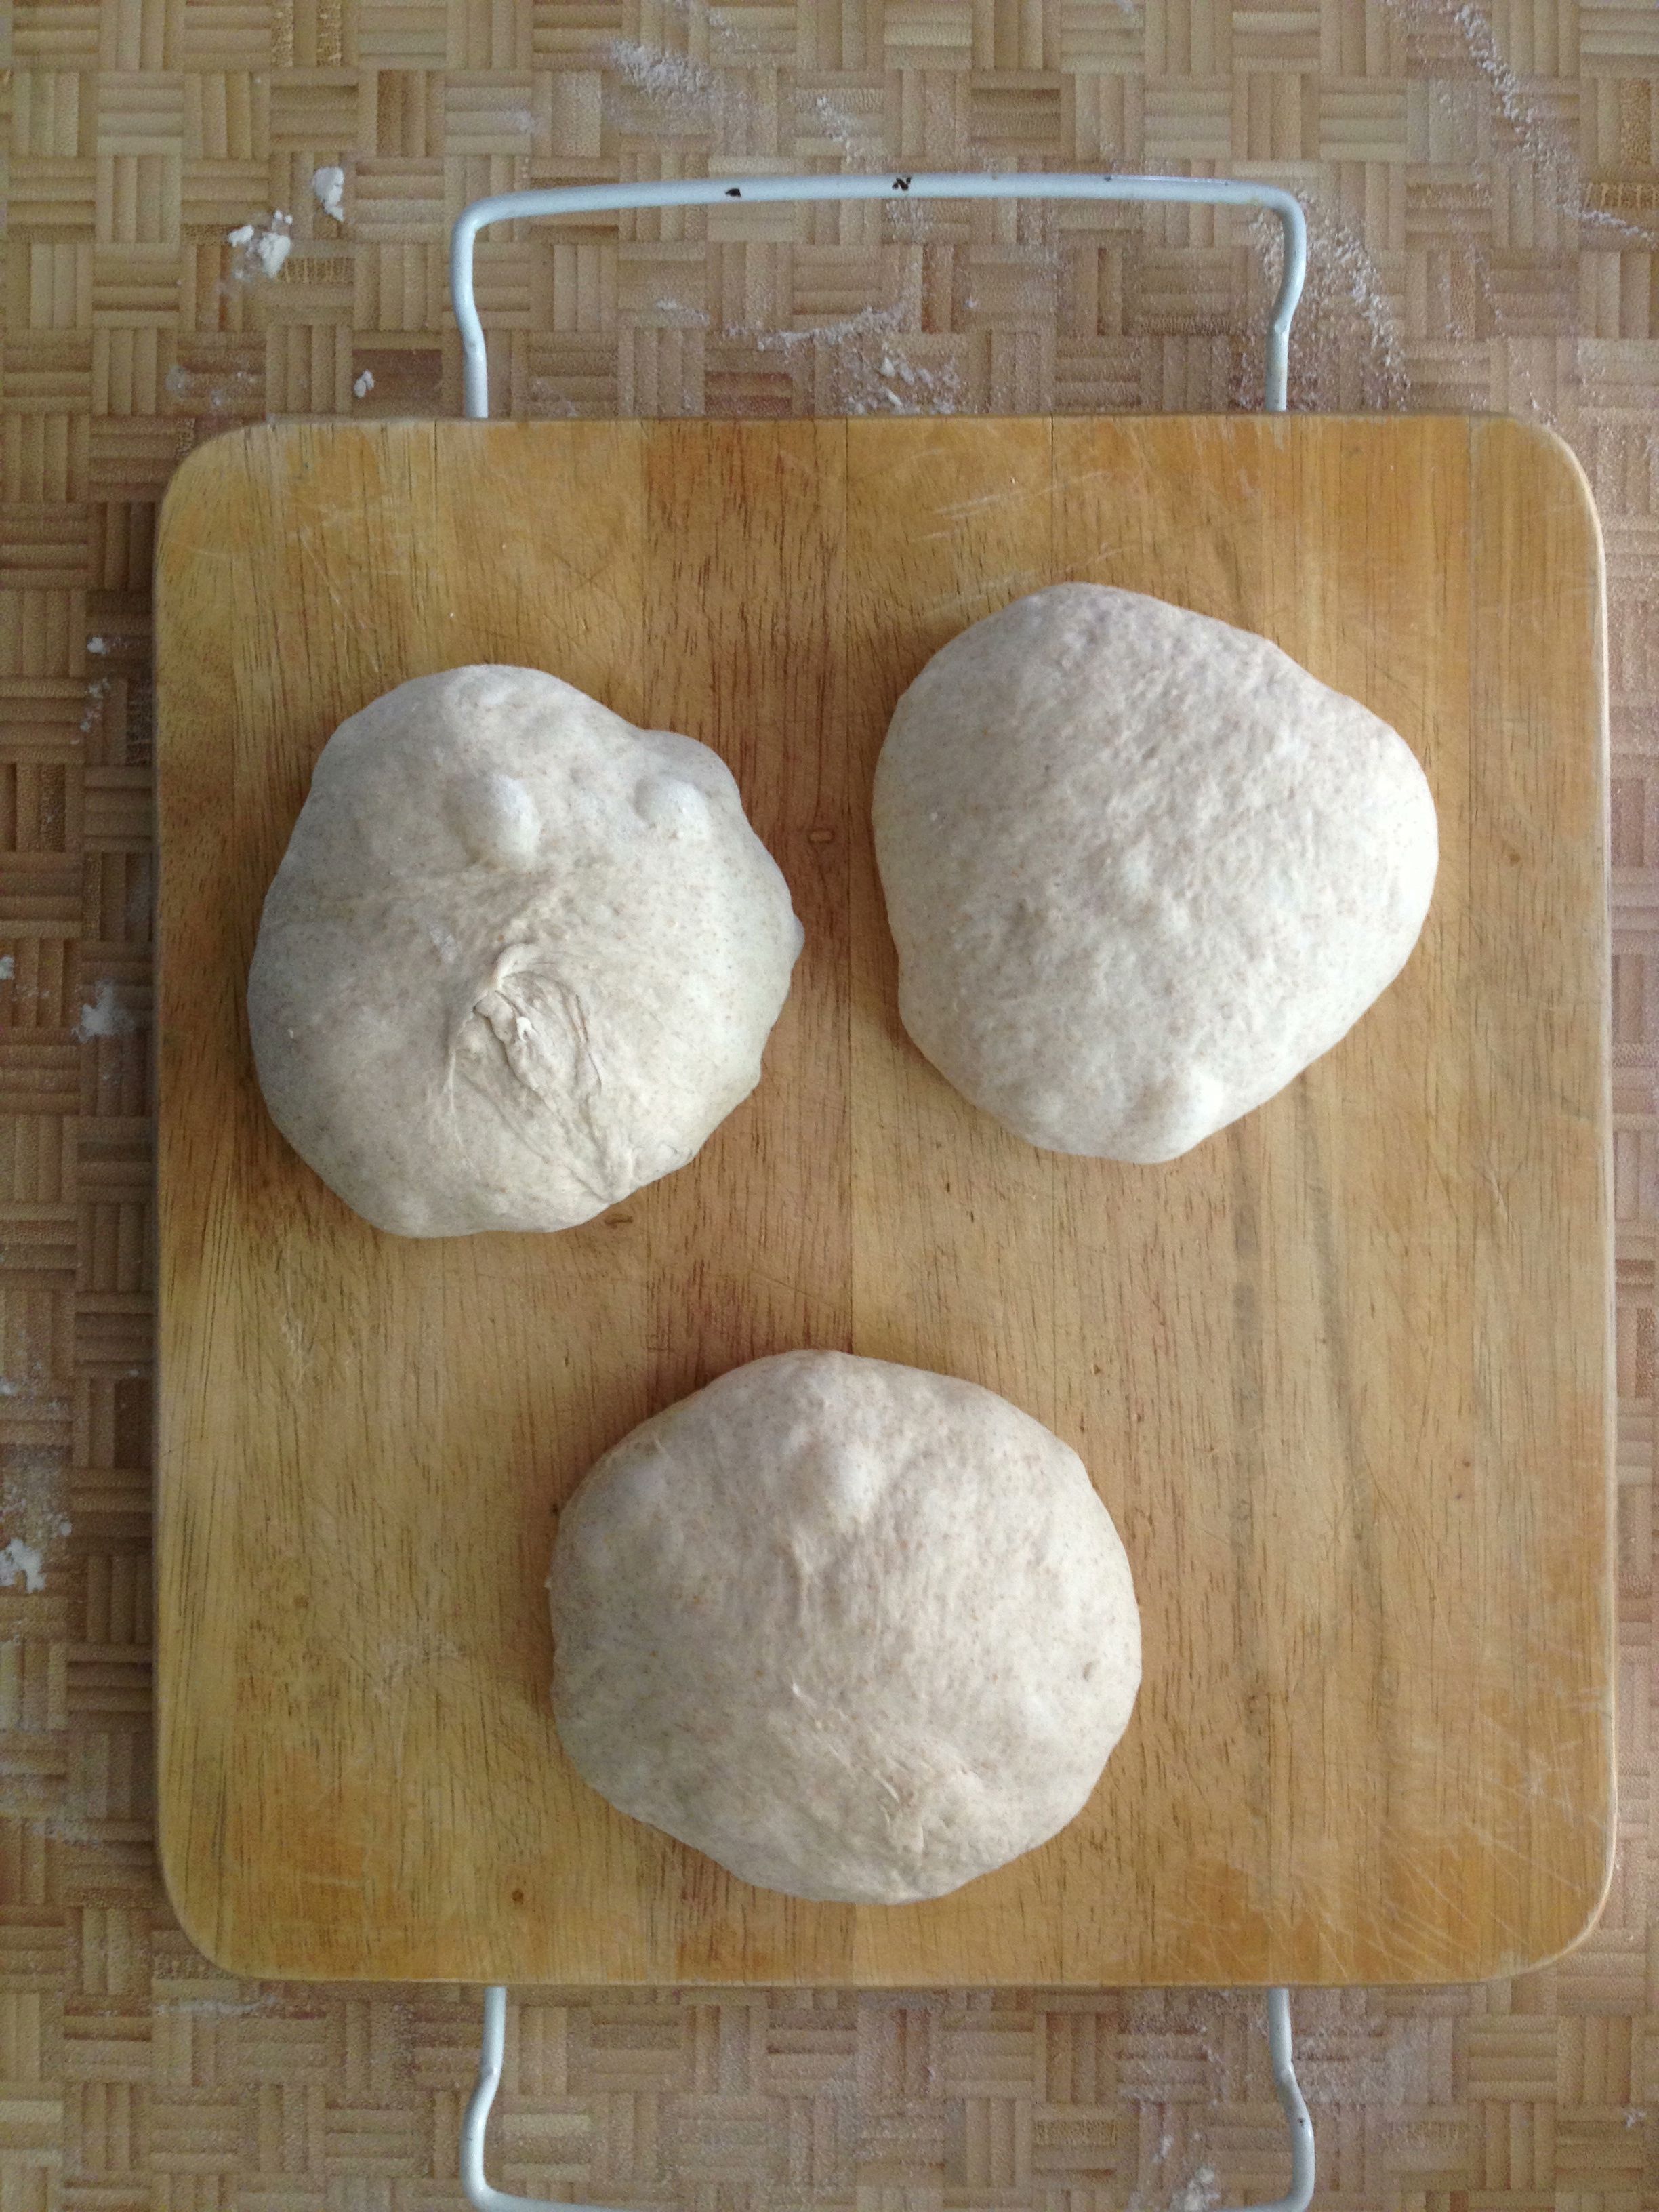
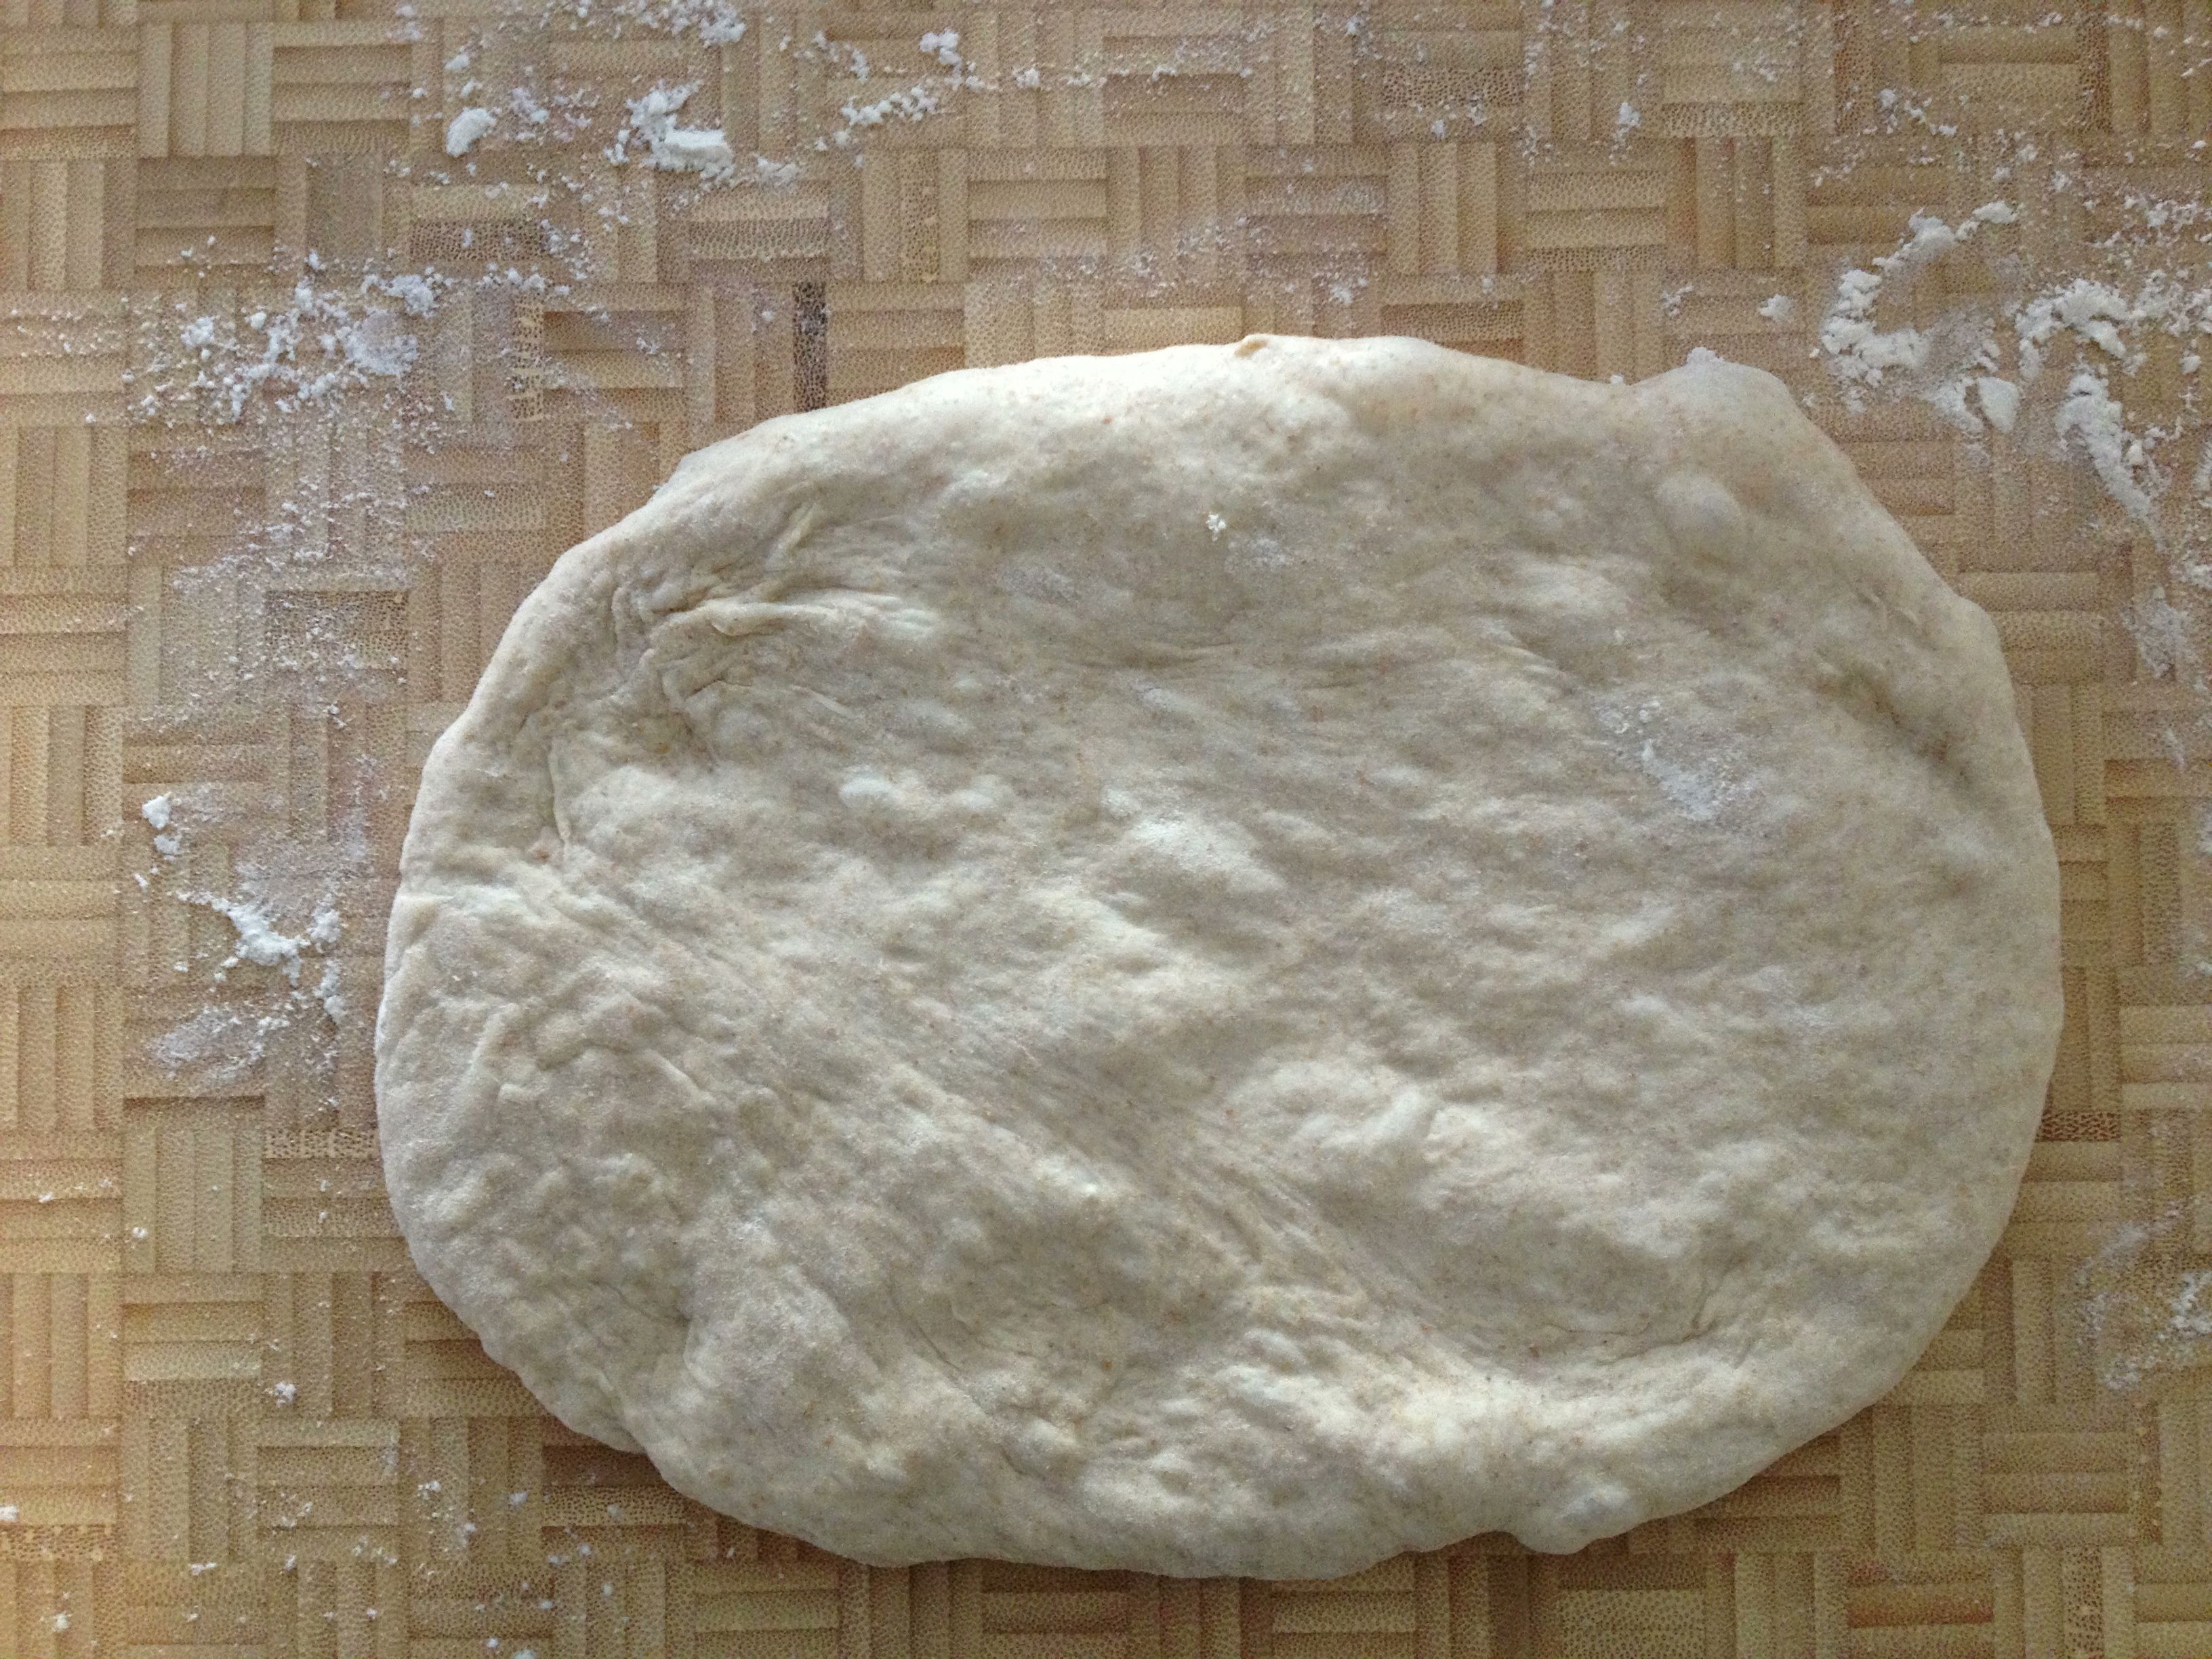
5. Punch down dough and set it onto a clean and floured surface. Kneed it by hand for 5 minutes. Cut the dough into equal-sized pieces, anywhere from 6 to 12 segments. I made 8 because it was simple, and the pitas turned out just the size I wanted. . Knead each little dough ball for a minute or so (I turned each 30 times and figured that was about right). With a rolling pin, roll out each dough piece into a VERY THIN circle (or near circle, it doesn’t matter exactly). You WILL need to throw down extra flour. DO make sure the dough is no more than 1/8 inch thick—otherwise you end up with a pizza crust, no kidding. Let the dough circles rest for 30 minutes. After I rolled out each circle I placed it on a half sheet-sized piece of parchment, four per sheet overlapping slightly. It’s ok, don’t worry.

NOTE: This circle-making process takes some time. By the time you are done rolling out the whole batch, the first circles have already been resting about 15 minutes. So at this point set the timer for 15 minutes, get your oven ready and start moving toward the next step.
6. Preheat oven to 500F. OR, if you have a silly oven like mine that will not go above 450F (Ggrrrrr…), set it to 450F and work with it. Place a sheet pan in the oven to warm up a bit then brush it with oil or cornmeal to prevent the dough from sticking. OR, place the dough circles on parchment and slide them onto the baking sheet, fitting as many dough circles in the oven as you can without them touching. Due to the craziness of my oven I am able to fit just two dough circles, which were placed on the parchment.
7. Let the circles bake for 6-8 minutes or until the circles puff up and are lightly browned and, more importantly, look like pita! At 450F, 8 minutes was the perfect amount of time. As soon as one batch is done, remove from the oven and wrap the pitas in a clean but damp tea towel and place them in a brown paper bag. Close the bag for 15 minutes. This keeps them soft(ish) for a day or so. After a day I would transfer them to a plastic bag.

As an experiment, roll out one dough circle a little thicker than 1/8 inch and bake. Whereas the thinner circles puff up like you’ve filled them with helium, you’ll notice the thicker circle doesn’t puff up much at all—if at all. It’s ends up more like a pizza crust. Which tells me why not have this same recipe handy for when you want to make pizza?

Give pita a try and let me know what you think!
Roasted Eggplant on Toasted Pita
March 26, 2013 § Leave a comment
Ah, an over-stuffed pita sandwich…yum.
Who am I kidding!? When have I ever stuffed a pita and have it NOT break apart on me? Never. Ever. And once it breaks, it’s just all downhill from there. Your fingers get full of hummus. Whatever dressing you’ve put on the sandwich runs down your wrist into your sleeve. It’s no good, stuffing a pita.
Better to use pita like a sandwich bread.
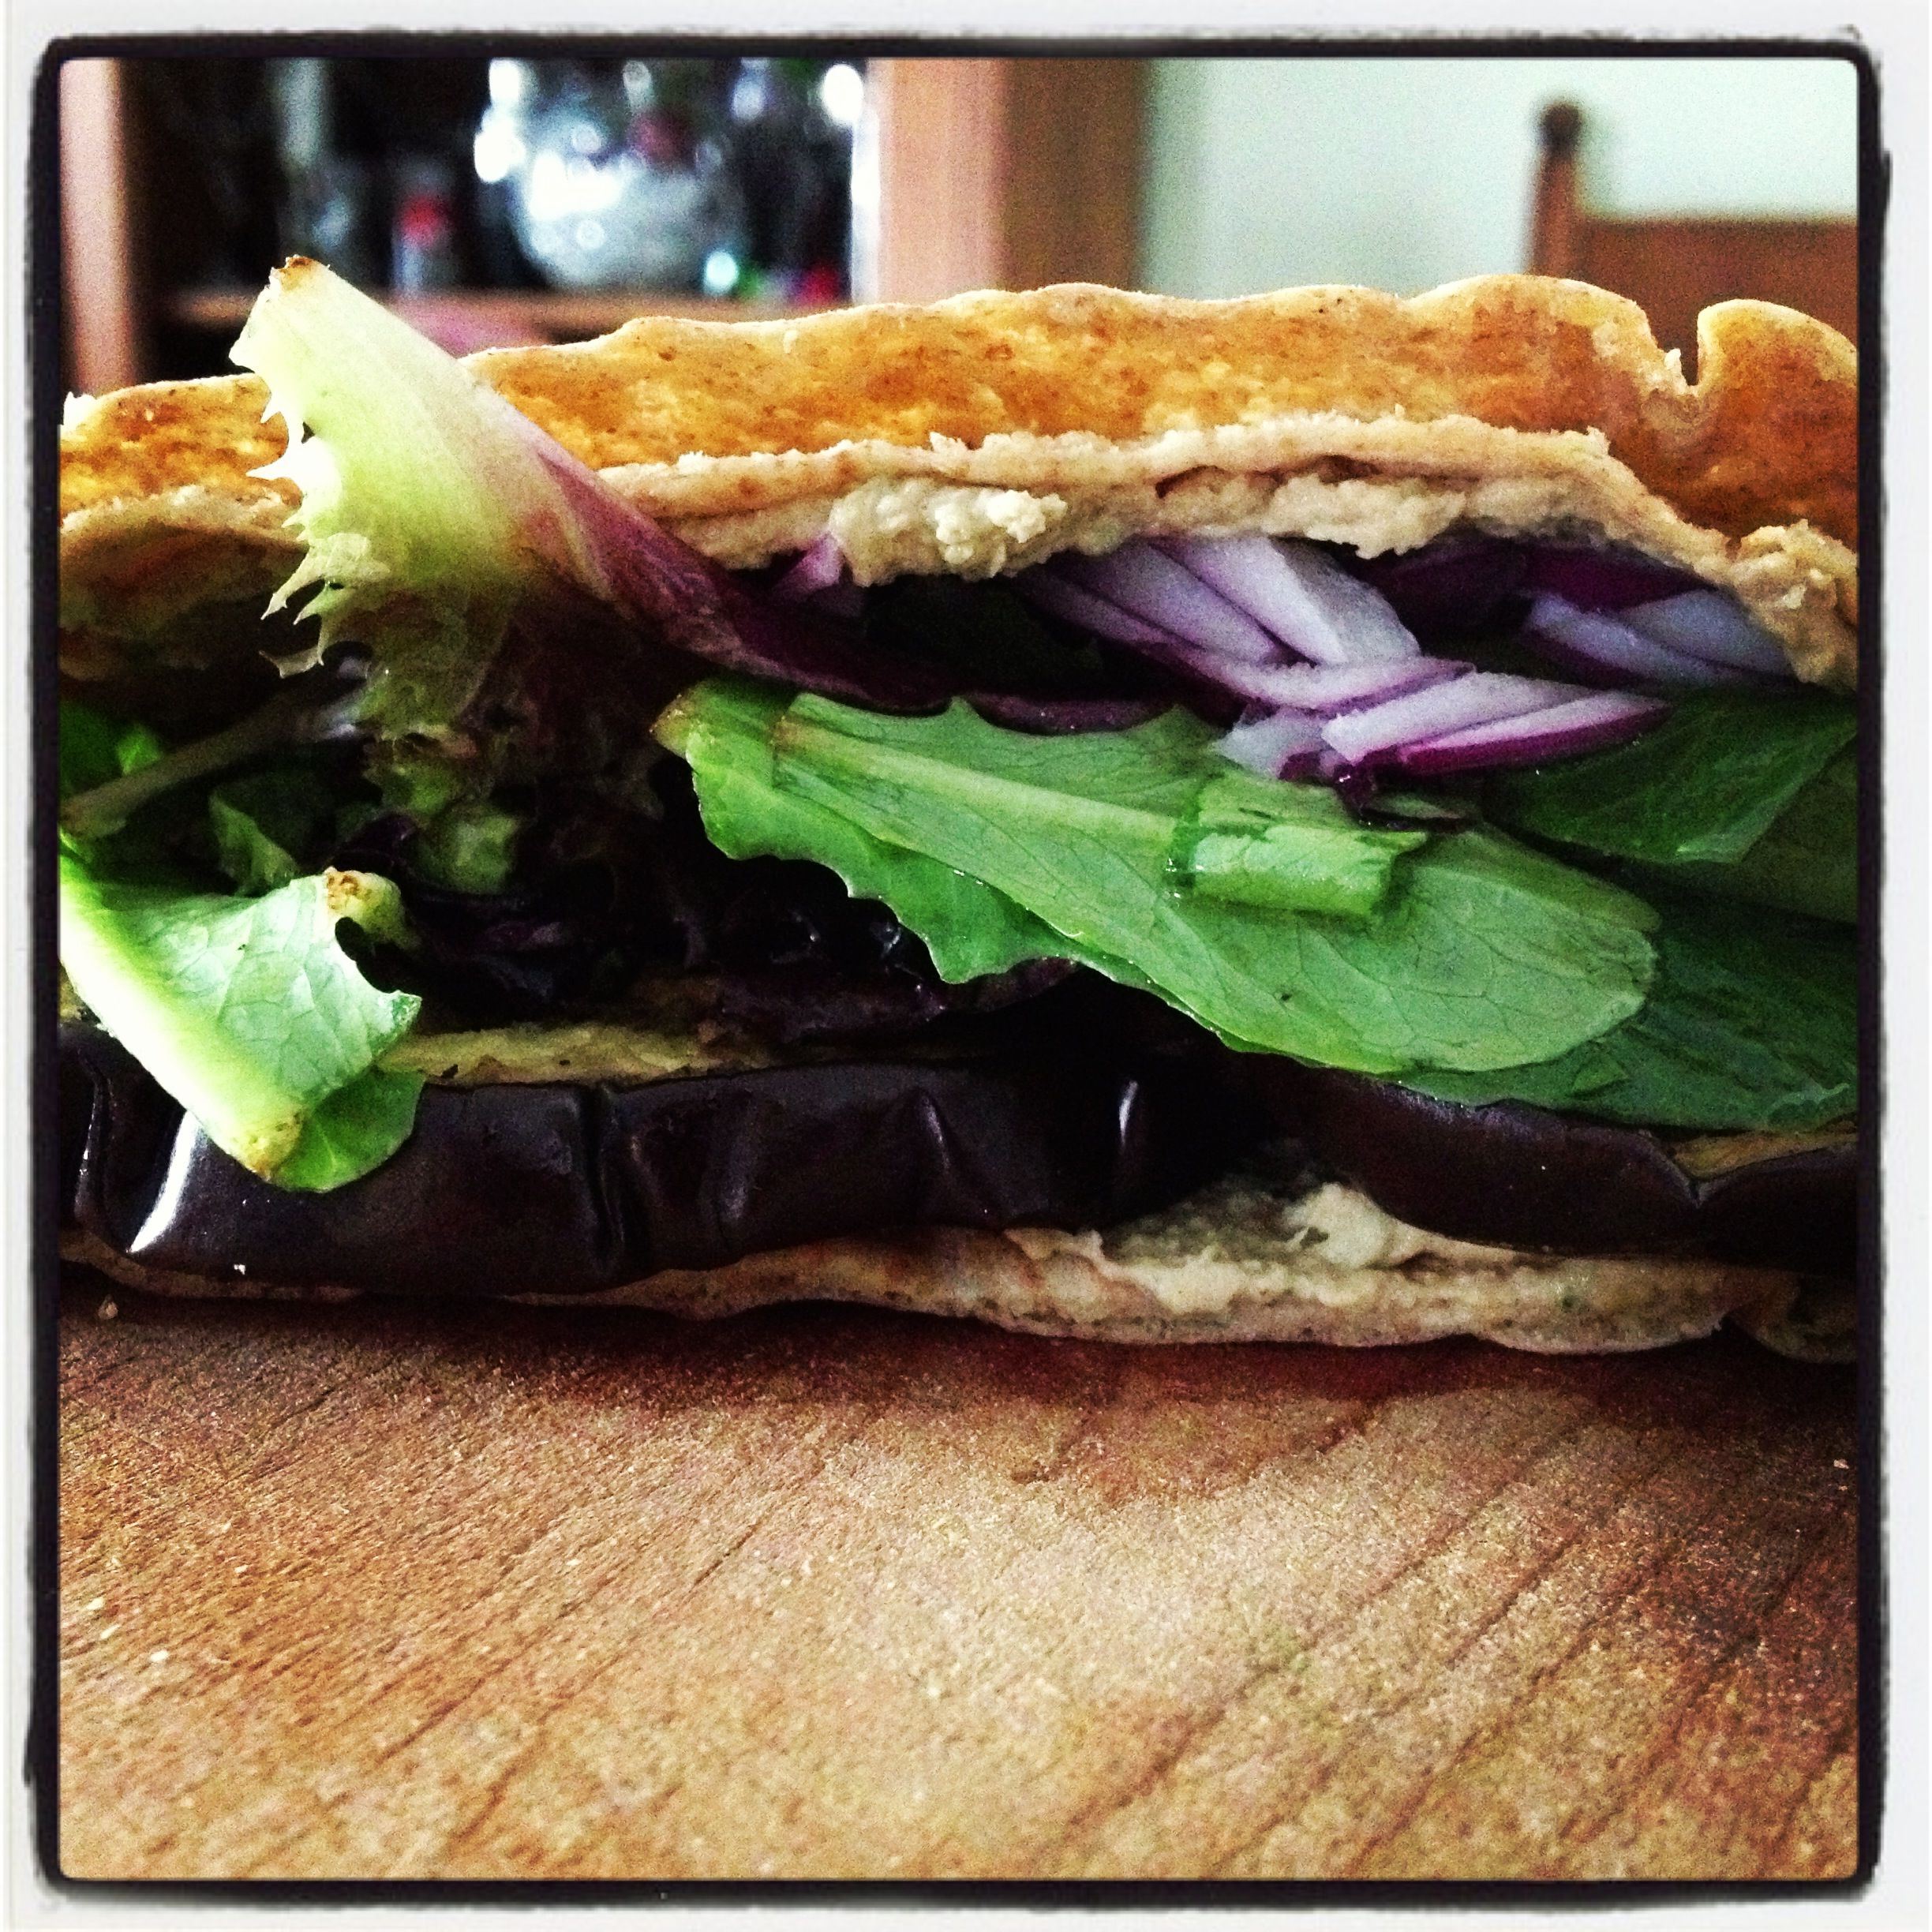
Roasted eggplant and hummus on toasted pita
That’s exactly what I did for lunch yesterday. Toasted pita cut into two half moons, each spread with Red Pepper Hummus, some roasted eggplant, and some greens lightly dressed with Lemony Vinaigrette. After chowing down, I realized the Fiery Onion Relish may have been a fun thing to have as a topping, too.
Maybe I’ll try that for today’s lunch.
Whole Wheat Baguette
February 28, 2013 § 2 Comments
If we run out of crackers, I make Crackers. If we run out of hummus, I make Jennifer make Red Pepper Hummus. And if we run out of bread, I make bread. It’s just what we do. We make things. Bread included.
Bread is work. There’s the mixing and the kneading and the proofing and the punching and the second proofing and the loaf shaping. It’s up-to-your-elbows-in-dough kinda work—the type of work that gives you strong-as-oxen forearms.
Until a rather vigorous episode of dough kneading a few years ago set off some rather painful carpal tunnel symptoms, I kneaded all dough by hand. Then by necessity I had my Kitchen-Aid mixer and its dough attachment take over. And now, thanks to Mark Bittman, I’m letting the food processor do all that work.
It’s odd—almost sacrilegious—to think that a machine with a sharp spinning blade can make a soft and smooth clump of dough rather than a bowlful of shredded sticky flour. But it does. And while I was once skeptical and hesitant to come under the no-knead tent, I have entered, heard the word, and am now a food-pro convert. Halleluiah.
Mark Bittman, the New York Times‘ food guy, included the following recipe in the Feb. 3 NYT Sunday Magazine. It’s actually what he calls “not quite whole grain,” and I agree, but there is enough wheat flour in there to give it that nice flavor and chew. What I really like about this is the hands-off nature of the recipe. The first step takes no more than 3 minutes, then you’re free for the next 3 hours while the dough rises. The most work comes during the baguette shaping process. And quite honestly, if you want to learn how to shape a baguette, search for it on YouTube.
In all, you’ll have lovely baguettes in a little over 4 hours—and with very little effort. Throw some flour in your hair to make it look like hard work.

dry ingredients in bowl of food processor

dough comes together in food processor after about a minute
dough turned out into lightly oiled bowl, ready to rise

dough rises about this much after 3 hours
after turning the risen dough out onto a lightly floured surface, cut into three segments and roll into a tight ball
form the dough ball into the best rectangle you can get

fold the bottom side up toward the center

then fold the top down to create something that looks like an envelope

fold length of dough down about a third and press the seam to seal – and repeat.

set formed loaves into stiff canvas to help them keep their shape while they rise another 30 minutes.

fresh out of the oven! okay, so they are odd shaped. embrace the odd.
Whole Wheat Baguette (from Mark Bittman, New York Times Sunday Magazine, Feb. 10, ’13)
100 g. whole wheat flour
400 g. all-purpose flour + some
10 g. kosher salt
6 g. instant yeast
water
1. Combine dry ingredients in a food processor. Turn machine on and while it’s whirring, add about 1.5 cups of water slowly over a 30-sec. period. Keep machine running for another 45 sec. or so. Dough will be held together nicely and tacky, not wet. Turn dough into a large bowl (I lightly oil mine just in case), cover with plastic wrap, and let it rise. It should take 2-3 hours. I let it go for the whole 3 hours and it’s risen quite nicely.
2. Turn the dough out onto a minimally floured surface, pat lightly, and cut into 3 equal pieces. Recipe says to form into a log, but I form into small round boules. Cover with a tea towel (or plastic wrap) and let it sit for 20 minutes.
3. Now shape each dough round into a baguette. I am SO not the expert at this but … This is how I do it:
-pat dough into a rectangle, kinda the size of a small 8.5×5 notebook. The following will work best if the corners are as square as possible (yes, getting dough to be exactly square is impossible but give it your best try).
-Position the long side down. Fold the bottom end up about a 1/3 of the way, and then fold the top end down over it so it looks like an envelope. Take the heel of your hand or your thumb and press and seal that seam together. Lightly flatten the dough.
-Next, fold the top down about a 1/3 of the way and seal the seam again. Lightly flatten. Repeat this process another two to three times.
-Starting from the center of the dough, place your hands over the top of the dough and slowly and lightly roll the dough up and down, pressing outward to lengthen it. Don’t go all that far. The longer it is, the thinner it is. And … that’s it.
4. Once the baguette is formed, put the baguettes into something like a baguette pan. Or, use a lightly floured swatch of canvas (or a heavy tea towel) and shape the canvas around the long sides of each baguette. You want the canvas to cradle the dough and help keep the dough’s shape. Let the dough rise for about 30 minutes.
5. Meanwhile, get your oven heated to at least 450F (Bittman’s recipe says 465F, but my oven only goes to 450F). A few minutes before the dough is ready to go in the oven, open the oven door and spray some water around the side walls and close it back up. Just before putting the loaves in, put them on a piece of parchment on a sheet pan and slash the tops with quick movements of a very sharp knife. Slide it in the oven, give the loaves a quick squirt with was water and close the door. Repeat the squirting with water about a minute later. Keep them in the oven for about 25-30 minutes, or until the loaf sounds hollow when you thump the bottom of it with your thumb. Cool on a wire rack.
Now, why are we spraying with water? To create a bit of moisture in the oven and around the loaves. This moisture helps to create that light and crisp exterior on the loaf. It works, so give it a go.
You likely have your own favorite bread recipe. Let me know what it is in the comments below.
Wheat Berries for Breakfast
January 15, 2013 § 3 Comments
Wheat berries. Never heard of them? Neither had I, until I came across them as an ingredient in a course-grained whole wheat bread recipe (more on that bread another day). And now, they’re a special breakfast treat.

Wheat berries with raisins, slivered almonds and apple cider.
How did they go from bread to breakfast? When I spotted them in the Amy’s Bread cookbook recipe I read up a bit on this whole grain. According to Wikipedia, “wheat berry” is just another term for the whole wheat kernel. Silly me, I thought they looked familiar. As a farm kid, I had wheat kernels end up in pant cuffs, socks and occasionally other locations on my person after a day on the wheat combine. If milled instead of left whole, the wheat berries become wheat flour. And as we know, grains left whole are good for you because none of the nutrients are processed out of the grain. Keeping it whole leaves all that good-for-you protein, fiber and iron (and I’m sure other good things) right in that wheat berry for your health and flavor enjoyment.
The whole wheat berry as an ingredient in bread gives the bread some chewy texture—something to bite into other than just the bread. They’re also a bit sweet and nutty in flavor—a great thing when used not just in breads, but also when added to salad greens or made into a grain-based dish.
My course-grained bread recipe called for just a 1/2 cup of cooked wheat berries with a half-cup of the reserved cooking liquid. Wanting to have some extra on hand, I added one cup of uncooked berries to about 2.5-3 cups boiling water, then let it simmer, mostly covered, for about 50 minutes. The result was about 2 cups of plump wheat berries and surprisingly just enough liquid.
The berries that didn’t make it into the bread made it into my breakfast bowl. Taking a cue from my typical steel-cut oats preparation, these berries received some raisins (highly recommend the jumbo raisin mix from Trader Joe’s) and slivered almonds. And to plump up the raisins while warming in the microwave, I added enough apple cider to come nearly to the surface of the wheat berries. Soul-satisfyingly delicious. And it filled my belly. I even slurped from last juices from the bowl.
I would love to try wheat berries in a savory application and have seen a recipe or two pairing them with mushrooms. If you have any recommendations—either savory or sweet—please leave me a comment below.
And now that I know my family has a barn full of these wheat berries at home, I think I’ll bring home a great big bag of them next time I visit.
Sweet Potato Sandwich
December 12, 2012 § 1 Comment
Working from home is pretty awesome. Not because I can wear the same pants two days in a row (okay, three), or because I get to wear slippers all day. Or because I fill my agenda with kitten play time (yeah, that’s pretty awesome). Having a home office rocks because it lets me get creative with lunch.
For instance?
-Salads piled high with pickled beets, bulgar, homemade awesome croutons and whatever else I have on hand.
-Lasagna filled with chard-nutmeg ricotta.
-Pizza topped with shrimp and salad.
My latest lunch: Sandwiches stuffed with sweet potatoes. Most definitely NOT my invention, of course. I’ve had the delicious honor of having sweet potato sandwiches from Ula Cafe in Jamaica Plain. Delicious. Really delicious, with sprouts, avocado, tahini spread, red onions … Yum. So, this sweet potato sammie has its roots there. But it also gets some big flavor input from the Henry’s Dinner pizza I had several months ago at Veggie Planet in Cambridge. That flavor profile would be the addition of rosemary, sage and goat cheese.
And for no other reason than to clean out the fridge, I threw in a section of Granny Smith apple. Sweet. And tart. Genius pairing, if I do say so myself.
Here’s how the sandwich-work and actual work-work happen, all at the same time:
1. Organize, outline and begin my weekly e-newsletter, all the while thinking about that on-the-edge sweet potato lurking in the fridge drawer.
2. While making my mid-morning tea, pre-heat the oven to 425F and have at that sweet potato, saving what’s left of it, and cutting it into small cubes. Catch that quarter of a Granny Smith sitting on top of the carton of eggs. Rescue what I can of that and cube that, too. Throw it all in a cast iron pan and toss it with, olive oil, two sage leaves, minced, and about a 1/3 a sprig of rosemary, minced, and add salt and freshly ground pepper. Roast it for … I dunno … 15-20 minutes? Long enough for me to finish writing the second section in my enewsletter, and long enough for the cubed potatoes to be roasted through but still firm.

What didn’t fit into my sandwich.
3. Remove from oven and toss. Let cool for about a half hour. Write the third section of the enewsletter.
4. All that’s left is sandwich assembly: Slice two thick pieces of sourdough. One one, spread some goat cheese and top with some baby salad greens that are lightly dressed with whatever vinaigrette you have lying around (in my case I have a Greek dressing, but whatever). Oh, and some thinly sliced red onions. On the other side, pile high the sweet potato mixture. Holding a chef’s knife tightly over the salad, flip that side on top of the sweet potatoes and gently pull the knife through.

Sweet potato sammie, deconstructed
5. Eat in about 53 seconds because it’s that delicious. Head back to the computer, fully nourished and ready to finish the newsletter’s fourth section. The writing will be even better with that in my stomach. I love my job.
Tomorrow’s version will have sliced sweet potatoes and sliced avocados. And I’ll lightly toast the bread. Yum.
Pumpkin Bread
December 9, 2012 § Leave a comment
At least that’s what I tell people it is—pumpkin bread. No pumpkin at all. Just like that pumpkin latte you’re drinking—there’s no pumpkin in there. You knew that, right?
My “pumpkin” bread is made with butternut squash. So is my pumpkin pie. And any other “pumpkin” thing I bake. Oh, wait … did you think I opened a can of Libby’s pumpkin puree and just slid that muck right into my recipe? No no no … that’ not how I roll. Nope. You’re more than welcome to, of course—I have nothing against it. But slicing, peeling, boiling and pureeing a butternut is no big deal for me and I don’t mind doing it to produce my squashy puree. After all, it’s a lot easier to do that with a butternut than with a pumpkin.
Hence why I use butternut.
Back to the pumpkin bread. The recipe is from my all-time favorite generalist baking book—The Fannie Farmer Baking Book. It’s got it all in there. I just randomly opened a page and found a Floreine Hudspeth’s Hoosier Cake. Who knew? Fannie knew. You want a fruitcake recipe, she has four. And her pumpkin pie? It has a shot of bourbon. That’s why I love Fannie.
And the pumpkin bread? Moist. Delicious. And very “pumpkiny.”
Fannie Farmer’s Pumpkin Bread
makes two 9x5x3 in loaves
Ingredients
3 1/2 cups flour
2 tsp baking soda
1/2 tsp baking powder
1 1/2 tsp salt
1 tsp cinnamon
1/2 tsp nutmeg
1/2 tsp ground cloves
2/3 cup vegetable shortening
2 cups mashed or pureed pumpkin (or butternut squash)
4 eggs, slightly beaten
2 2/3 cups sugar
2/3 cup milk
1 cup chopped walnuts
1. Preheat oven to 350F and grease and generously flour the two loaf pans. Set aside.
2. Combine the dry ingredients (flour baking soda and powder, salt and spices) in a medium bowl and stir until evenly mixed. In a bowl of a mixer (or a large bowl) combine the shortening, squash puree, eggs, milk and walnuts. Add the bowl of dry ingredients slowly to the wet ingredients and mix (or stir with a big wooden spoon) until the batter is just blended together. Make sure there are not floury lumps! Bits of shortening are ok.
NOTE: Know how when you make quick breads like this and the nuts or raisins always kinda sink to the bottom part of the bread? Try coating the nuts or raisins with a bit of flour first. It helps them not sink so much. Give it a try and let me know if it works for you.
4. Divide batter equally between the two pans. Bake for about an hour, or until a wooden skewer or toothpick comes out clean after inserting into the center of the loaf. Let cool on a wire rack for 5 min. then turn out of pans.

Divide batter evenly between two loaf pans.
This bread freezes well, so stick that second loaf in the deep freeze for later. Or use it as a hostess gift. And the butternut squash bit? They’ll never know.

They’ll never know it’s butternut squash bread.
Buttermilk-Caramelized Onion Pull-Apart Rolls
December 4, 2012 § Leave a comment
Since moving into our new house three months ago I have had a love-hate relationship with our oven. It’s a GE Profile Advantium—and it’s a convection oven. Not the typical convection, either. It’s one of those fancy convection ovens—the kind that can also be a microwave, a proofing space for dough, and a toaster. The interior is about the size of a toaster, too. I can list the issues I am having with it—such as the fact that the constantly turning carousel means I can’t use my half-sheet baking pans, or that the oven maxes out at 450F—but I’m going to stop there for now.
Let me hold off on the hate and talk about the love. The love part comes in the baking. The whole convection process, the constantly turning carousel—it makes for a nicely finished baked product. Pies, cookies, breads, rolls—they’ve never been better, quite honestly. And that’s why I haven’t thrown the oven out of our new triple-paned, German-engineered, energy-efficient windows.
My latest baking success is a recipe I spied in a Martha Stewart Living magazine about seven years ago—Buttermilk-Caramelized Onion Pull-Apart Rolls. I made them once, taped the recipe into my little book of “must keep these” recipes, and never made them again until last week. Oh boy, they’re good.
A few notes: There is yeast involved, but don’t let it scare you; you might want to cut down the amount of onions a bit.
Ingredients
11 tbs unsalted butter, softened, plus 3 tbs melted
1/4 oz. active dry yeast
1 tbs sugar
2 tbs warm water, about 105F
3/4 cup buttermilk
1 large egg, slightly beaten
2 3/4 cups all-purpose flour
2 tsp salt
2 lbs (or slightly less) sweet onions, thinly sliced
1. Directions say to butter a 9-inch cake pan with about 1 tbs of the butter. I used a 9-inch pie plate – two, actually – but use anything you think will hold the rounds of dough. Also butter a large bowl and set that aside.
2. Combine the yeast, sugar and water in a small bowl and let it sit a bit while it becomes foamy, about 5 min. Give it a good stir to dissolve. Add in the buttermilk and egg.
3. While the yeast mixture is sitting, combine flour and 1 1/2 tsp salt in the bowl of an electric mixer using a dough hook. It’ll form a well naturally. Pour the buttermilk-yeast mixture into that well and mix to combine – you may need to stop it and scrape the sides down. Add in 6 tbs softened butter (I’ve added non-softened butter and it was fine). Mix on medium speed for 10 minutes. A soft, sticky dough will form.
4. Scrape the dough onto a lightly floured surface, then sprinkle a bit more flour on top of the top and get a bunch on your hands, too. Knead the dough for about 5 minutes—gently. It’s gonna stick to your fingers if you knead too vigorously, so be gentle and flour your fingers often. The dough will begin to feel seductively soft and light—it’s the best part of the job. After 5 minutes, place the dough in the buttered bowl. Cover with a kitchen towel and let it rise in a warm place for about an hour, or until it’s roughly doubled in bulk. If it doesn’t exactly double, that’s ok.
5. The recipe says to caramelize onions in 4 tbs butter, but I use olive oil to do the job. Heat the oil or butter in a large pan over medium-high. Add the onions, sprinkle in a bit of salt (I would add 1 tsp) and stir to coat—grabbing the onions with tongs and flipping them over as you would a steak on the grill is the best way I have found to do this. Do this intermittently for 5 minutes, until the onions start to look translucent, then turn heat way down to medium low, and let them cook, stirring occasionally, for about 20-30 minutes until they are golden brown. Take off heat. If I were you, I would put them in a sieve over a bowl and let the onions drip off their liquid.
5. Meanwhile, the dough…punch it down and turn it out onto a lightly floured surface again—make sure you have plenty of room. Use a rolling pin to form a dough rectangle about 17 in x 10 in. NOTE: the important thing here isn’t the dimensions, it’s keeping the dough relatively of even thickness throughout. Brush the rectangle with 3 tbs melted butter and spread those caramelized onions evenly over the surface. Starting from the long side, roll the dough into a log and press the seam to seal it.

Spread caramelized onions evenly over the dough’s surface.
6. Next, cut the log into about 12 even segments. It’s harder than you think, because you’ll squish the roll into ovals—kinda scary. And then the onions pop out of the ends a bit. Don’t worry about it – it’s gonna happen. Just slice and don’t worry. Put these slices cut-size up in the buttered pan. Directions say to brush with another 2 tbs of melted butter, but really, there’s no need for that unless you want them to look browned. Cover the slices with plastic wrap and let them rise in a warm space for about 50 minutes.
7. Preheat oven to 375F. Bake the rolls for until they are golden. 35 minutes is perfect. Invert the pan onto a cooling rack and unmold the rolls. Serve warm.

I made these to serve with a bean stew, and pulling apart the rolls and dunking bits into the stew was awesome. The onions make the roll moist, which is super. I’ve since made these rolls and spread the dough not with onions but with roasted garlic and rosemary. These weren’t as moist but just as tasty, and you could really get a sense of the roll’s airy texture. This recipe is certainly not disappearing for another seven years.
Homegrown Food Challenge—Day 3
October 14, 2011 § 1 Comment
Day 3 on the Homegrown Food Challenge and no fish heads were lopped off on this particular day. But the grill did get lit, and that’s always a fun thing. Here’s how our day progressed.
Breakfast:
Starting to look very familiar. Flat Black coffee with Maine’s Own Organic Milk. Stonyfield yogurt with local apple, honey and a crumbled Effie’s oatcake. We’ll get a bit more creative with breakfast on the weekend, no worries.
Lunch:
Jennifer and I both had big salads with local stuff, similar to the one I had for lunch on Day 2. Local lettuce and red pepper, pickled beets, homemade dressing, etc etc. I even made some homemade croutons from homemade bread.
Dinner:
This is where the grill gets lit—finally! We cranked it up for some pizza made with homemade pizza dough. Two pizzas are usually enough to take care of dinner plus give us enough for lunch the following day.

Pizza #1: Homemade sauce using slightly green homegrown tomatoes (similar to the roasted cherry tomato sauce I make), grilled eggplant (from farmers market) and locally made mozzarella.

Pizza #2: Homemade pesto using homegrown basil, grilled eggplant, roasted red pepper (from farmers market) and caramelized homegrown leeks.
Can’t have pizza without beer, right? We had some Whale’s Tale Pale Ale from Cisco Brewers on Nantucket. Pretty tasty stuff!
As I am two days behind in posting, I can hint at what awaits you for Day 4: One of the most fabulous creations to ever have been sandwiched between two pieces of bread. Think I over-exaggerate? Oh. No.
Homegrown Food Challenge: Day 1
October 11, 2011 § 1 Comment
Yesterday began our week-long Homegrown Food Challenge (HGFC). So, right from the beginning I have to amend the title, or rather—I should clarify and lay out the rules of this Homegrown Food Challenge we’ve undertaken:
- “Homegrown” … with such a small garden plot and the fact that it’s nearly done producing, we’re amending “homegrown food” to “local food.”
- “Local” for this challenge will mean somewhere in New England. I know, it could be more local than that. Maybe for the next challenge we’ll pull in the boundaries.
- Items that are in our allowable “pantry” include oils, vinegars and flours. And I reserve the right to add in quinoa as a “cheater” grain.
- Leftovers that were in our fridge need to be eaten, right? And trust me, we did not stock the fridge with “leftovers” so we could cheat with them.
- Our “veganish” diet – two out of three meals not containing animal products – will be put on hold for the week.
Hey, that’s not so bad, right? So far, so good.
To prep for the challenge, I hit the closest local farmers market I could find, which just happens to be at Boston Medical Center on Fridays. I came back with butternut squash, two eggplant, red peppers, dinosaur kale, two heads of leaf lettuce and romanesco – it’s like a fractal-influenced head of broccoli. All produce brought to us by the good folks at Farmer Dave’s in Dracut.

Farmers market fare from Farmer Dave's
We also stopped by Whole Foods to find some local dairy products. And you know what? We did actually find some.
So, with that, let the challenge begin!
DAY 1
Breakfast: We need coffee. Coffee doesn’t grow in this climate. What to do … Well, there are local coffee roasters. That counts. And our favorite local coffee roaster is Flat Black Coffee Company with locations in Dorchester and downtown Boston. We’ve known the owner for years and can attest he and his crew produce a great and responsible bean. Into that cup we usually pour some almond or soymilk. Not happening this week, so how about some local milk? We picked up some Maine’s Own Organic Milk.

Yogurt, apple and honey - all local!
The coffee accompanied a bowl of Stonyfield plain yogurt – I’m positive all that dairy is from New England cows and if not, someone clue me in – mixed with a local chopped apple and topped with Topsfield-produced honey. Breakfast, done.
Lunch: Okay, so … It’s Columbus Day. Jennifer’s off work, and I’m working but not all that hard … A friend calls us. Hadn’t seen her in a while. “Wanna go out for lunch?” Say no? No. We said yes. And we opted to eat at a small, local Mexican restaurant two blocks away where I know they a) make a lot of their own stuff and b) could use our dining dollars. I feel completely in-line with the challenge by supporting our local small eateries.
Dinner: Gotta clean out the leftovers from the fridge, right? Pasta with shrimp, red pepper and pesto. And just the pasta and shrimp weren’t local in that dish. Plus, we had homemade bread. And, a bottle of Harpoon IPA brewed right down the street in Southie.
Day 2 should be interesting—it’s our first Cape Ann Fresh Catch share pick-up. Fish with heads!! Awesome!
Tomato and Pesto Sandwich
September 27, 2011 § 2 Comments
Leaves falling from trees, temperatures dropping, plants succumbing to the elements, days shortening … The world as we’ve known it these last few months is coming to an end. We must eat as many fresh tomatoes and as much basil as possible.

Our world is collapsing. Eat tomatoes and basil while you can.
I’ve taken up that challenge, gladly. Who wouldn’t? Fresh tomatoes and bright bristly green basil is the ultimate garden combination, really perking up the mouth with the pairing of acid and mellowness. I don’t have to describe it—you know all too well how delectable the two are together.
Maybe one of the simplest pairings of tomato and basil is in a sandwich. I know, it’s not really a recipe. It’s more of a lunch suggestion. And if you’re like me and disregard the miniscule amount of Parmesan cheese in pesto, tomato and pesto on toasted sourdough becomes a vegan meal. The tomatoes—homegrown. The pesto—homemade, with the added “yeehaa!” of the basil being homegrown. The sourdough—made by my own two little hands.
Want to share lunch with me? There’s enough here for at least five more sandwiches.

Kinda looks like a big smiley face, don't it?
Your favorite tomato—basil combination? Do tell. (please! feel free to share below!)

Nothing but goodnes here.
