
Jicama Salad
June 4, 2013 § Leave a comment
My new favorite item to add to a salad is jicama, otherwise known as Mexican potato or yam bean. My fondness of the roundish, beige and nondescript tuber with a potato-pear texture began in an Asian restaurant in California (surprisingly not a Mexican place) about a month ago, when I had it in a jicama-grapefruit salad. And that was pretty much all it was: matchsticked jicama mounded on a plate and dressed with a spicy but light dressing. The grapefruit, ringed around the pile of jicama, was there to cool the heat. Toasted cashews added some crunch.

Jicama salad with apples, grapefruit and toasted cashews
I attempted to recreate my own jicama salad. Online searches gave me oodles of salad dressings that would serve the purpose. But I failed. And I failed because I attempted to recreate what I had experienced previously. I had a pile of poorly julienned jicama, grapefruit that I hadn’t segmented properly, and well, the Cat Cora-inspired dressing was okay. But just okay. And aside from properly preparing the jicama and grapefruit, the success of a jicama salad really pivots on its dressing.
Turns out friends returning from a vacation in Sedona also became infatuated with jicama in salads. They had a delectable jicama salad in one of Sedona’s best restaurants, Elote. Wisely, they bought the restaurant’s cookbook, complete with the recipe for the jicama salad dressing.
We have since used this to dress traditional salad greens to which we’ve added all sorts of things including jicama, orange, grapefruit, apple, cashews, peppers, etc. You could put it on an old shoe and it would taste wonderful. My suggestion is to keep a jar of this in your fridge at the ready for any type of salad (or shoe) you may be serving.
Jicama Salad Dressing (courtesy Elote Cafe Cookbook)
1 cup olive oil
2/3 cup lime juice
1/4 cup Cholula hot sauce
1 tsp kosher salt
1 tsp fresh ground pepper
1 tsp sugar
1. Add all ingredients to a lidded jar and shake vigorously until combined.
2. That’s it! You’re done! Pour it on! As with any salad, use a combination of whatever and however much you’d like: julienne a chunk of jicama, chop up an apple, segment half a grapefruit, add in a 1/2 cup of toasted cashews, through in some thinly sliced red peppers, and toss it all on top of some salad greens. Your salad is served.
NOTE: The brand of hot sauce matters here, or at least makes a difference in taste. Our friends make it with Cholula and the dressing is quite spicy. We have used Frank’s Red Hot (it’s what we have in the fridge) and it results in a less spicy-hot experience. Both are delightful on a salad. In fact, it’s what I’m having for lunch.
Shoyu Sauce
May 7, 2013 § 4 Comments
This is another “It’s not you, it’s me” posts. Meaning, this is a recipe I have kept on a slip of paper for well over a year now and if I lose it, I’d have NO idea how to recreate the proportions correctly. So, yes, I do hope you enjoy this recipe, but really, I’m putting it out there so I have a place to find it.
Okay, about this “I can’t remember it but I can’t live without it” recipe. If you live in the Boston/Cambridge area and you are a vegetarian, you have eaten at a crunchy, mostly raw food place called Life Alive. Think wheat grass juices, chia seed smoothies, barely cooked kale-based warm salads topped with marinated tofu, red lentils, quinoa and all sorts of good-for-you things. And quite tasty, too. Most of these salads are topped with an addictive ginger nama shoyu-based dressing. What’s nama shoyu? Good question. The short answer without going into the details (because I don’t know the details) is it’s an unpasteurized soy sauce. One taste of it and you must either eat every meal at Life Alive or find a DIY recipe.
I am not sure exactly where I found this recipe, but whoever it belongs to, I thank you immensely. Absolutely love it. We’ve only used it as a salad dressing but it could also be used to marinate tofu or top cooked veggies and rice. Is this exactly like the dressing at Life Alive? Not really, but that gives us an excuse to go back.
Shoyu Sauce 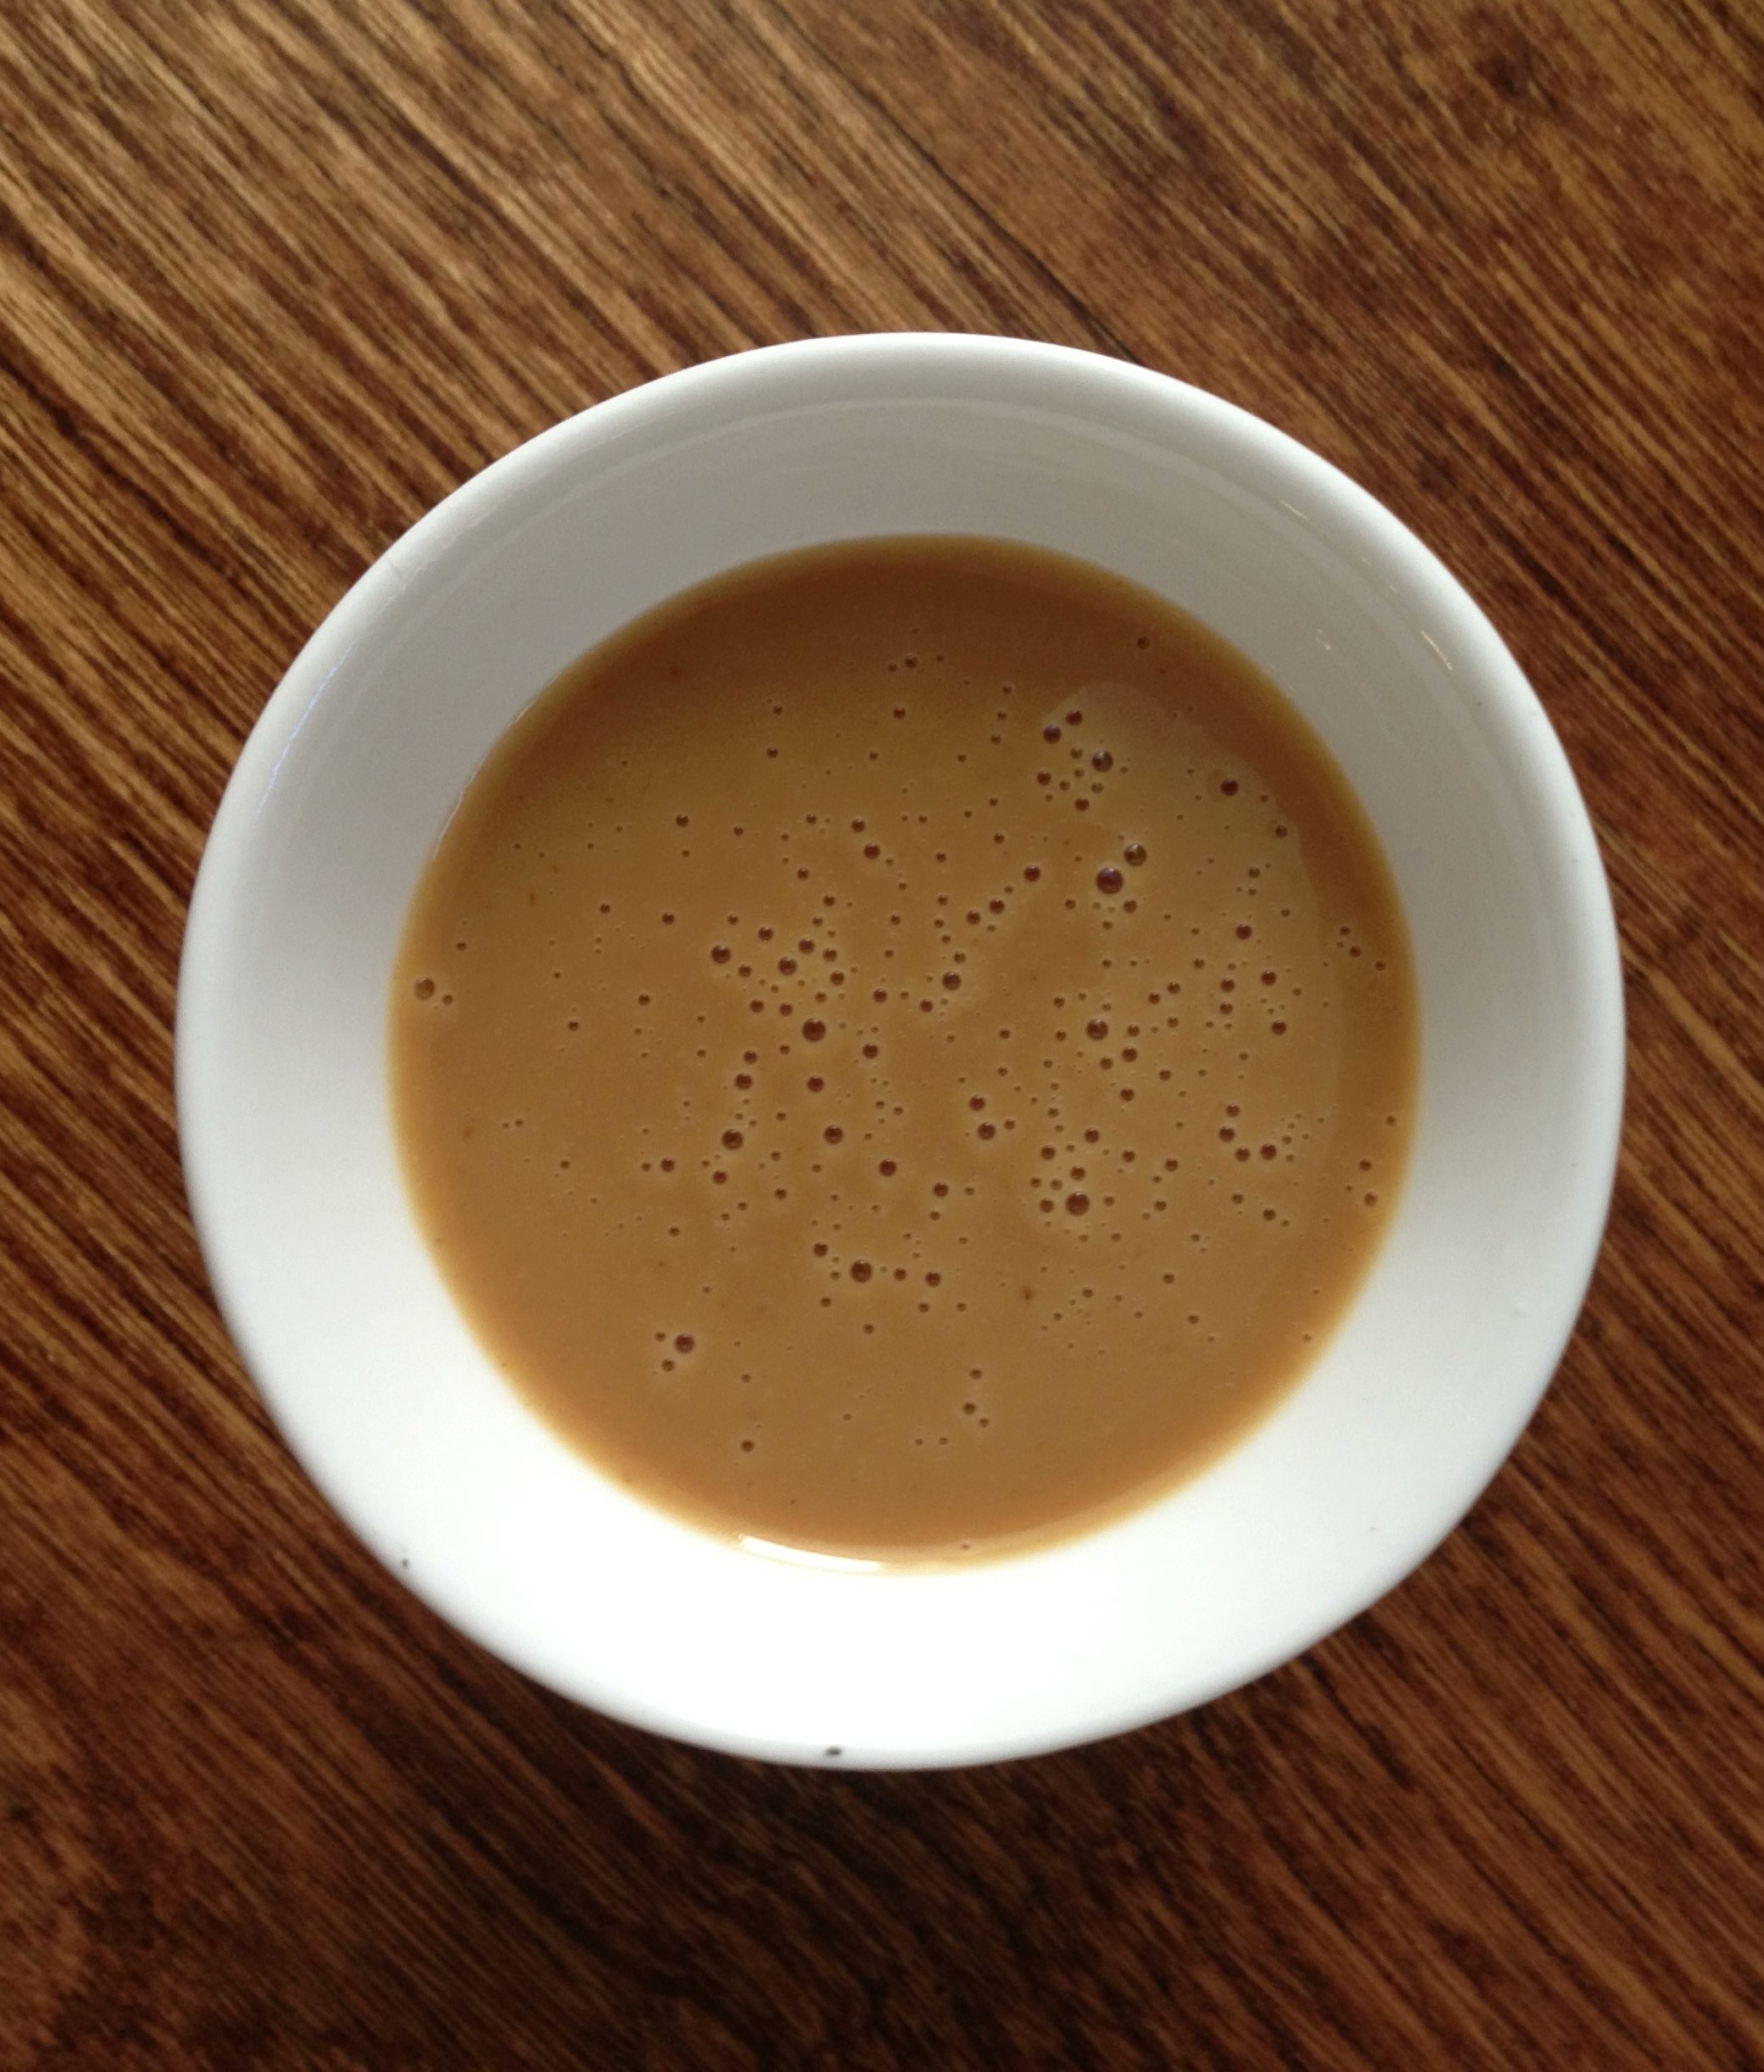
1/2 cup nama shoyu
1/2 cup tahini
1/4 cup sesame oil
2 tbs agave
1/4 cup cider vinegar
1 tsp salt
1 inch ginger, grated
1/4 cup olive oil
1 tsp lime
Combine all ingredients in a blender and liquify. Or combine in a high-sided bowl and use an immersion blender to whirr it all together.
A note about the ginger. We keep our ginger in the freezer because a) it won’t shrivel up in there like it does in the fridge and b) frozen ginger is WAY easier to grate with a microplane. It’s also easier to peel if frozen. Give it a try if you aren’t familiar with this technique.
Suggestions for what else to use this sauce with? Leave a comment below.
Wheat Berry and Bean Salad
March 6, 2013 § 2 Comments
The only on-the-package-recipe you should ever make is Nestle Toll House Chocolate Chip Cookies. Truly. It’s a proven recipe and makes a darned-good cookie, a cookie you will experience from the first years of your life to your last. It’ll even be served at your wake. Every other recipe found on a package—whether it’s a box of Velveeta or a fancy grain—should be embarked upon with hesitation and doubt. A dingy full of doubt.
I love what wheat berries do for me for breakfast. I’ve also included them in bread recipes and sprinkled them on a green salad. So when I grabbed my bag of Bob’s Red Mill Wheat Berries and noticed the Wheat Berry & White Been Salad recipe on the back I thought, “Why not try something new today?” “New,” I am reminded now, means a learning experience and not necessarily a guarantee of something awesome.
The salad is simple—wheat berries, white beans (I used chickpeas I had on hand), scallions, celery and tomato with a vinaigrette. The vinaigrette is what I regret here. Following the recipe as I did, the ratio of vinaigrette to salad ingredients was way too much. It was more of a thick soup than a salad because it was so heavily dressed. I had to fill out the salad somehow.

A little too overdressed for my liking.
Reconstructive salad making ensued. Wheat berries went from 1 cup to about 1 3/4 cup (all of what I had just cooked). I had no more chick peas, and no more lentils, which are my usual go-to filler for salads like this. Bulgar would have been too fine of a texture to add into the salad. In the end I cooked up a batch of black beans and added to the soupy salad until it was soupy no more. I must have added close to 2 cups, no kidding.
Wheat Berry and Bean Salad (adapted from Bob’s Red Mill) 
Salad:
1 cup cooked wheat berries
1 cup chick peas
2 cups black beans (or some sort of bean or lentil)
1/2 cup scallions, chopped
1/2 cup celery, diced (makes for a nice crunch)
1/2 cup cherry tomatoes, quartered
Vinaigrette:1/2 cup olive oil
2 tbs. lemon juice (about 1/2 lemon)
2 tbs. white wine vinegar
2 tbs. chopped parsley
1 tbs. honey mustard
2 tbs. minced shallot
1/4 tsp. kosher salt
1/4. tsp. black pepper (or 5-6 grinds from a pepper mill)
1. Mix the vinaigrette ingredients together. I chose to emulsify with an immersion blender. I then added the vinaigrette to the bottom of a large bowl.
wheat berry salad vinaigrette
2. Add the salad ingredients to the vinaigrette and combine. If it looks overdressed to you, add something to it! Soggy salad is not something you should put up with, really and truly.
3. The recipe says to chill overnight to blend the flavors. Perhaps over that period the beans and berries are supposed to soak up some of the vinaigrette? I didn’t want to leave it to chance. Serving suggestion is to serve on a bed of leaf lettuce. Again, I didn’t want my greens to be soaked, so the additional beans were necessary.
Eat and enjoy—and let me know what you think about the amount of vinaigrette here, please! Too much? Not enough? Just right in a Mamma Bear sort of way? Comments are not just appreciated—they’re anxiously awaited!
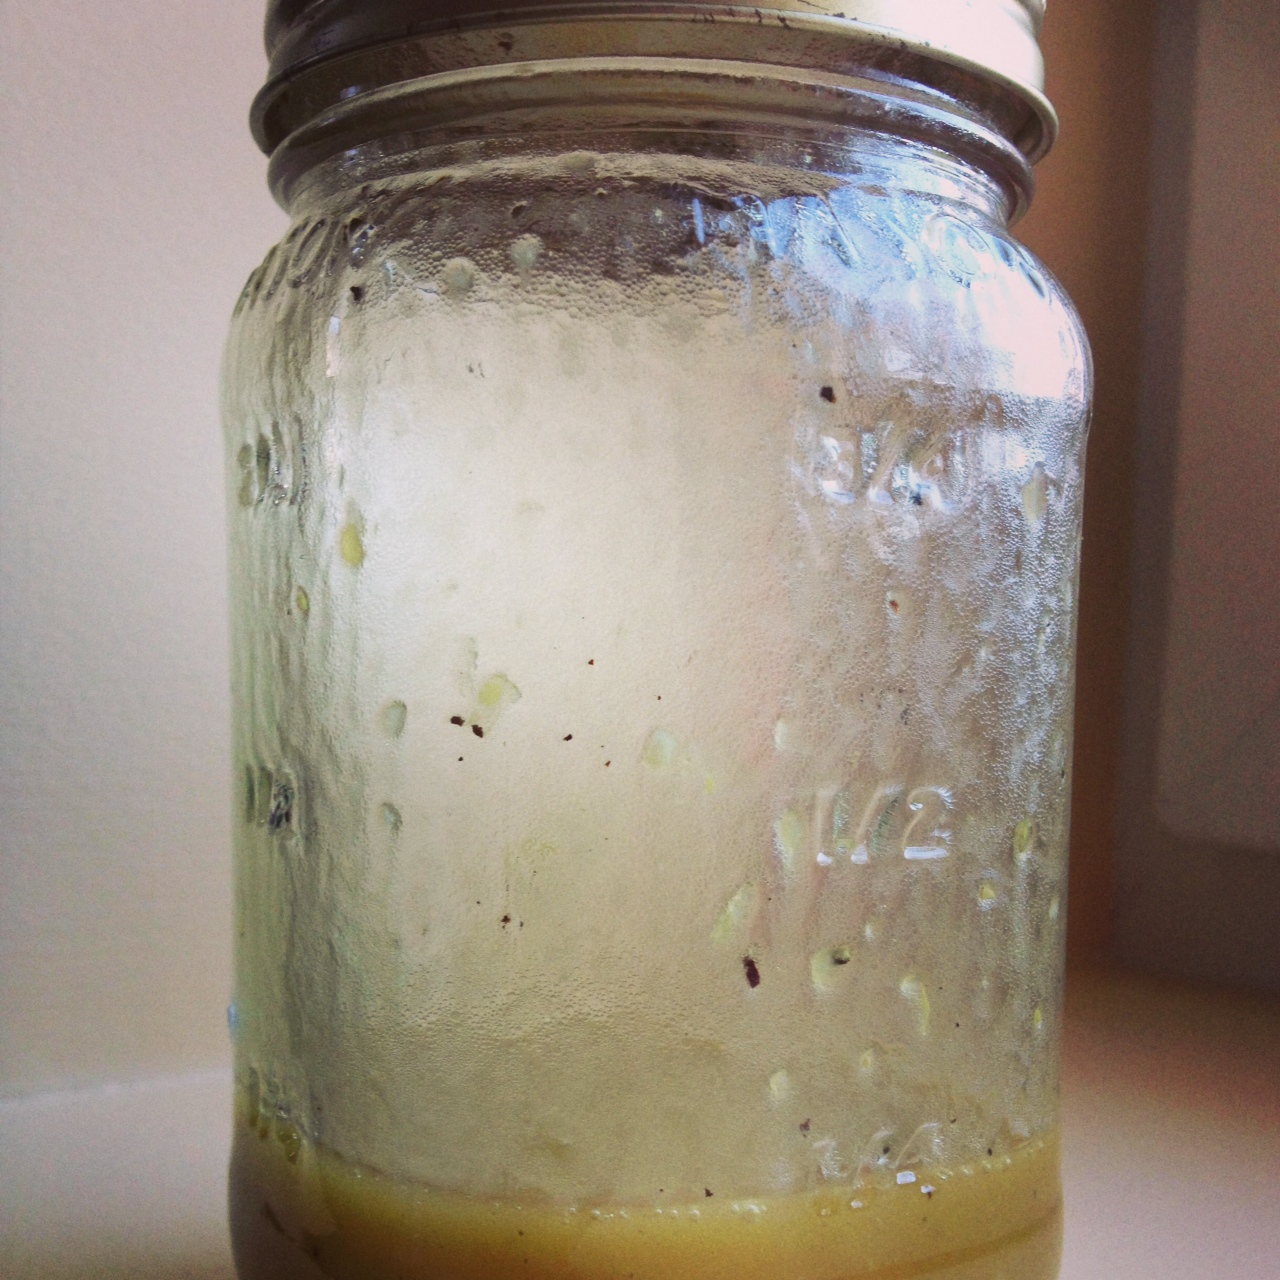
Lemony Vinaigrette
January 24, 2013 § 2 Comments
This isn’t for you. This is for me. This is for my failing memory. For the pause in my sentences, in my walk across the kitchen. My forty-something brain used to run, and now it slogs through water. I must now try to remember, instead of just remembering.
Shake the dickens out of it.
No, it’s not that bad. Not that bad by a long shot. It just takes repeated (and repeated and repeated) motions or readings or hearings to imprint anything into my mind. It takes time, it takes effort, it takes a bit of humility, but the routine will eventually become routine.
I remember this vinaigrette for its lightness, its lemonyness, its bite of pepper, and that unmistakeable hint of something mysterious (you’ll learn it’s sherry vinegar). But for the life of me I can’t remember the recipe. This vinaigrette, used as a dressing for a bean salad in the Fields of Greens Cookbook, is for me. But I share it with you. Hopefully you’ll love it enough to make it routinely.
Ingredients
2 tsp. minced lemon zest (from about half a lemon)
1/4 cup fresh lemon juice (about one lemon)1 tbsp. sherry vinegar
2 garlic cloves, crushed or finely chopped
1 Tbs. sherry vinegar
1 tsp. salt (use kosher)
1/4 tsp. pepper (5-10 turns of a pepper mill)
1/3 cup extra virgin olive oil
- First—very important!—do NOT confuse sherry vinegar with sherry. NOT the same thing. I speak from experience. You make that mistake only once.
- Combine everything in a jar with a tight, sealed lid (e.g. a mason jar) and shake the dickens out of it.
- Makes about 3/4 cup.
Wheat Berries for Breakfast
January 15, 2013 § 3 Comments
Wheat berries. Never heard of them? Neither had I, until I came across them as an ingredient in a course-grained whole wheat bread recipe (more on that bread another day). And now, they’re a special breakfast treat.

Wheat berries with raisins, slivered almonds and apple cider.
How did they go from bread to breakfast? When I spotted them in the Amy’s Bread cookbook recipe I read up a bit on this whole grain. According to Wikipedia, “wheat berry” is just another term for the whole wheat kernel. Silly me, I thought they looked familiar. As a farm kid, I had wheat kernels end up in pant cuffs, socks and occasionally other locations on my person after a day on the wheat combine. If milled instead of left whole, the wheat berries become wheat flour. And as we know, grains left whole are good for you because none of the nutrients are processed out of the grain. Keeping it whole leaves all that good-for-you protein, fiber and iron (and I’m sure other good things) right in that wheat berry for your health and flavor enjoyment.
The whole wheat berry as an ingredient in bread gives the bread some chewy texture—something to bite into other than just the bread. They’re also a bit sweet and nutty in flavor—a great thing when used not just in breads, but also when added to salad greens or made into a grain-based dish.
My course-grained bread recipe called for just a 1/2 cup of cooked wheat berries with a half-cup of the reserved cooking liquid. Wanting to have some extra on hand, I added one cup of uncooked berries to about 2.5-3 cups boiling water, then let it simmer, mostly covered, for about 50 minutes. The result was about 2 cups of plump wheat berries and surprisingly just enough liquid.
The berries that didn’t make it into the bread made it into my breakfast bowl. Taking a cue from my typical steel-cut oats preparation, these berries received some raisins (highly recommend the jumbo raisin mix from Trader Joe’s) and slivered almonds. And to plump up the raisins while warming in the microwave, I added enough apple cider to come nearly to the surface of the wheat berries. Soul-satisfyingly delicious. And it filled my belly. I even slurped from last juices from the bowl.
I would love to try wheat berries in a savory application and have seen a recipe or two pairing them with mushrooms. If you have any recommendations—either savory or sweet—please leave me a comment below.
And now that I know my family has a barn full of these wheat berries at home, I think I’ll bring home a great big bag of them next time I visit.
Lime-Agave Vinaigrette
August 11, 2011 § 2 Comments
Life, sometimes, can get a bit bitter. Thank goodness we have sweets.
Mary Poppins was right about that spoonful of sugar—it helps pretty near everything taste A-okay.
Like my lettuce, for instance. I am still harvesting lettuce from the garden—in mid August! How crazy is that? But, well … it’s up and bolted on me. That’s a gardening term that means that nice compact head of leaf lettuce has sent up a flowering stalk, dragging all those individuals leaves with it. Worse yet, the leaves become bitter.
Now, typically you’d give up the ship at that point. Chuck it to the chickens, maybe. Not Dainty. Waste not, want not. Right? I mean, this’ll be my lunch for the next four days, come on! Keep the bitter stuff!
But I gotta sweeten it up. Maybe a salad dressing …
And then I remember a vinaigrette Giada DeLaurentis made on the Today Show two years ago. Lemon dressing with sweetness brought to you by agave nectar. Pretty darned good, I have to say.
Open hydrator drawers in fridge. No lemon. But there’s a big plump lime?
Lime-Agave Vinaigrette
3 Tbs lime juice
3 Tbs evoo
1.5 Tbs agave nectar
Combine. Shake. Season if you want, or just sprinkle a light dusting of salt and pepper over your salad.

Lime-Agave Vinaigrette
Hits the sweet spot without the sugar.
Beets: From Seeds to Roasted
August 2, 2011 § 1 Comment
I love me some beets. Love love love.
I know beet love is not a universal thing. I don’t belittle that. There are reasons to not like them. Sometimes there’s a metallic dirt after-taste. They can stain your hands—and cutting boards and dish towels—like you just murdered someone and stored them in the freezer. Then there’s that whole … nah, I’m not gonna go there.
My first beet love was a dish an old roommate would make in summer. Fresh, julienned beets with minced garlic, evoo and balsamic. Had a real nice crunch. Tasty, but only if you’re not dating someone.
Jennifer has an awesome beet soup – that’s my second beet love. It has the kitchen sink in it, too. I don’t want to hold out on you, but when the next beet harvest comes along, it’ll go up on Dainty. That okay?
My daily beet love goes out to the roasted variety. Simple. Delicious. And really quite beautiful.
New to Dainty!
Yeah for new! I’m including growing instructions. Yup, that’s what I said. This urban farmer is going to show that you—yes, you, city kid!— can take some seeds, grow them, and put them on your tasty table.
Growing Beets
What you’ll need: Beet seeds. A patch of soil/dirt, or a big, wide, deep container. Some way to water them.
Step 1: Beets can take cool weather. And hot weather, too. Another reason to love them. Get out in the garden early in spring—Aprilish for New England peeps—to sow your seeds. OR, start some seeds in early- to mid-August (ahem, NOW!).
Step 2: Beets’ big bulbousness develops underground, in case you didn’t know. It helps if your soil (I never called it dirt, but you know what I mean) isn’t rock hard. Is your soil like cement? Then go to the DIY store and buy a bag of “garden soil,” spread it on top of your “dirt,” and dig it in with a shovel or hoe. Sounds like work … it is! Don’t worry, it doesn’t take long.
Step 3: Beet seeds. Never beet “seedlings” because root vegetables (like beets and carrots) don’t like to be moved once they begin to grow. So, get yourself some. There’s all different types. Choose whichever tickles your tastebuds.
Step 4: Sow the seeds according to the seed packet instructions. Here’s a tip: Plant them in several rows maybe 6 in. apart and in a chess board-type pattern. You can squeeze more in the space that way.
Step 5: Water the seeds in … gently. And keep the soil moist as they germinate.
Step 6: Now, you’re going to wait weeks and weeks … watering and even fertilizing with an all-purpose fertilizer (go to the store and ask for it – you’ll get something good). Your seedlings may be too close together. And when that happens, the beets under the ground kind of grow into each other. It’s ok to sacrifice some of the smaller seedlings. If one seedling is too close to another, just pull it up and discard.
Just a warning: If you spot something on your beet leaves that look like random squiggly lines, you’ve got a pest called Leafminer. These little guys tunnel between the top and bottom of the leaf surface. Crazy! They are the bane of my spring garden—because they also love spinach and chard. If you spot a leaf with these markings, remove it … from the entire garden! Put it in the trash. Do not compost. You want these suckers dead and gone far away. You’ll eat those beet tops later … or the chard or the spinach. You don’t want these guys getting to it first, do you? If you are so inclined, look along the squiggly line and you just might be able to spot the white-ish larva. It’s really gross. Okay, on second thought, don’t look.
Step 7: As your beets get bigger—yay, how awesome is that?!—they may push themselves a bit above ground. Just lightly cover with some surrounding soil to keep the beet covered. Don’t want it to get sunburned, right?
Step 8: Harvest! Pull those beets up whenever you want. You can get a good idea of the size by taking your finger and going around the top of the beet under the soil. After a few months you’ll have small beets that will be good for pickling. Three months, and you’ll get a decent beet—the size you’ll see at a market. Don’t go for massive. No one needs massive beets.

Beets! and chard, too.
Step 9: Time to roast!
Roasted Beets
- beets, 3-4
- olive oil
- course salt, pepper
-Set oven to 425F. Cut off a 1 ft. length of aluminum foil, place in a cast iron pan.
-Wash beets. Cut off tops just above beet. Reserve beet tops for … well, you can saute them for pasta or as a side dish …
-Arrange beets on the foil. Glug olive oil on top of each beet – don’t need a whole lot. Sprinkle with salt and a turn of pepper. Fold foil around the beets so they are snug in the packet. You’ll want the moisture to stay inside.

Beets oiled and seasoned
-Slide into the oven. Cook 45-60 minutes, depending on the size of the beets. When are they done? When you can just insert a paring knife deep into its heart.
-When the knife slides in, remove the pan. Let cool until the beets can be handled. Actually, just wait until they are room temp. The skins of beet will be soooo much easier to remove when they are completely cool. And then just rub off the skins! For a cool visual, you can keep the short tops on the beet and rub the rest of the skin away if you want.

Beets, cooling.
What to do next? Store in sealed container in the fridge for 3-4 days. Cube or slice and eat with salads. Goat cheese is in love with beets, too, so be sure to pair them whenever you can.

Naked beets, ready to be sliced or cubed. How beautiful!

Roasted beets are fabulous on a salad.
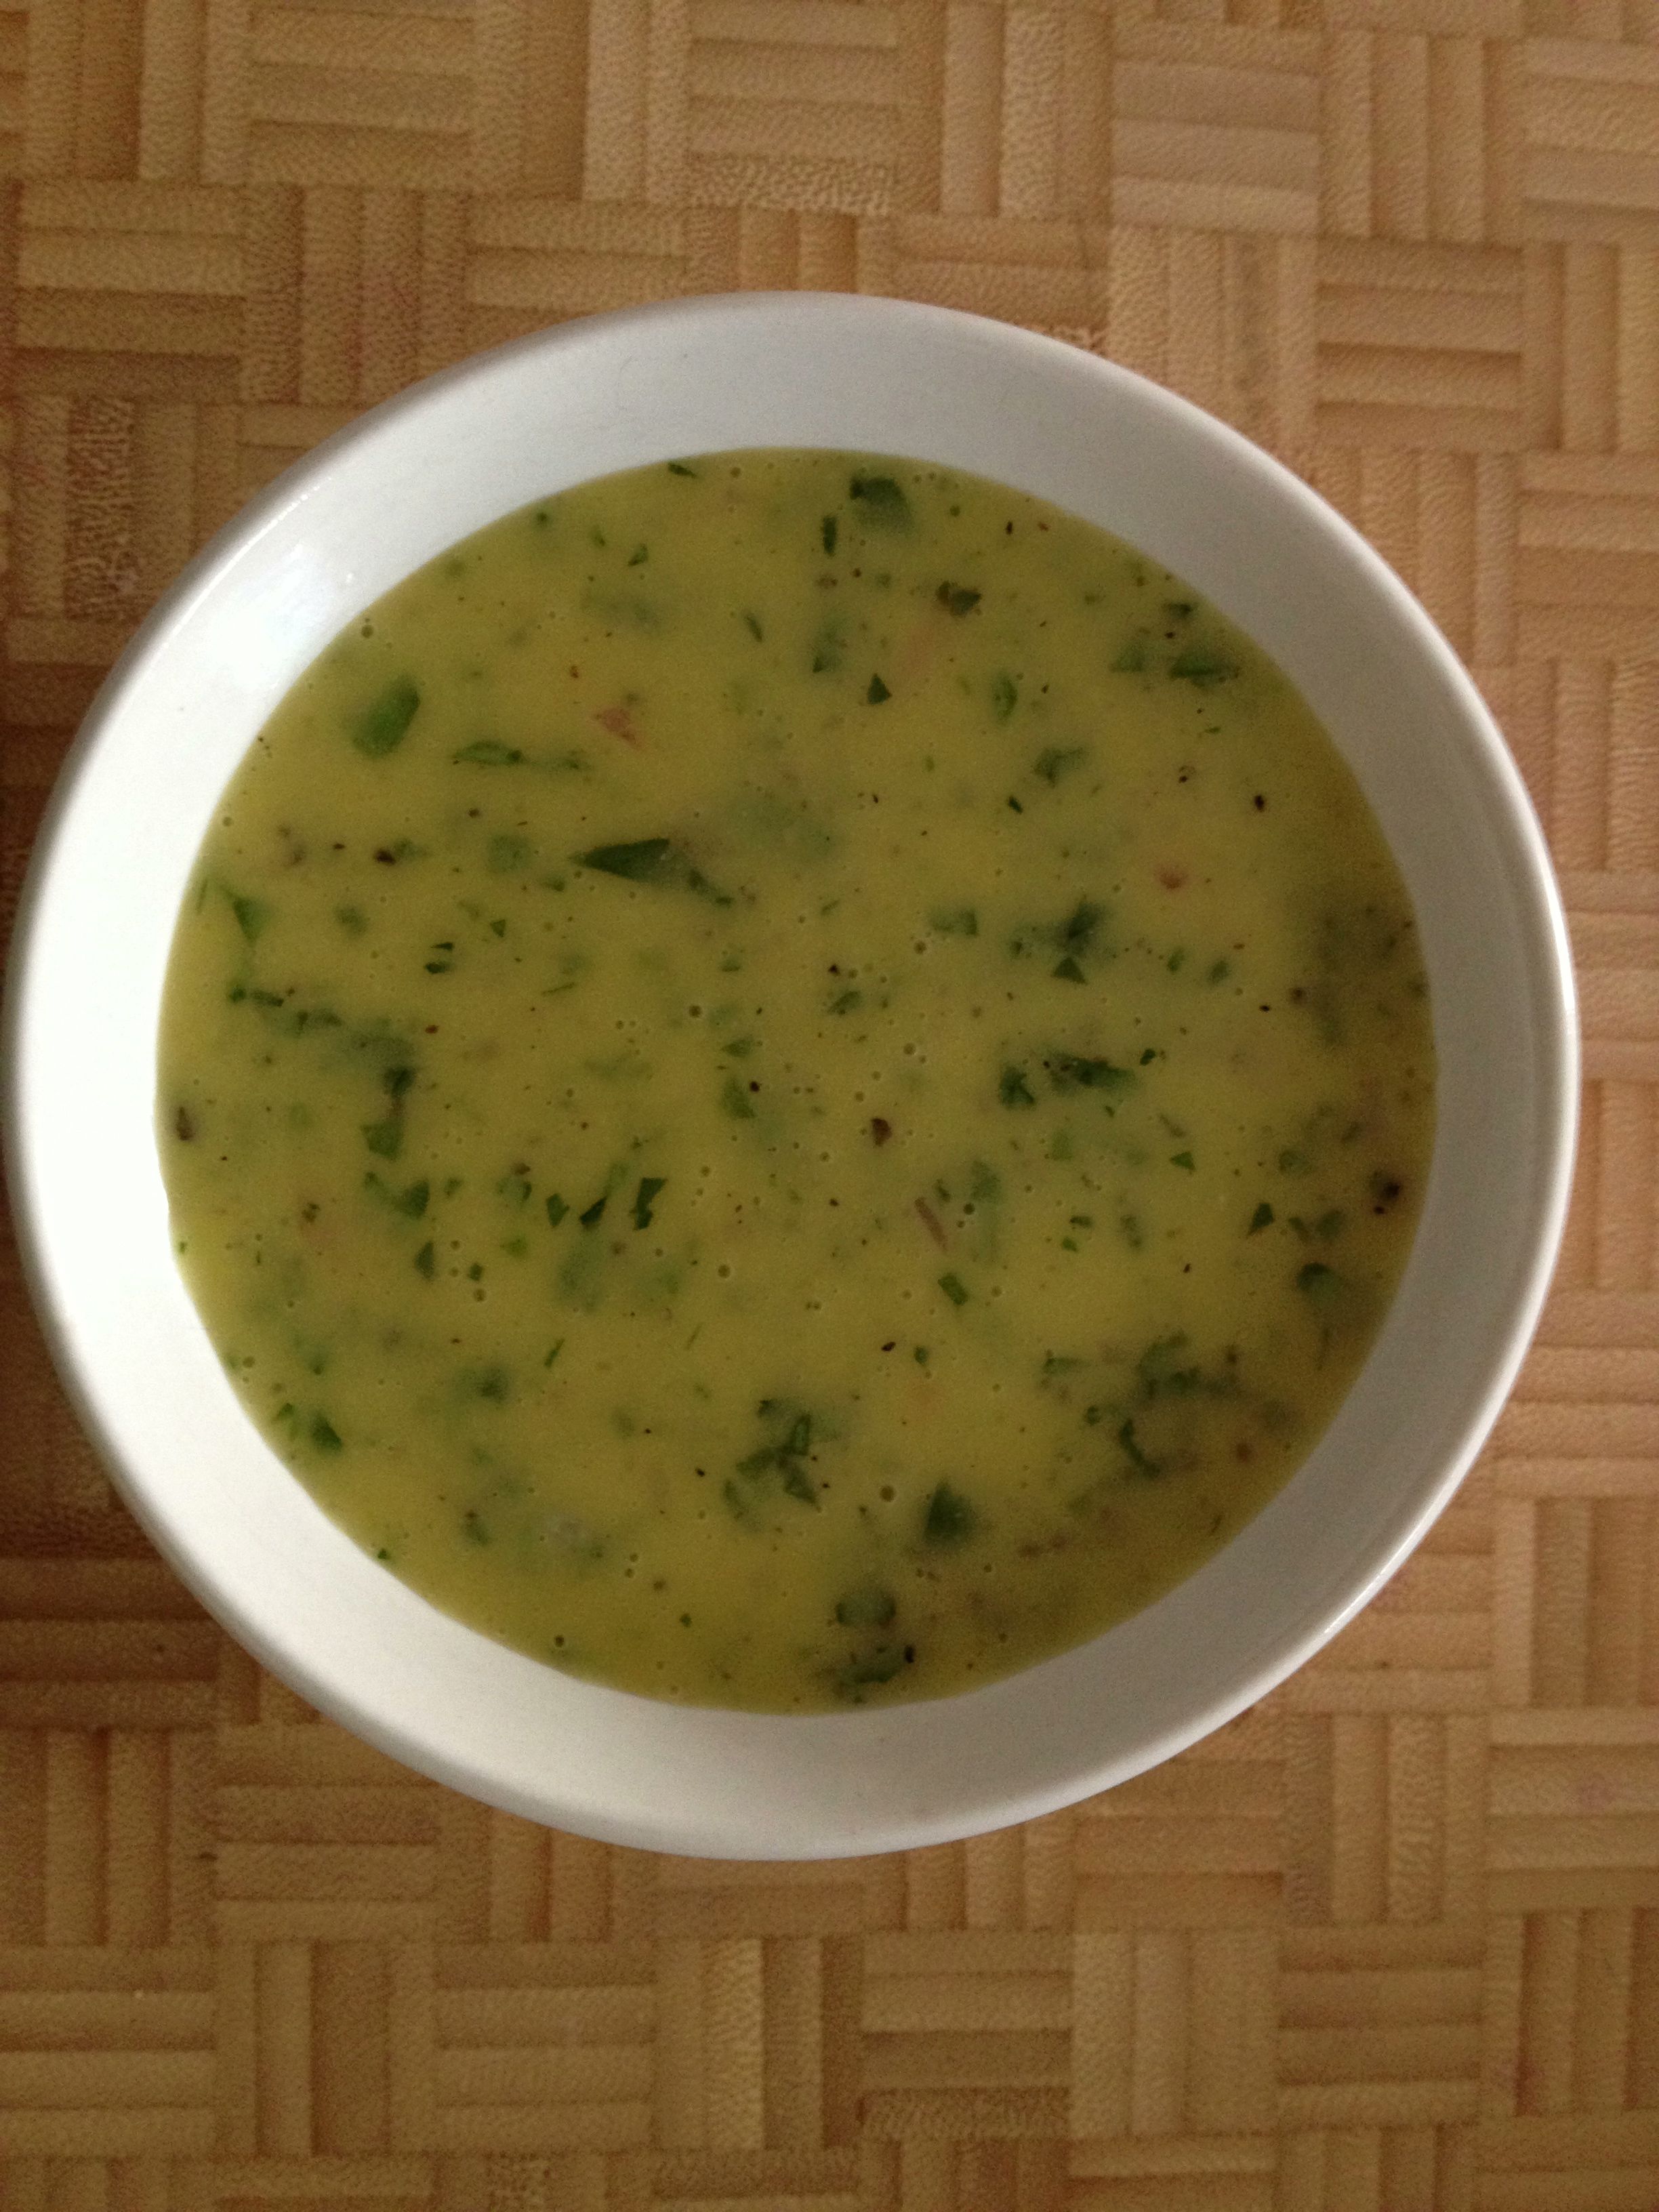
Zucchini and Corn Salad
August 1, 2011 § Leave a comment
You can’t cook. I mean, you just can’t cook.
It’s 105F in the shade. It’s hot. The thought of lighting that pilot light and having a controlled fire on your stove top makes you break out in hives.
Or …
Or you’re in my friend Katherine’s position and don’t currently have a working kitchen due to home remodeling. Home “modeling,” I should say; her condo is so brand-spanking new, there are no appliances yet. But wait. She has an electric wok and maybe a microwave. Thank god, that’s something. She does dishes in her shower, I hear.
So, Katherine, this recipe is for you and all those other folks who can only make a meal the pre-discovery of fire way. Yes, it calls for you to eat corn and zucchini in their raw states. But it’s surprisingly good, and refreshingly cool.
Zucchini and Corn Salad (adapted from a Martha Stewart Living recipe)

Zucchini and Corn Salad
- 3 ears corn, shucked
- 2 medium zucchini, thinly sliced or matchsticked
- 2 tablespoons fresh lime juice
- 2 tablespoons extra-virgin olive oil
- 2 tablespoons coarsely chopped fresh cilantro
- Coarse salt and ground pepper
-Remove kernels from corn cob. Martha had a great suggestion: Cut off the cob ends, and stand cob up in a shallow dish. Take a sharp knife and, starting from about the middle of the cob, slice off the kernels in a downward motion, working your way around the cob. Don’t slice off too much of the cob – you want just the nice milky kernel. Flip the cob over and do the other half.
-Recipe calls for two medium zucchini. Not sure about you but my zucchini in the garden this time of year only come in the “extra large” size. I’d say you’re looking for 2-3 cups of zucchini, sliced thinly. Or, make matchsticks: I slice 1/4-in. thick rounds of zucchini and then run them down the large, single-slice side of my stand-up grater. Okay, it’s not the small, square-sided wooden matchsticks; more like the slim matches in those paper booklets. But matchsticks, nonetheless. Add the zucchini to the corn in that small shallow bowl.
-Add lime juice, evoo, cilantro and salt and pepper to taste. Letting it sit for about an hour before serving lets the flavors develop. Pop it in the fridge if you’d like for a nice crunchiness.
Salad from a City Garden
July 29, 2011 § Leave a comment
Remember yesterday?
Remember that haul of produce I brought home from my city community garden plot? All of it—the lettuce, the chard, the beets, the tomatoes and whatever else I gathered—is washed/bagged/roasted/drying/sitting in a hydrator.
Are you interested in how I saved the lettuce/chard/etc? There’s a way to do it. I can tell you about that later if you want …
But for now, let me tell you about my lunch. 
-Lettuce from the garden.
-A half of a beet from the garden, roasted.
-Cherry tomatoes from the garden.
-A half of a zucchini from the garden, roasted.
–Greek Salad Dressing, made with oregano from the garden.
-Boiled eggs, from our backyard hens (Oh, please. Who do I think I am? Jayme Jenkins?).
–Pickled red onions, pickled myself!
-Green lentils and bulgur – okay, I didn’t grow them but at least I boiled them myself.
-A slice of bread I made using my wild yeast sourdough starter.
I’m full. I need a nap.
